mickyg
-
Posts
2632 -
Joined
-
Last visited
Content Type
Profiles
Forums
Events
Gallery
Everything posted by mickyg
-
Epic! I do NOT use that word frequently or lightly. I'm in complete awe and wish I had the funds for this thing!
-
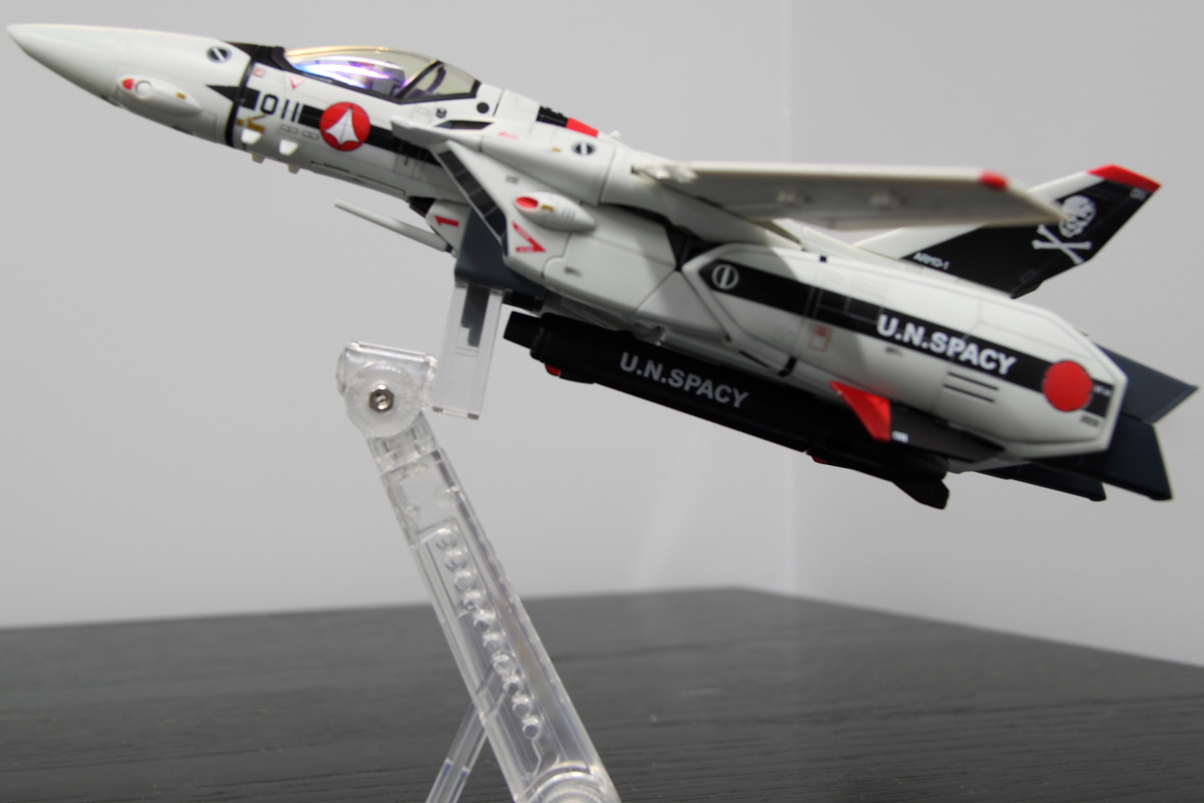
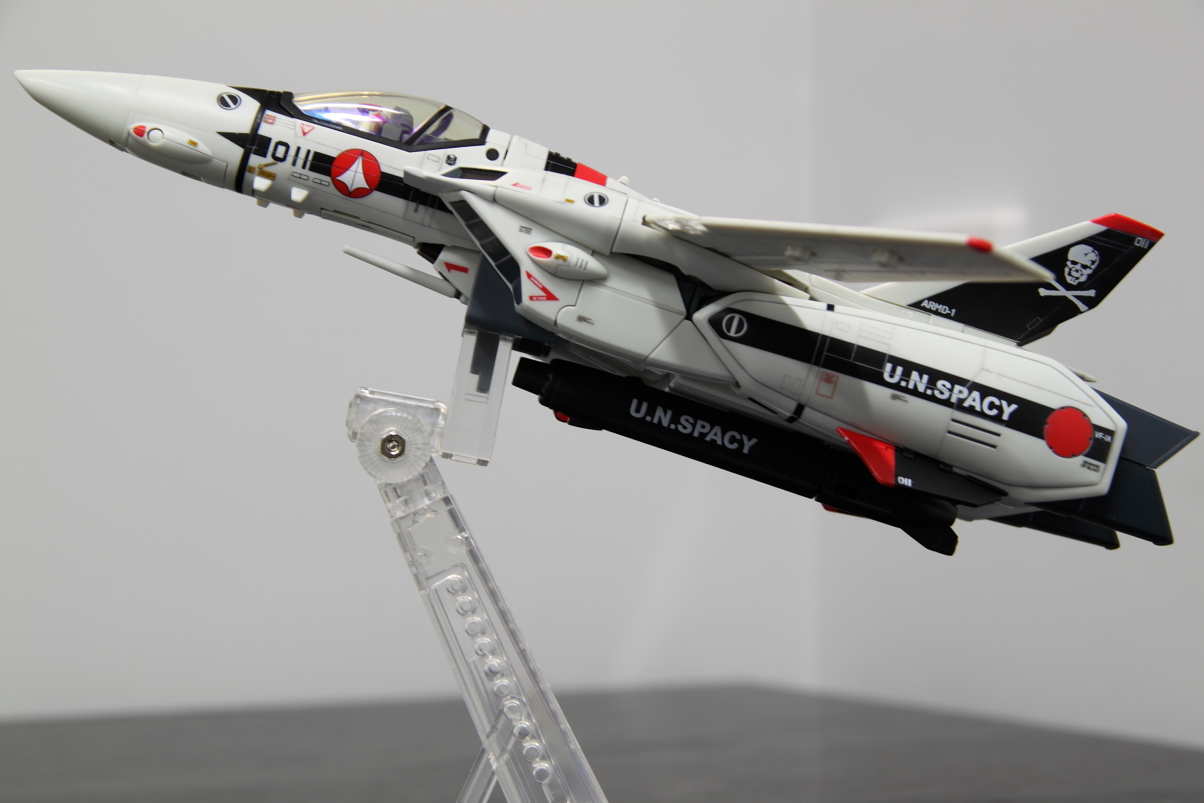
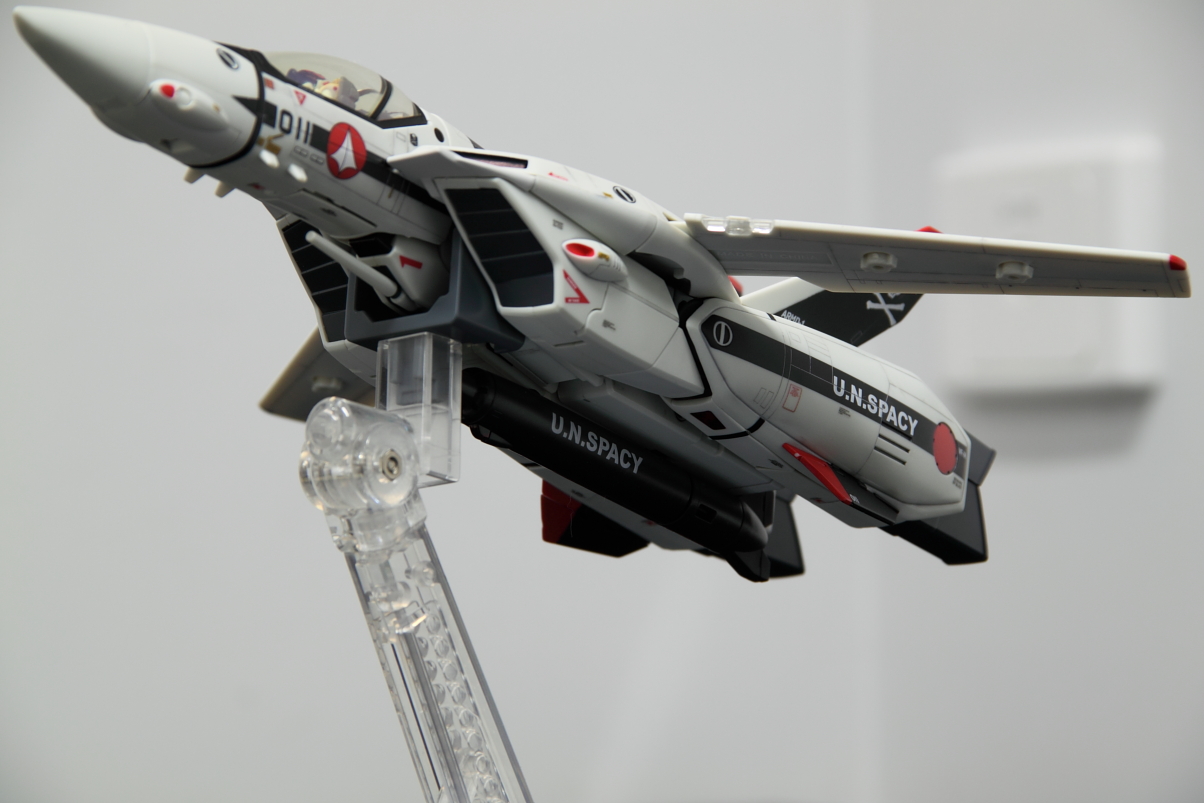
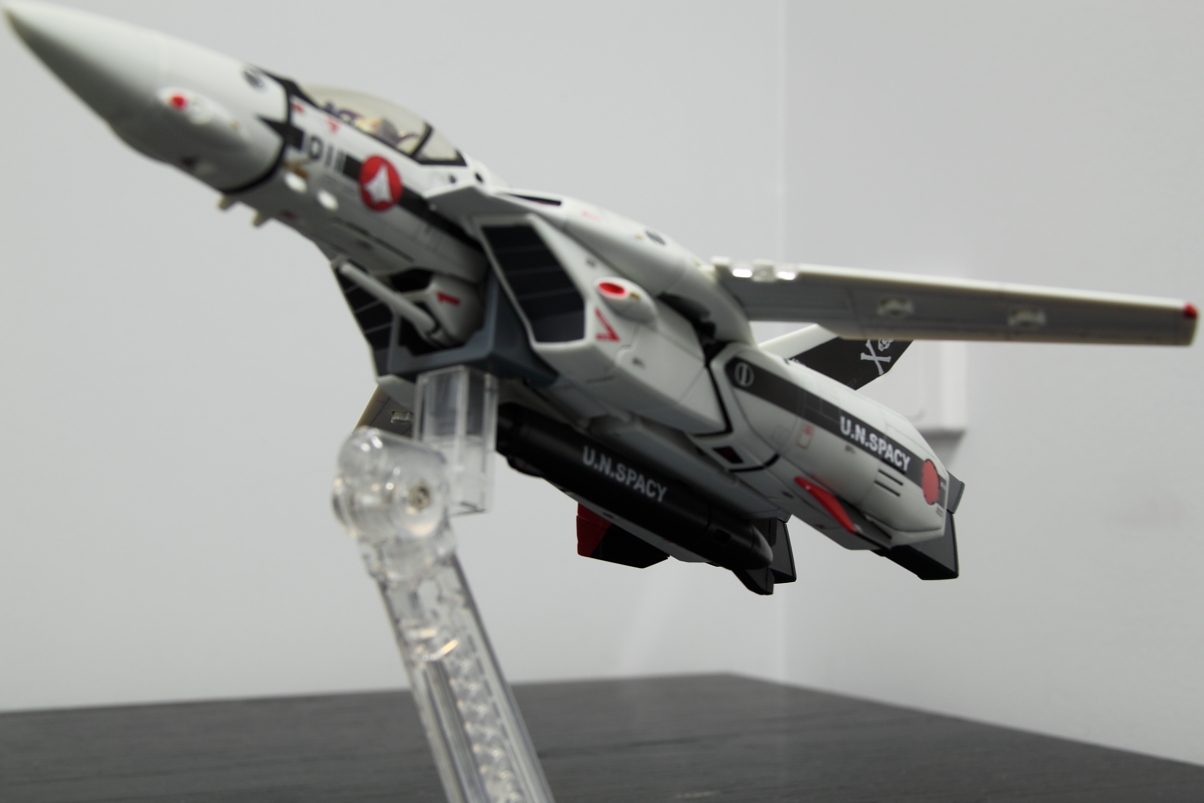
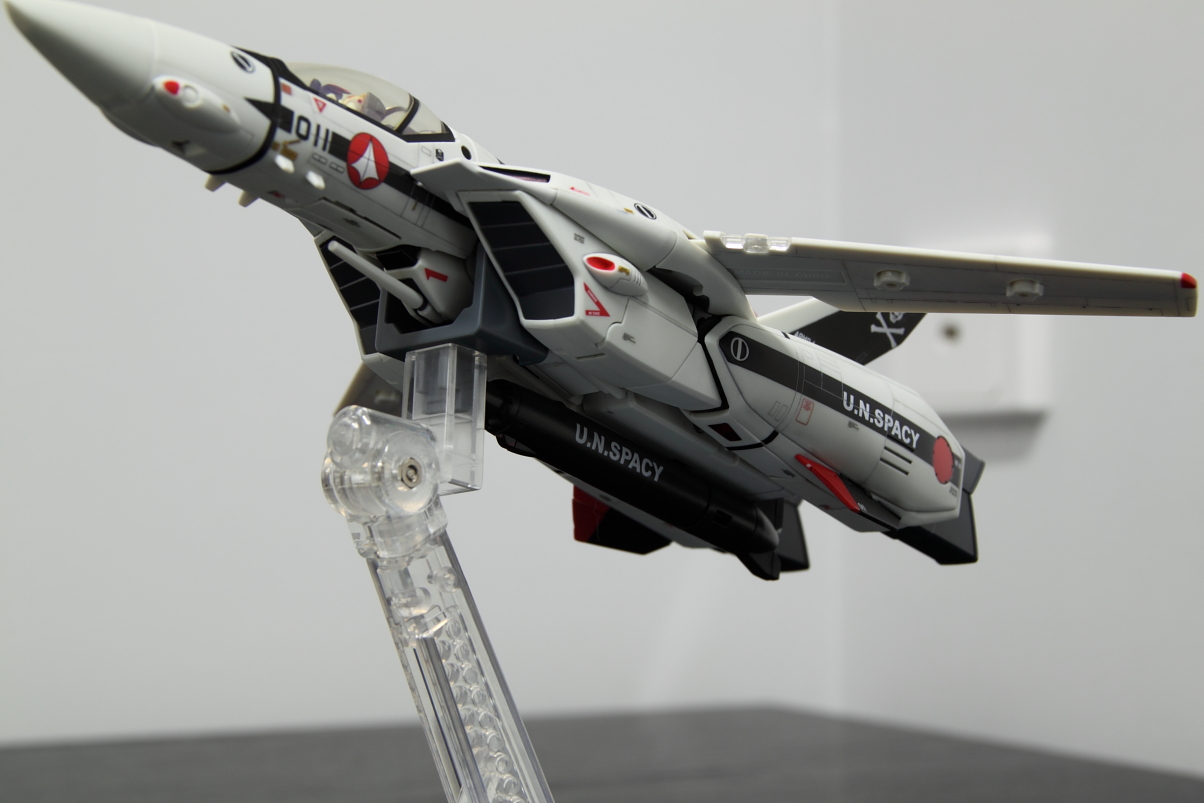
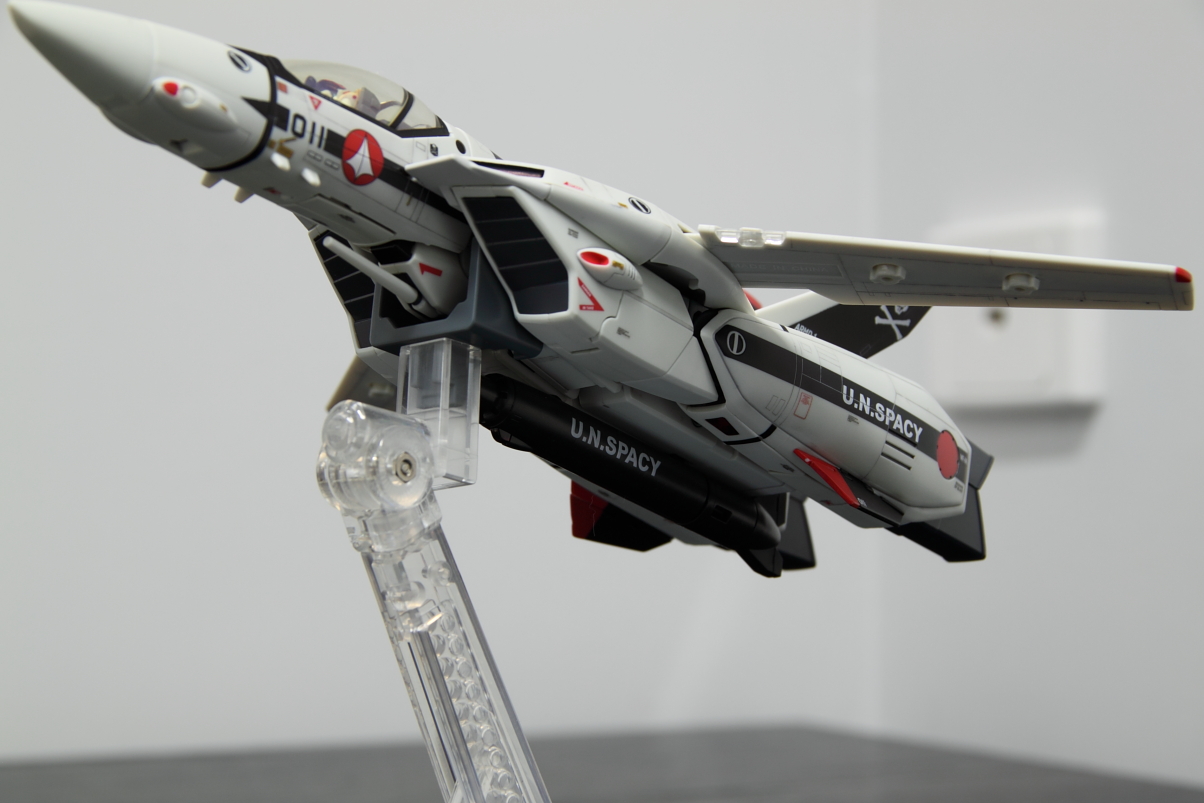
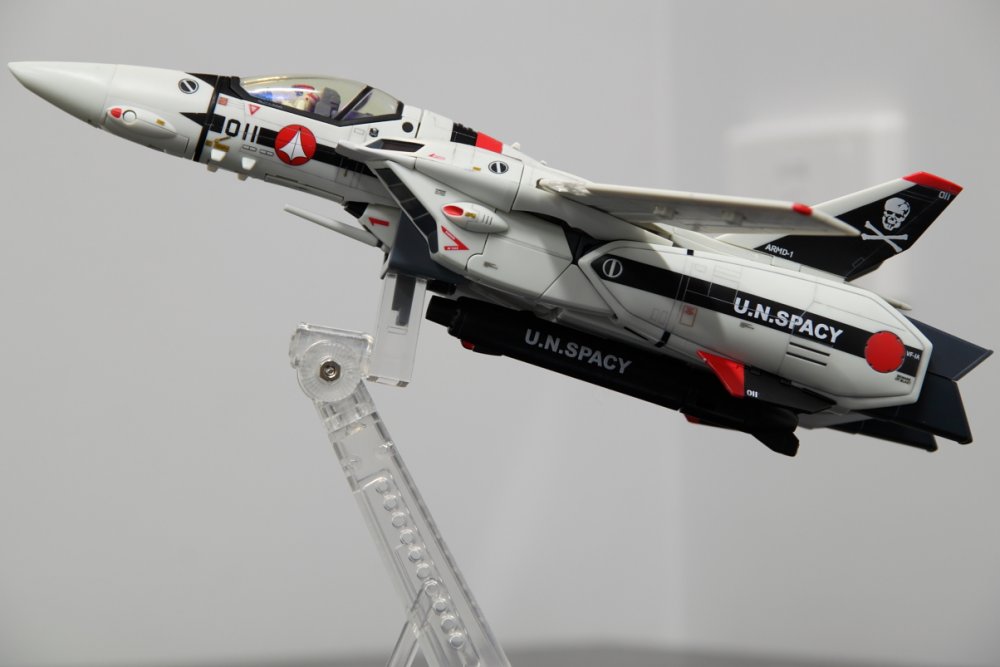
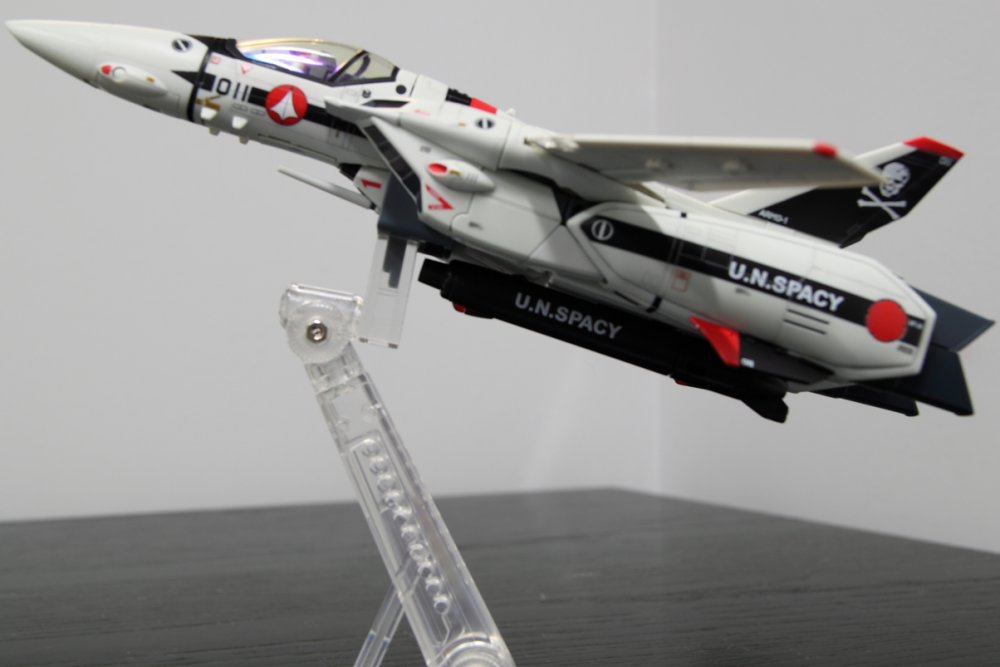
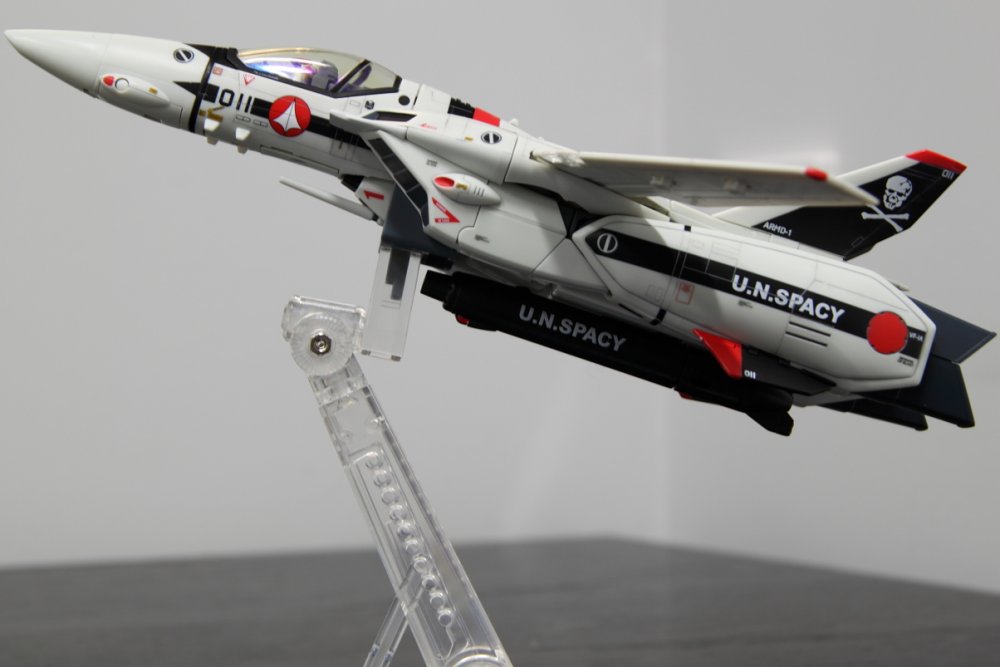
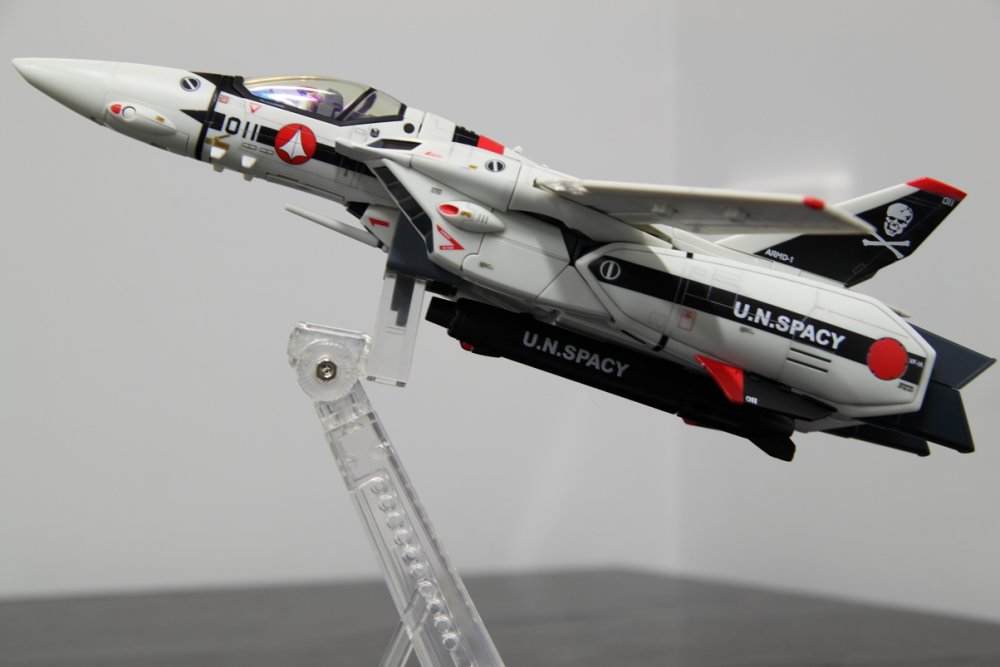
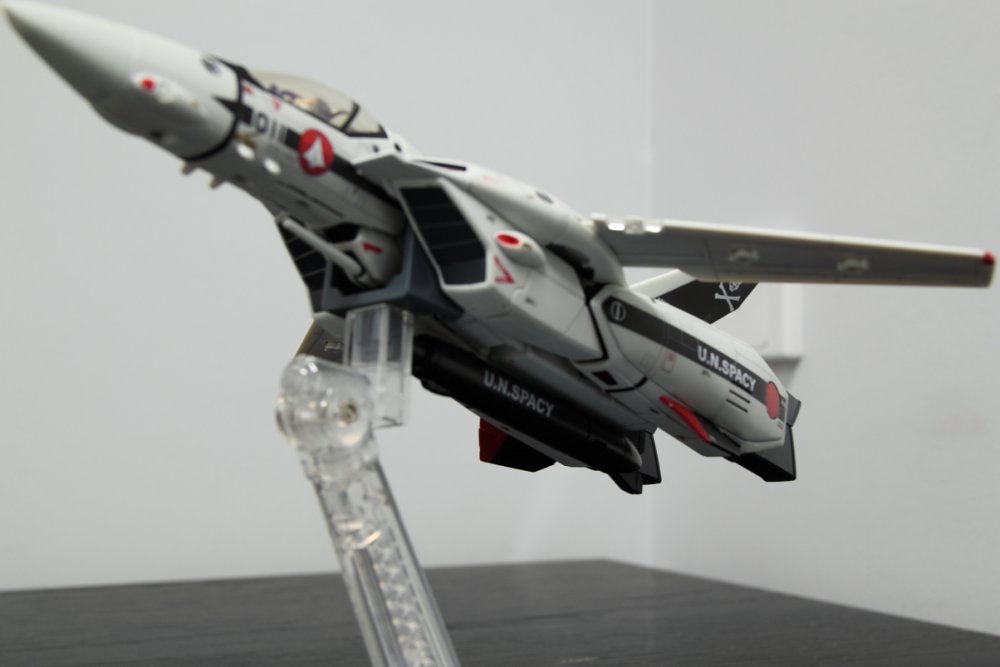
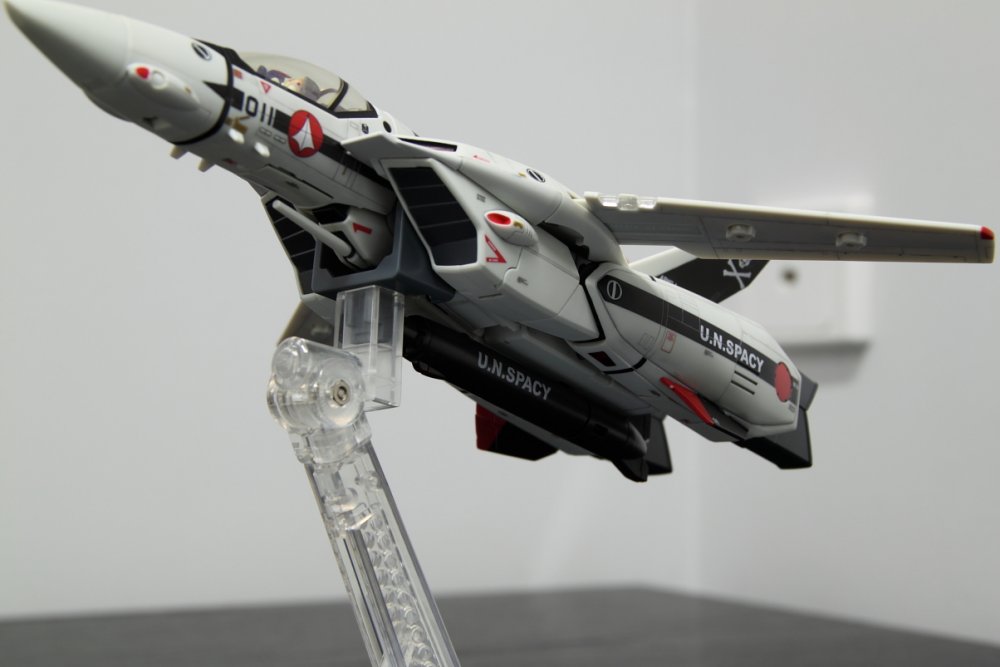
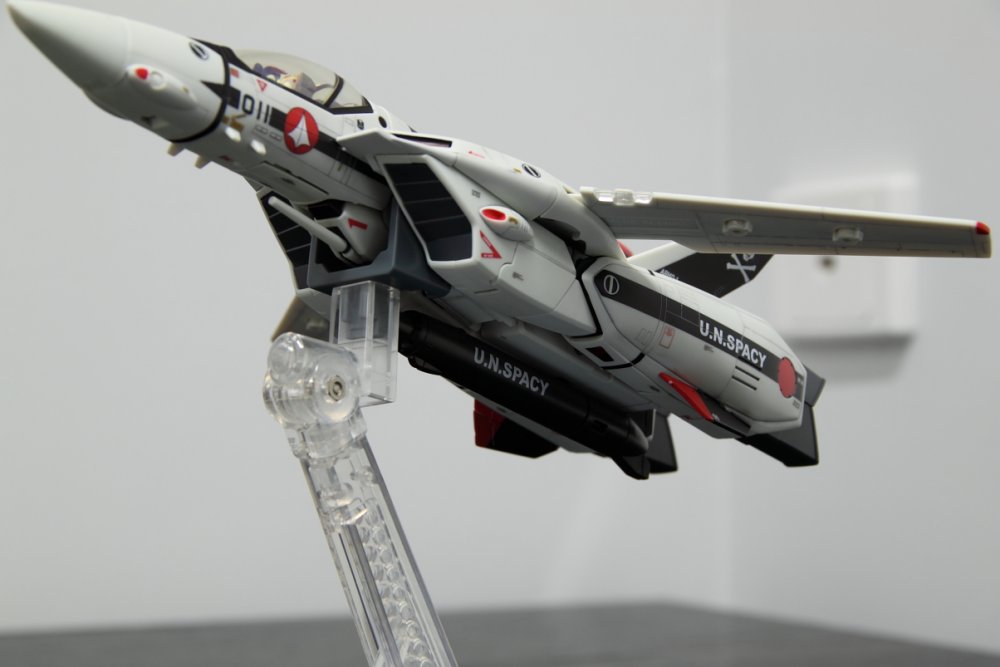
It's going back a few pages but I mentioned I was looking to take some photos of my collection (toys and models) and try to get some projects together that would attempt to make them look "real" in a scale sense. I ran into some problems with quite a number of things though, not the least of which is perspective and lens choice. It seemed to me, that in order to get the best perspective for making something look photographically real, you really need a fairly wide angle lens. I mean if you're shooting a full size bird at an airshow, for instance, and you want to be reasonably close (20-30 feet away?), you'd need a fairly wide angle lens to fit it in. My theory is that you'd need the same for shooting a model, only in scale distance (instead of 20-30 feet, you'd want about 4 inches from the model). So to fit the whole model in the frame, you'd still need a fairly wide angle lens. I'm not sure I'm making a lot of sense because everytime I try to reason this out, I end up a bit lost. So I took some photos to see if I could "see" the fakeness in terms of perspective. I don't know that I can! Here's 8 examples, with my camera on a tripod and controlling the distance only (within reason, the tripod was not on a track). I took photos at 35mm, 50mm, 60mm, and 100mm (these were all done on my 18 - 135mm zoom lens). Why 50 and 60? Simple, I want to get a macro lens and these are fairly "wide angle" for macros. I'm considering either a 50mm f/2.8 Sigma, a Canon 60mm f/2.8 or a Tamron 60mm f/2.0. I wanted to see if I could see much difference between the two focal lengths, and the 60 might make a good portrait lens when not being used as a macro. And because 100mm is another popular length for macros, I thought I'd try that too (the value was actually 113mm but it's close). Here's the comparisons: Side view Angle view What became immediately obvious is that for focal lenghts shorter than 50mm, a macro lens is a must for my dSLR - to fill the frame with any 6" average toy/model, you've got to get reasonably close. My minimum focus distance on my lens is not small enough at 35mm to get the toy in focus (you'll notice it's blurry). 50mm and greater starts to get a bit more reasonable. But what if I want a close up of a certain area on the model/toy? Again, a macro lens is going to be a must, unless I want to crop the photo (which is what I normally do but it's extra work and you loose a bit of detail in the photo that way). So I'm still thinking a macro will be very helpful. But what focal length? If you can scroll between 35 and 50, you'll notice the length of the nose on the angle pics looks like it changes a fair bit. I have no idea which is the more realistic look in terms of perspective, but to my eye, the 35mm shot looks the most "wrong" and distorted. Anyway, comments and suggestions are welcomed!

-
I like what I'm seeing! Hope that holds up well because that's a great mod!
-
I voted VF-25 but only because it was the only choice for a '25. My personal fav is the 25G - I love sniper railguns!
-
Completely bizarre comment and yet I totally agree! Something about the Monster makes me think of a chicken. I still love it though!
-

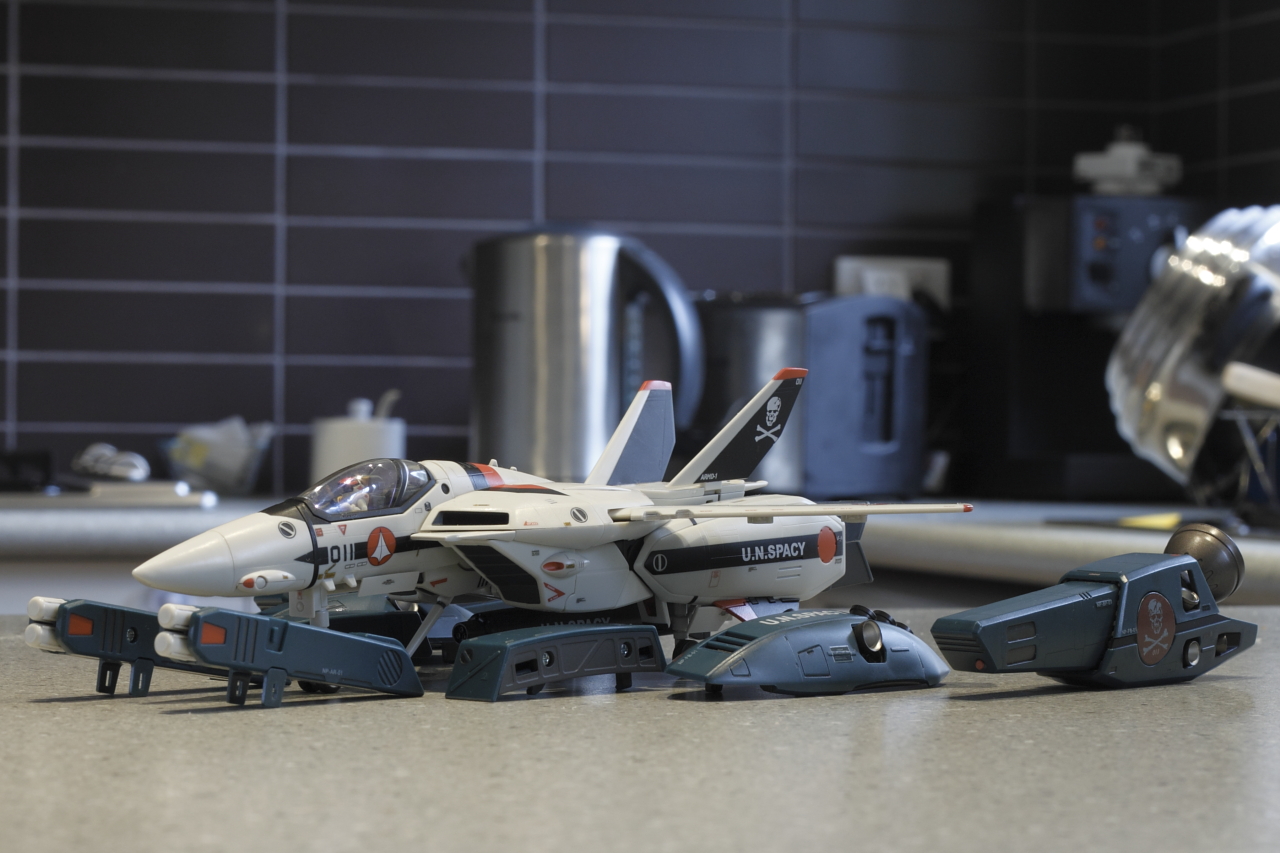
MickyG's Yamato VF-1S Unpainted, Unassembled Kit Build
mickyg replied to mickyg's topic in The Workshop!
Sorry for the lack of progress all. I'm doing lots of thinking about the project but not actually working on it over the last month or so. The only progress I've made is what I posted last (so none, really). I'm still trying to figure out how to make it all work so it's as painless as possible. To answer the last two posts - I'm using "Lifecolor" paints, which are a (so far) very durable acrylic. And extremely flat. They seem to be designed for military schemes and I hope they'll be OK for this, in terms of durability. And Iceblue - I'm going with the TopGun Aggressor scheme. I think it'll look great in fighter mode at least. I'm not sure where I'll put the top camo in gerwalk or battroid. It'll be pretty boring in battroid particularly if I just stick with grey on the bottom. I expect I'll need to strategically mix it up so it looks interesting when transformed. Thanks for your continued interest everyone! -
Like I said in a previous thread when you hinted at this - it's the reason I got back into Models and Macross. I'd love to see this completed!
-
You managed to freeze that one pretty well! What sort of stuff did you shoot that with? Also, I was under the impression that depth of field increased with distance. When I shoot with my el cheapo f/1.8 50mm canon lens, the closer I am, the shallower the depth of field. If I'm far enough away, even with the aperture wide open, I can usually get a whole person's face in focus. Whereas if I'm close, It's more like a few mm that's in focus.
-
You'll need to figure how much light that lens will let in, and conversely, how long an exposure you'll need to get a shot. If the lens is too slow, you'll need a pretty long shutter speed to get a good esposure. Long exposure and people (especially a rock concert) = blur. I'm not up on the micro four thirds specs at present but the pro gear 600mm lenses (think big canon lenses at sporting events) are f/5.6 (I think). If you can get that speed and shoot at high ISO and a shutter speed of... (what is it for camera shake - 1/focal length X crop factor and 4/3 is 2x crop factor, so 1/1200) about 1/1000 a second, then it should work. Just some food for thought. If you can get all that stuff sorted in the lens you're after, go for it!
-
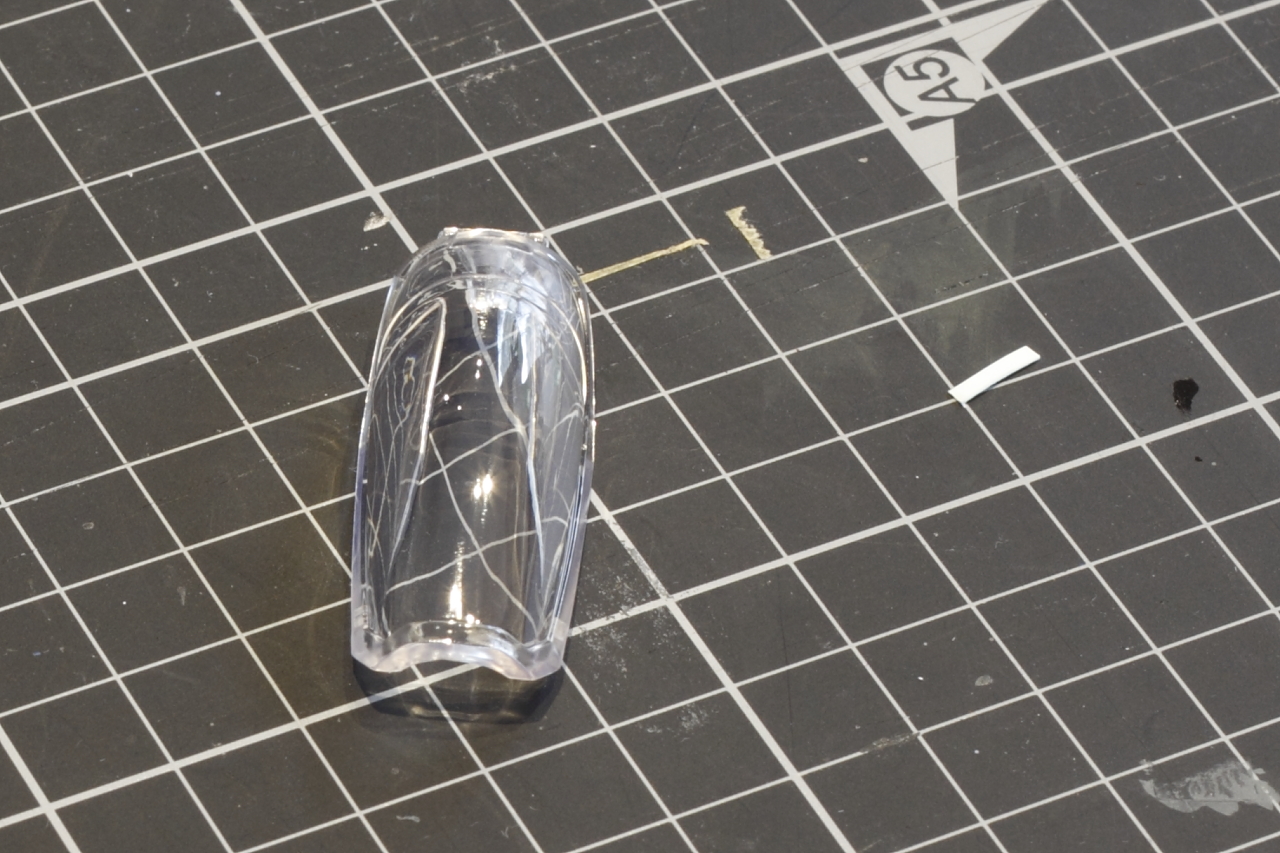
Haven't gotten too far on assembly yet but I'm thinking most of the parts fit pretty tight and don't need fusion style glue (glue that melts the plastic as it bonds). I think you can probably get away just fine with superglue. The only exeptions might be the landing lights on the wings and main landing gear doors, as these are clear parts and will probably go cloudy with superglue. I'm not sure how I'll tackle that but will share when I do.
-
I've got 2 v2 1/60 VF1 toys (a 1a and a 1j). Both have broken shoulders and even with that issue, I can say, without reservation, that they are most definitely not more fragile than a model kit! Even if you're talking about a non-transforming Hasegawa kit. I hope you're exaggerating on purpose. The 1/60s are solid, even with their flaws. You do make a good point about QC and there are some definite, legitimate gripes in the community (canopies, for instance, although that's not been my experience on my two specimens), but as I said, I'm happy with mine, even with the broken shoulders. Have you had a chance to handle one yet? They're complicated toys, sure but once you play around with one, you'll realise they're actually really well designed and really solid toys. Oh, and back on topic - a 0D would be awesome and I'd be seriously tempted to get one. I think the zero line, even with it's huge panel lines, is very cool. I'm still a bit jealous of those who have a 0A, or S.
-
MickyG's Yamato VF-1S Unpainted, Unassembled Kit Build
mickyg replied to mickyg's topic in The Workshop!
I wondered that too. I guess Yamato never really made a "TV" style cockpit either so I guess it's just the decals that are technically DYRL. And if you go the Roy scheme, it's actually as TV roy as you can get with the ready made one. If I had two, you can bet one of 'em would be a TV roy! -
MickyG's Yamato VF-1S Unpainted, Unassembled Kit Build
mickyg replied to mickyg's topic in The Workshop!
Best of luck! Thanks for the comments guys. Sometimes it looks like this isn't moving. And occasionally, that's an accurate observation! But at the moment, I'm super busy and progress has been pretty slow. I have been wanting to do this properly and document every stage. I've found the times that members here do that to be so helpful that I'd like to return the favour. Only, it takes so long! I'd planned to do a proper line art overlay with my scheme, so that if people wanted to copy it, they could. But my skill with photo shop is pretty lacking and I find that because I'm so pedantic, instead of doing it right (and perfectly) I just don't even start. So the other day I decided to start masking the major sections off. My plan is to mask the parts fairly loosely, draw dots where the lines some together in points (the camo scheme is very angular and basically made up of triangles. I figure I'll do the dots, mark out the colours while it's still on the part, then remove the masking, apply it to a sheet of labels for a printer, but remove the labels. That way the masking goes on the page but can be easily removed (perhaps too easily?) and I can cut the patterns out before I even apply them. The scheme is very forgiving so I'm pretty sure this will work and will be fairly simple. So far, I've only masked the tails (and only the inside surfaces) and the "pancake" section. The rest is yet to come. Oh, and I still plan to do that line art map to post in the appropriate section of the member line art posts. Mr March went to the trouble of offering the pictures so the least I can do is post up what I've done with them! G'day from Cairns! I'm here on business for the rest of the week, so there won't be much progress for at least that long. -
I was wondering when someone as devoted to Macross as you are would show up here! Welcome to the forums - you'll hopefully feel right at home!
-
Yeah, it looks like an absolute dream to me!
-
That setup with the launch arms and hanger is very cool! It looks as though it's good enough for release. Anyone know the likelyhood of that happening?
-
MickyG's Yamato VF-1S Unpainted, Unassembled Kit Build
mickyg replied to mickyg's topic in The Workshop!
Valhary, I finally got the head half assembled a few weeks ago but forgot to post any info on it. The things in the right of your pic are for the head, yes. And they're pins and very difficult to get pressed in correctly. If you use pliers, you'll crush the plastic, as it (the pin) sits inside and lower than the surrounding plastic. So I ended up using a spacer (a very small brass nut I had lying around) and a piece of rubber to cushion the nose of the pliers while I squeezed it in. It worked great, except I ended up pushing the pin in a bit too tight for my liking. Means the head lasers are a bit tight and take a little more effort to turn that I'd have liked. Also means, there's a chance I'll break one (or two) off if I'm not careful. That sounds very cool! Make sure you at least post up some pics of whatever you end up doing. I'm in complete agreement on the colour dilemna. If you choose anything other than white, you're going to have wear issues and scratches. I still don't know if I like the idea I've got, which is to keep all the commonly rubbing parts white (so inside arm pieces like the upper and lower parts around the elbow, inside the folding mechanisms, etc). I had it in my head that it could be treated a bit like the landing gears on most aircraft. They're painted white and it doesn't look stupid so why not for all the parts that are "inside" in Fighter mode but visible in Battroid? I guess we'll see. No other progress to report I'm afraid. I've been very, very busy with work and social events in the last few weeks so haven't had much (any) time to "play" it seems. And I must admit, trying to get the motivation up to do a lot of what needs to be done has been lacking. It's looking very challenging instead of fun at the moment. -
Star Wars Saga gets 3D Love in 2012
mickyg replied to Zor Primus's topic in Anime or Science Fiction
I fear I'm very late to the party on this, but where on earth did that come from? That's gold! -
If it's canon, then yes, it is. Man, there's still a whole lot of stuff I've yet to see/learn about Macross. Thanks for the link, that was very cool! And from a video game? Makes me wish I had a Sega Saturn!
-
Prometheus huh? Wow, I was way off! So I take it that's all implied then, as there's nothing in the movie to say they all came from the Prometheus. So Hikaru's VF-1J is also based out of the Prometheus too, right? Thanks for the tip Exo!
-
See, I plan to do minimalist on my custom 1S but I'm torn on the 1J from the TV show, and my 1A from DYRL. I want them to look "realistic" but not overdone. In my opinion, the fully decked out examples I've seen look a bit over the top. Warning stencils covering the entire machine looks a bit excessive to me and at the very least, can look a bit too "busy" to my eyes. But if it's realistic, I'm willing to get over it. So, to maybe summarise what I'm after: Is there a definitive guide out there that says, "Valks should have the following markings, despite what's shown on the shows/movie"? Or is this really just a do as much/little as you want sort of thing. I know, I know, it's not very original for me to be thinking like this but it's part of what makes me tick! I want it to be "right" whatever that means! Third and final edit: Speaking of assigned ship, I can't seem to find the correct tail markings for Hikaru's 1A from DYRL. Is it SDF-1 or ARMD-01. It launches from the ARMD in the movie but I think it's got SDF-1 on the markings I've seen. I've stuck the ARMD decals on but think I've gotten it wrong.
-
I've been doing my darndest for accuracy on my Yamato v2 1/60 VF-1s (a 1J, 1A, and 1S custom) but I'm really confused on markings for different types (A, J, S, plus the TV vs DYRL versions) and Fast Packs. There are markings on the TV ones that say "VF" on the ankles, that much I'm aware of. I can't seem to see these markings in the actual TV show though. Was this something that was implied or am I not looking closely enough? Then, there's these "extra" square marks on the bottom of the intakes, one yellow, one red. I can see these on some of the Anasazi decals that people still show off on occasion (there was a nicely done 1J custom for sale recently that had these). Anyway, they look like warning stencils of some sort and they're located on the bottom of the intake and above (or is it on?) the knee in battroid mode. There seem to be stickers for these in the box but no indication on the instructions as to where they go. And the fastpacks, the stickers included show very few that need to be applied (based on the manual) but there are lots of leftovers. And yet, the photos in the manual show some stickers applied that aren't even included on the sheet! I've looked over every manual I can find and have even started checking the HobbySearch site for Hasegawa model builds for ideas but given the markings on the models are likely not all canon, I've got no idea! What's an accuracy nut to do?
-
Really? They weren't in the box? They're certainly supposed to be. I'm sure someone here has got a set they're not using .
-
Quirtra Queramitzuu: Kamikaze Space Cucumber
mickyg replied to captain america's topic in Model kits
Well, I for one LOL'd. For real! -
MickyG's Yamato VF-1S Unpainted, Unassembled Kit Build
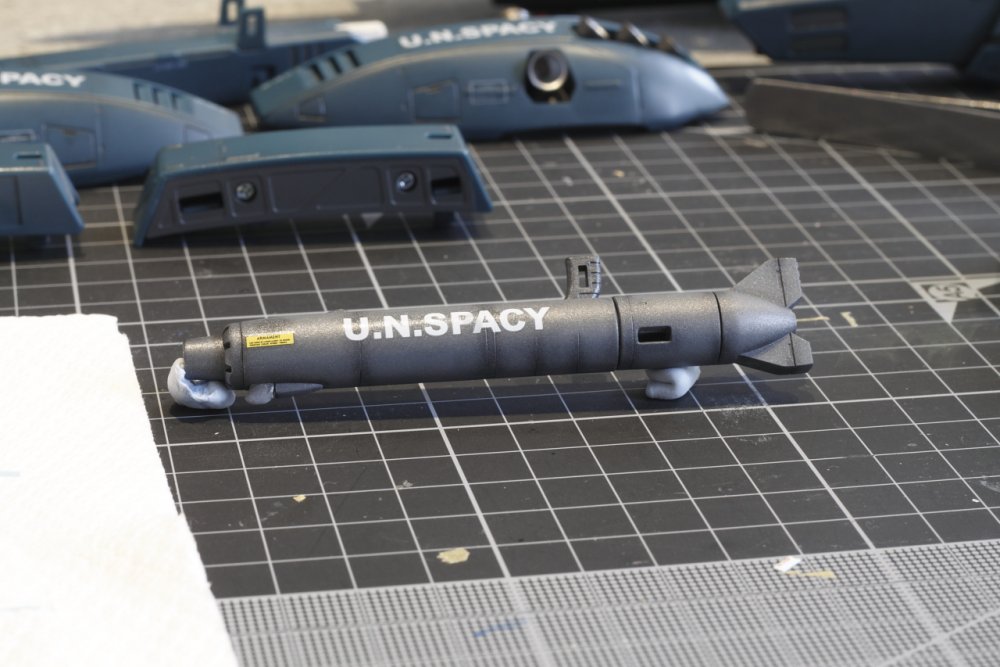
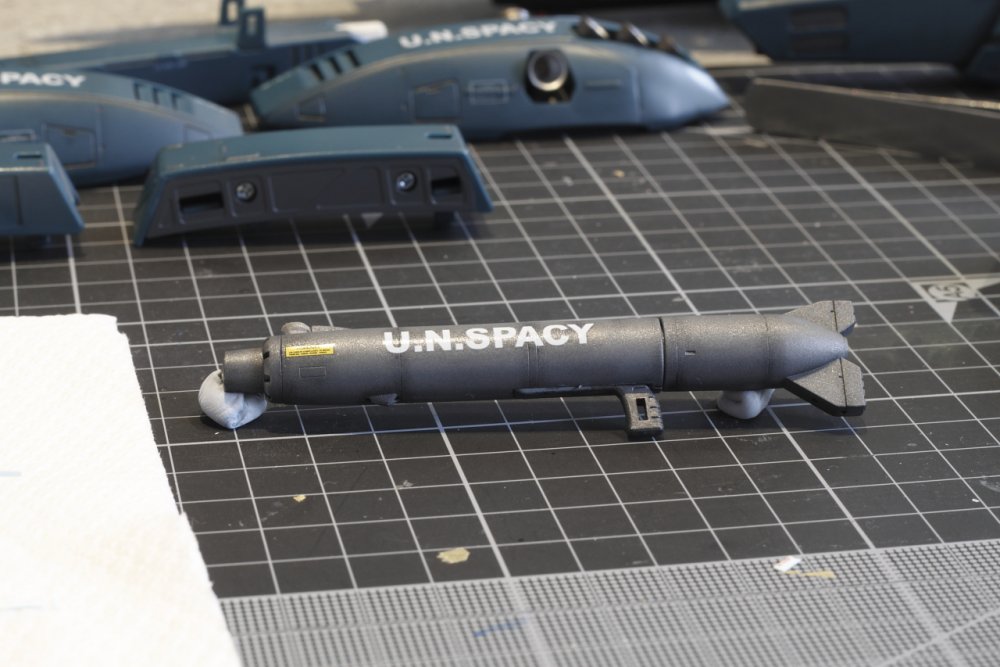
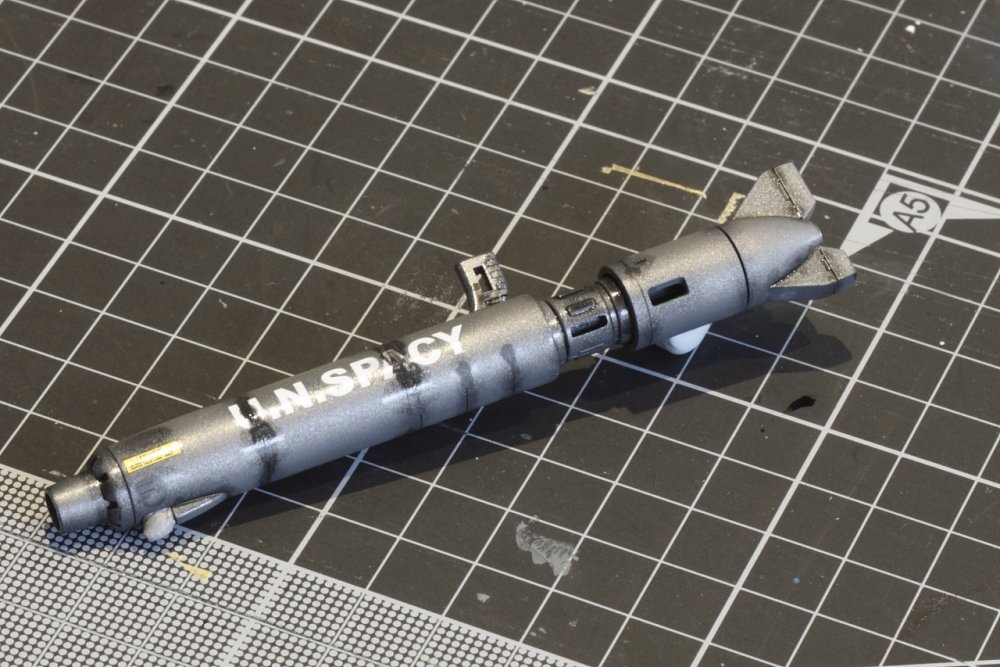
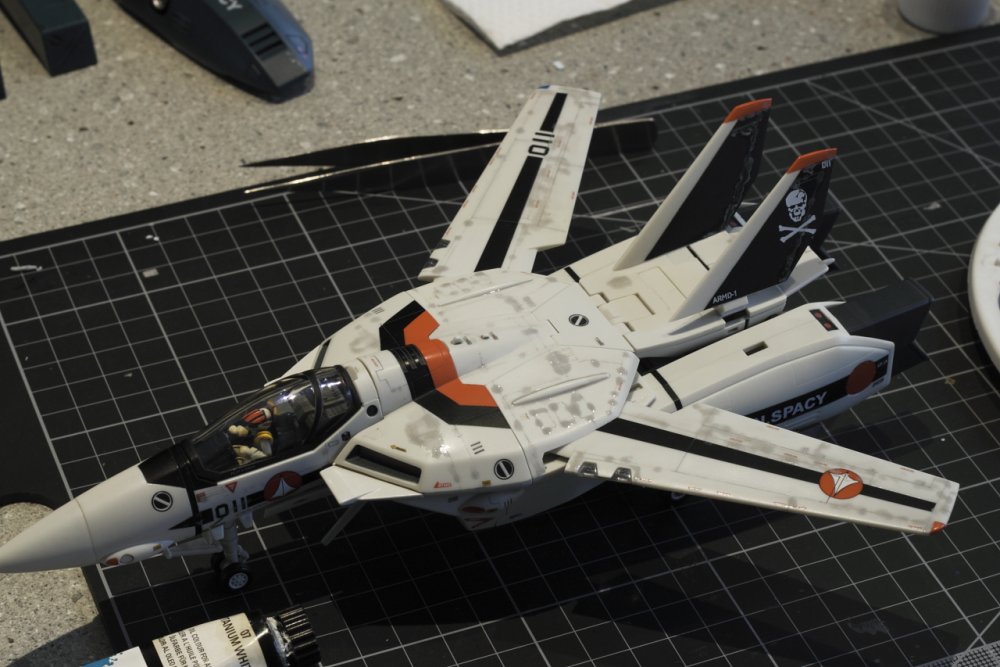
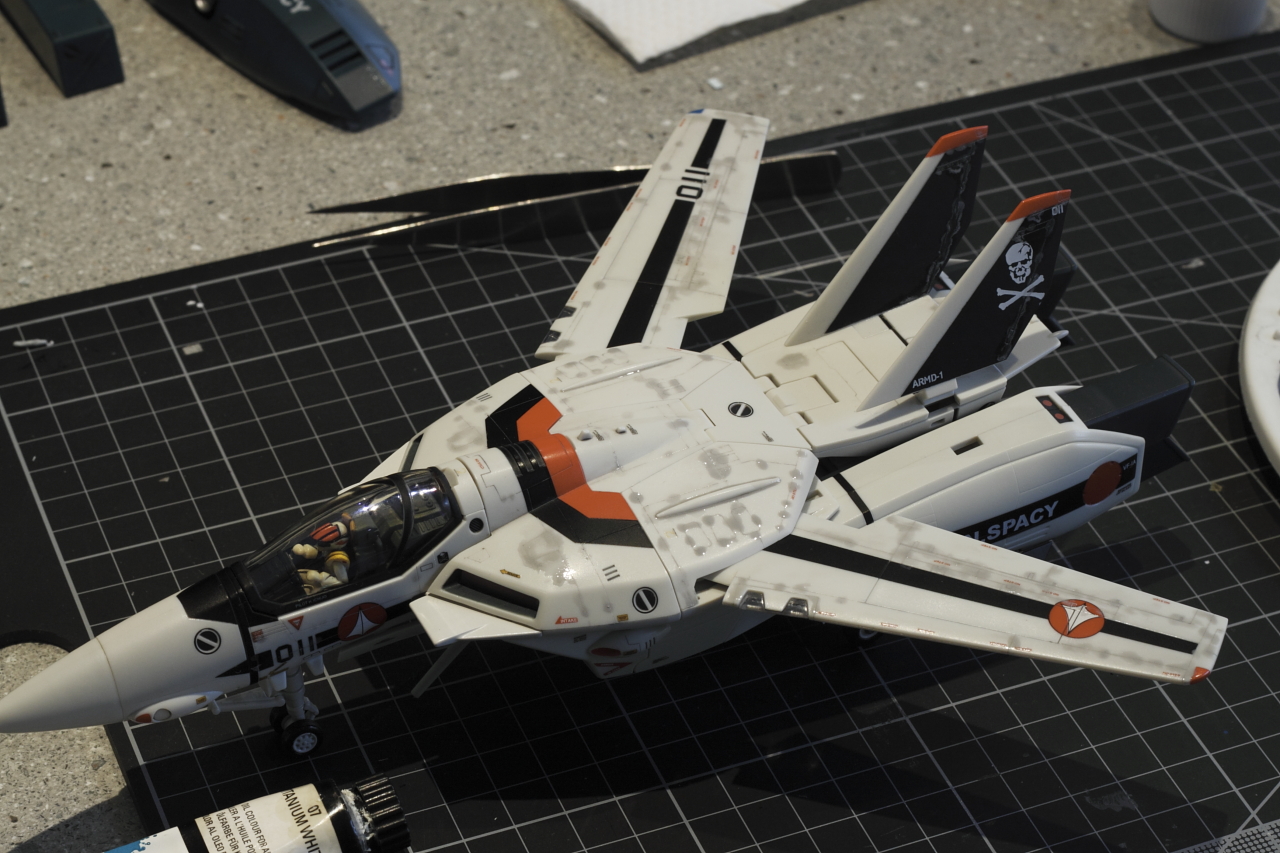
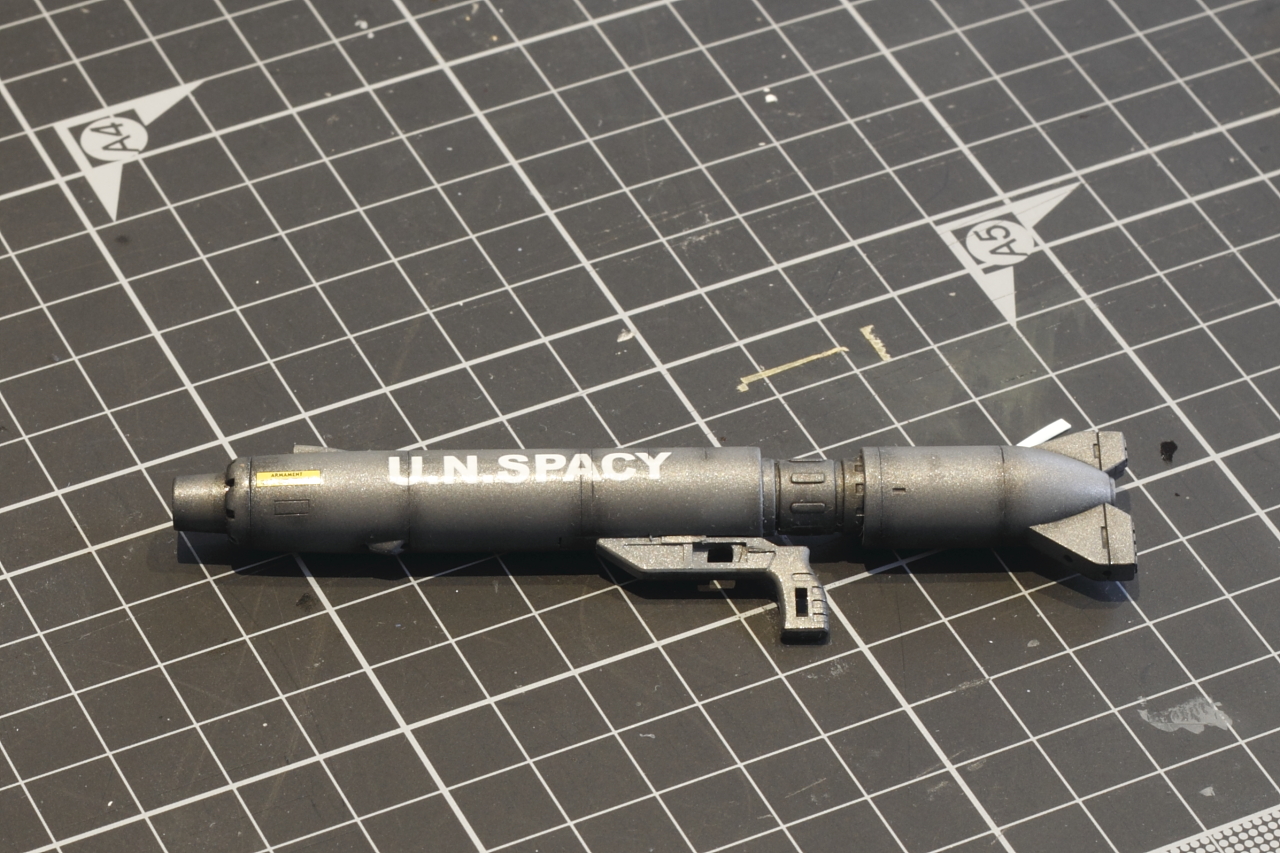
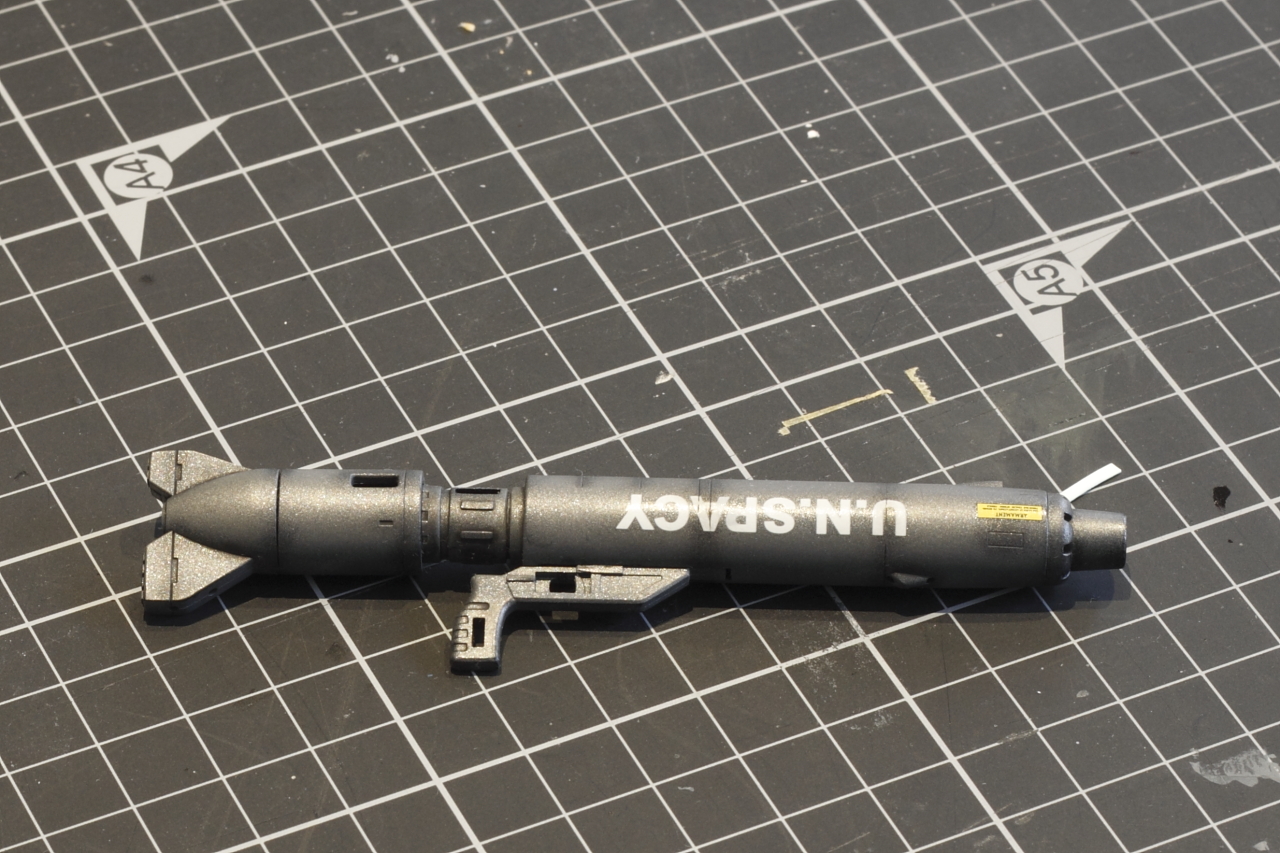
mickyg replied to mickyg's topic in The Workshop!
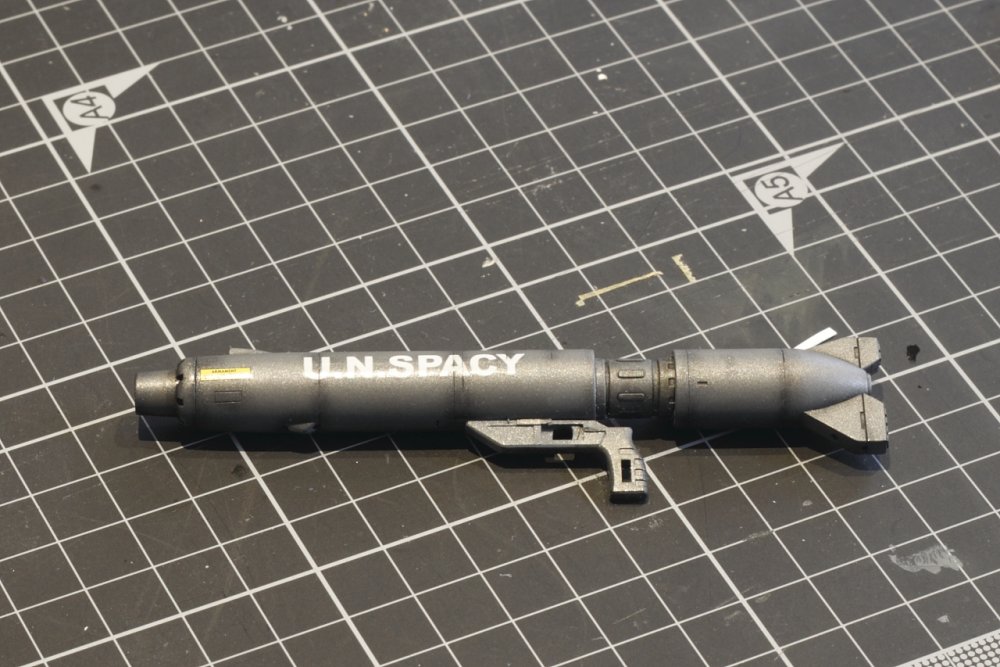
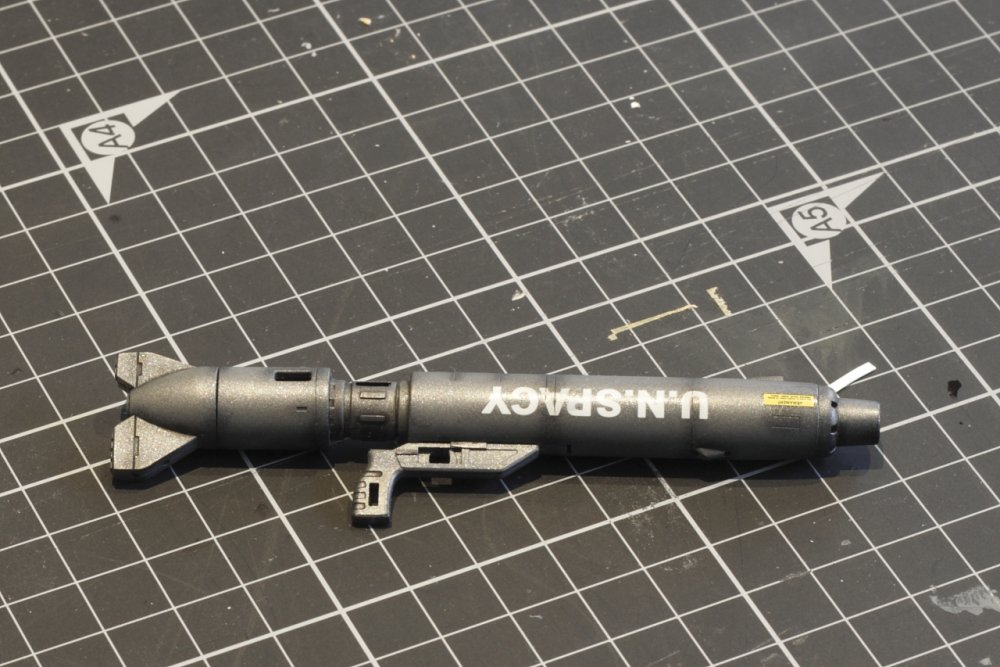
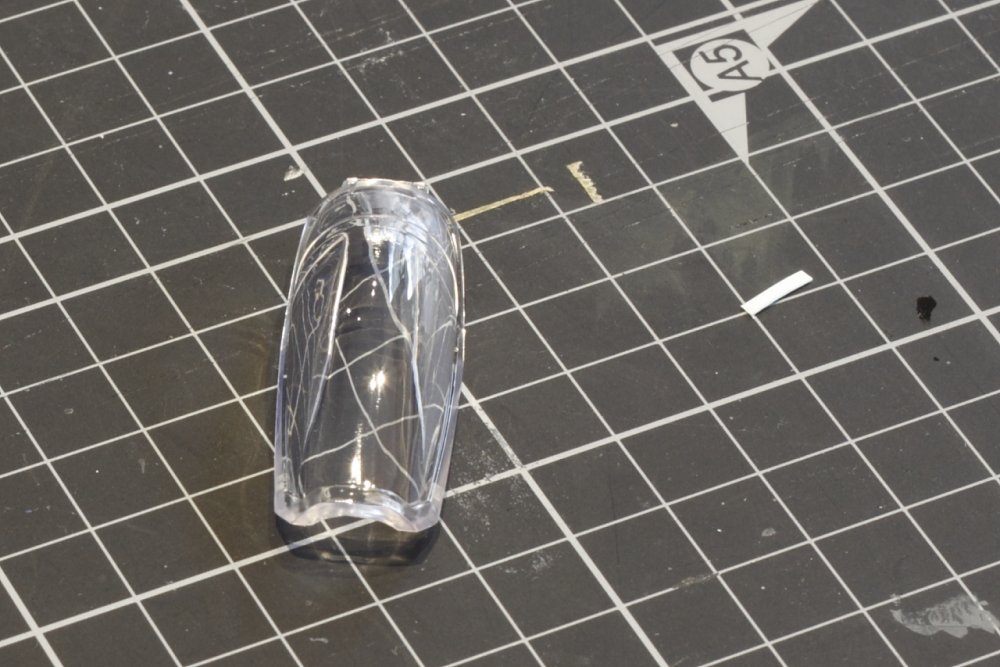
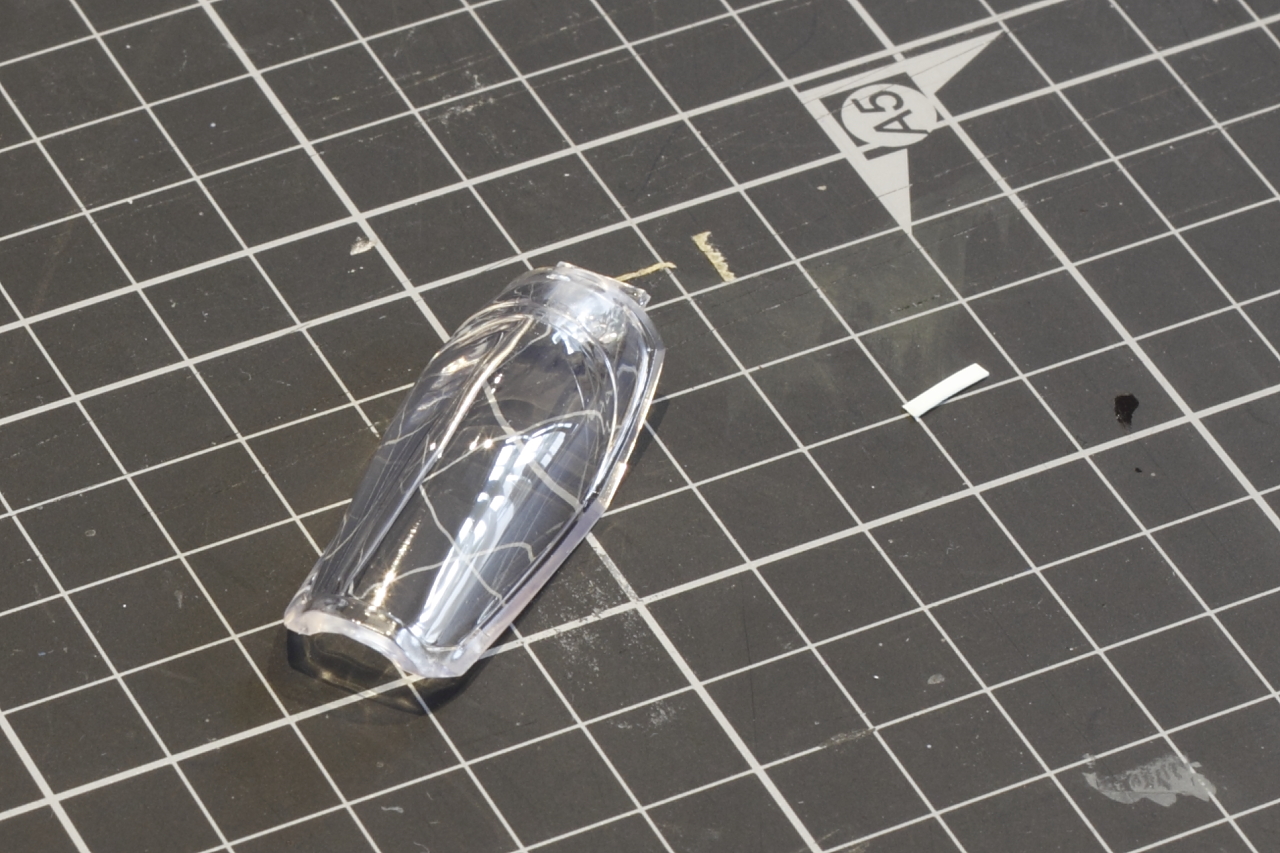
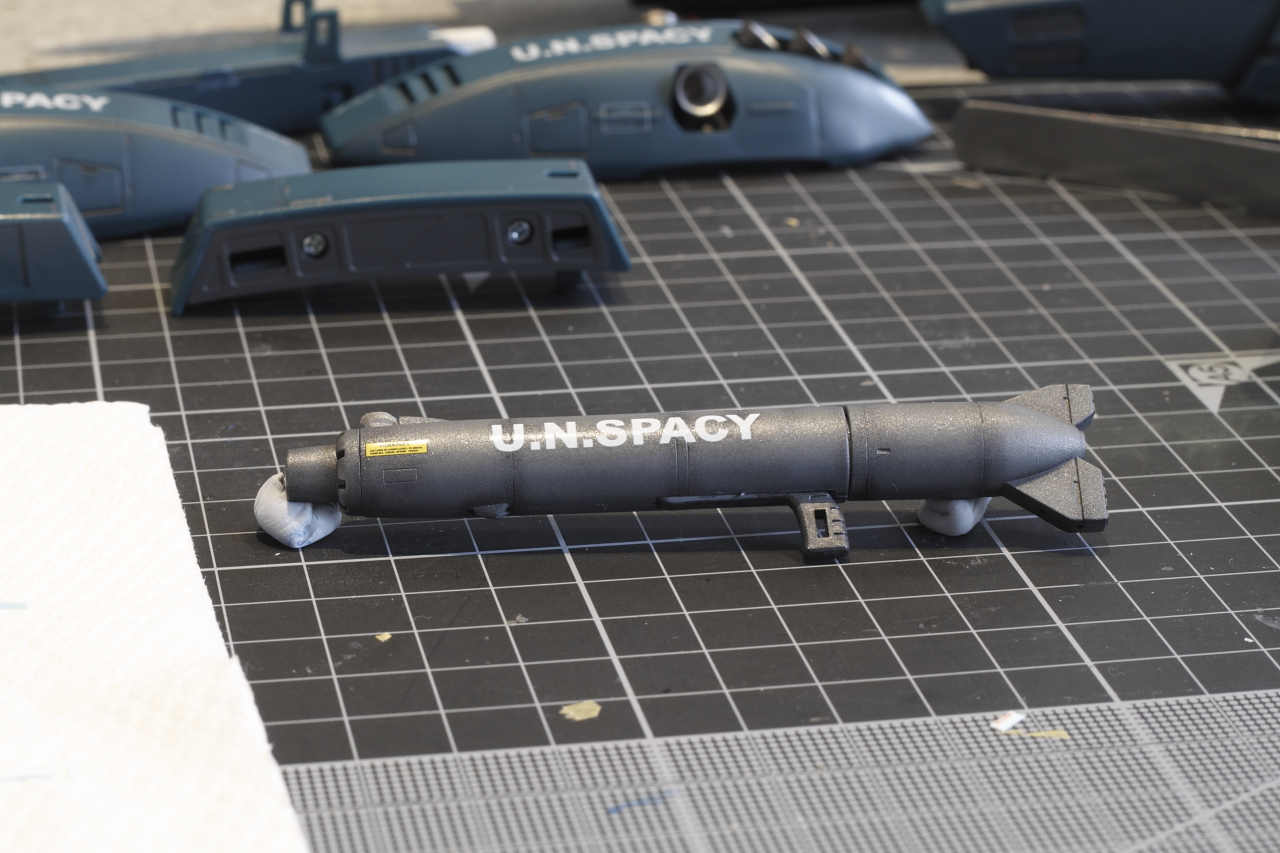
Still home sick, so managed to get a bit more done today. Nothing outside this time, my cold's bad enough as it is. I didn't show pics yesterday of the canopy seam removal. The canopies on Yamato VF-1 v2 toys have a seam running right down the middle of the outside surface. Something to do with the profile of the canopy and how it gets molded. Anyway, you probably don't usually notice it because of the rainbow tint. I don't have a new, untinted version so can't really comment. Anyway, on the kit, it's very noticeable and I thought I'd tackle it. I've never done this on any clear part before and all of my Hasegawa kits have this seam, so I figured it'd be good practice. I went the typical, "start with coarse sandpaper and work your way up to as fine as you can go" route. I think I started at 300 (which was too coarse, in hindsight) and then to 600, then 800, then 1200, then 2000, then fine Tamiya rubbing compound, followed by the finishing (finest) compound. Probably could have started at 600, skipped 800 and saved myself some time. But the results were pretty good (no pics of the process, unfortunately). I dunked it in the Aussie equivalent of future (Pledge "One Go") and it dried overnight. Here's how it looks now, though you can't really see if there's a seam or not, due to the reflection on the glossy surface: I also finished another ongoing project over the last few weeks - the decals for my VF-1A. These are water slide decals from "ibuyxyz.com" and they're cheap, and surprisingly good quality. The printing is really good, with the only real problem being the semi-opaque white they use. This means anything you put over a dark surface (the green on the fast packs, for example) ends up looking less than white. The other gripes I have are the inconsistency in quality of the clear sealant they use. On half my sheet, it was all cracked and spider web looking. The other half was fine. So on the large skull emblem, you can see this really weird, crazed surface. The only other concern, although minor (hey, these are only $5!) is how thick the decals are. They're so much better than stickers, but they're not quite up to the "melt into the surface" that I'm used to with some better model kit decals. Once the decaling was finished, I did a quick oil wash on the top of the valk. I tried to do the sides, but realised how badly that turns out - gravity pulls the wash right out of the panel lines when you do it that way. So this will have to dry, get wiped off, then I can move on to the next surface. It's tedious but the results are well worth it, in my opinion. And now, back to our regularly scheduled programming... The decals included with the VF-1S kit are amazing! OK, well in comparison to the ones I bought from ibuyxyz, they are. These ones are very thin, and almost completely blend in to the paint. The colour printing is a bit dotty but only if you look really close, and nothing anywhere near as bad as the Bandai Frontier models. Here's the gun done: Black oil wash: And after it's been wiped down (only waited an hour or so - the thinner the wash, the faster it dries. Pure artists oil would likely take a week to dry!):