-
Posts
2632 -
Joined
-
Last visited
Content Type
Profiles
Forums
Events
Gallery
Everything posted by mickyg
-
This is a tough one. I mixed a custom green/grey to match the plastic in the unpainted kits. I'll see if I can find the mix I used. As for a gundam marker though, I'll see if I can find anything promising. Anyone else know?
-
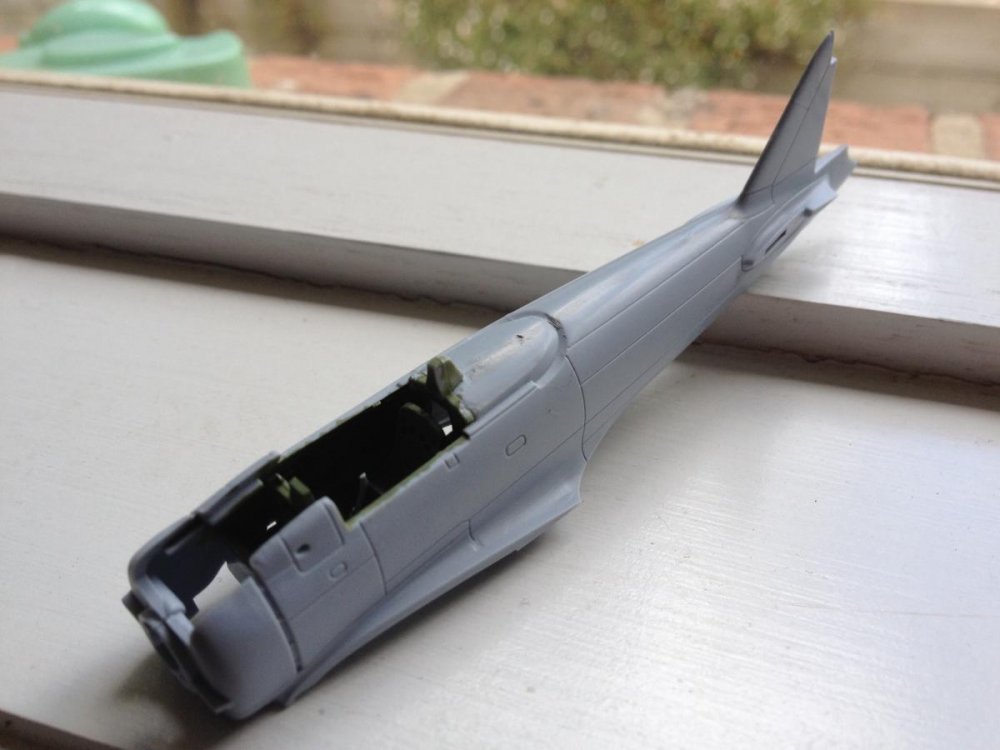
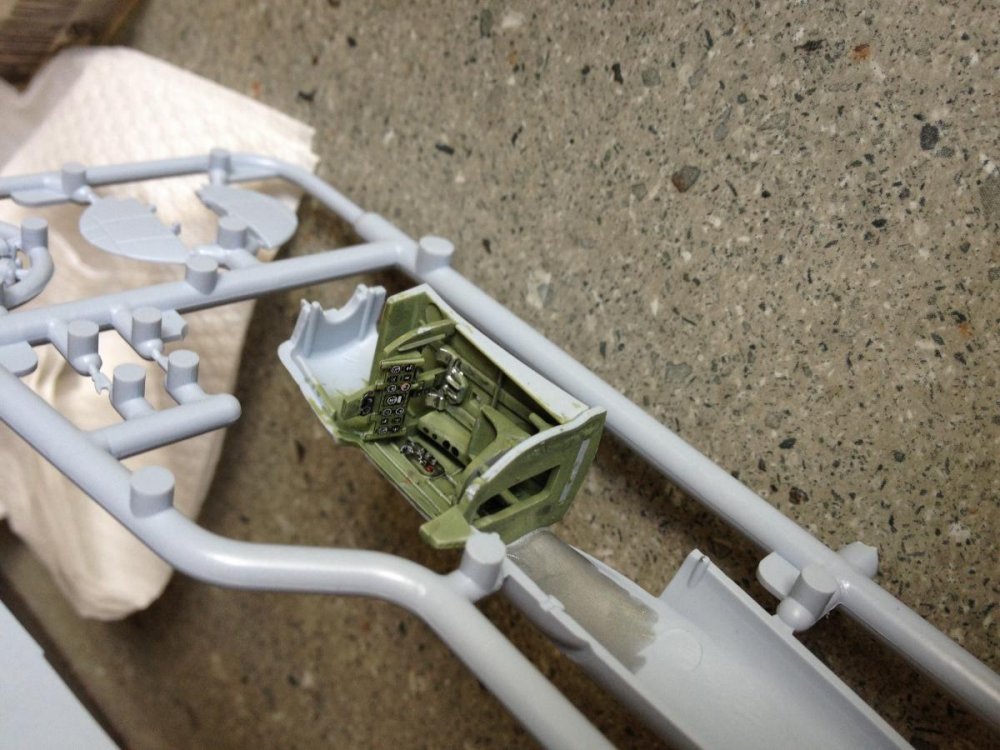
Got too many things on the bench right now but here's what I've been working on this week. It's the airfix 1/72 A6M2b kit and I bought it to practice on. So far I'm impressed. The price alone is outstanding ($8 at my LHS). Fit has been great and I'm keen to try a few things out before I tackle the tamiya kit. And there's this work in progress:
-
Exactly. It's a gorgeous piece of engineering, don't get me wrong, but the quality of some pretty basic parts just really leaves a bad taste when it's all said and done.
- 2868 replies
-
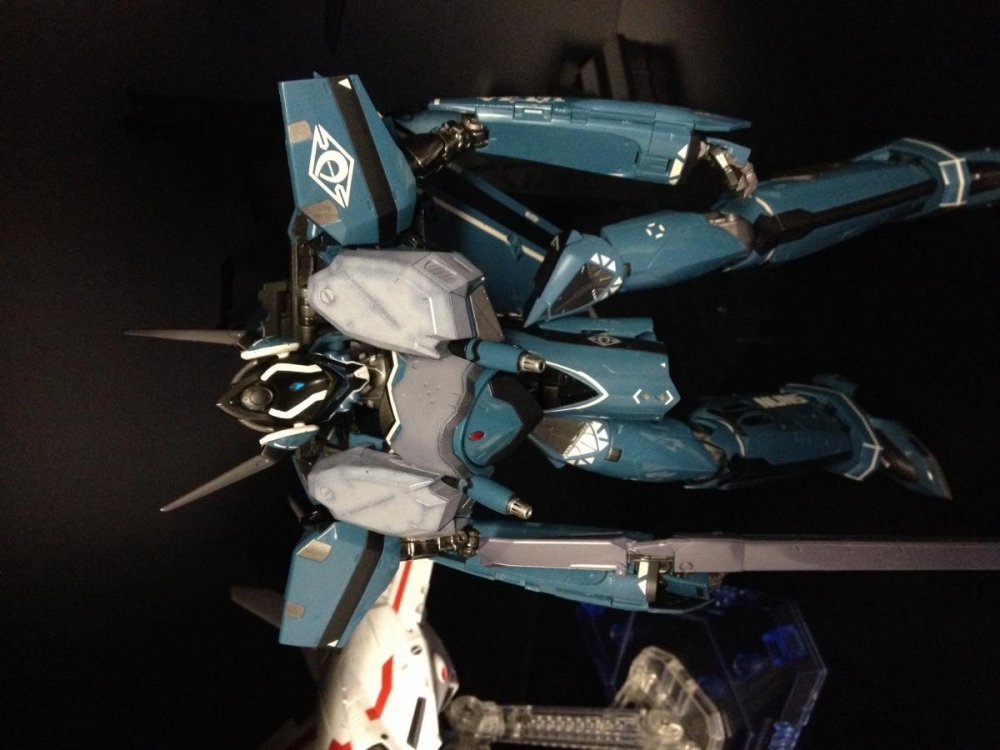
It does, doesn't it? Add me to the list who've been Bandaid... I've had mine for about two weeks and after looking at all the parts before I even attempted transforming it, I thought I was lucky and had escaped any issues with mine. Unfortunately I didn't look close enough. Transforming from Battroid back to Fighter allowed me to see quite a few things I'd missed before. The NUNS triangle on one side was pretty badly cracked and maneuvering that picky angled arm into position got me thinking - maybe if I pulled the shoulder off altogether, I'd be able to get the arm into position without stressing the black part? Unfortunately that little move completely shattered the part. It's now in 4 little pieces. Maybe I can fix it up with some combination of milliput or superglue or something. But it's certainly disappointing, to say the least. That's the really bad part. The slightly less bad but still obvious broken piece is the bottom triangle (on the other side, strangely enough). That's cracked but still seems to be useable. Oh, and one side's arm was really hard to get into the right position, while the other one was fine. So with my trusty screw driver, I pulled the joint apart. Turns out one of the diecast joints was assembled with an L and an R piece! That's right, the top from the correct arm, and the bottom, from the wrong arm. The end result is the channel the parts pivot into isn't quite deep enough on one half of the joint. No wonder it didn't sit right. Pictures would make all this easier to describe... And lastly, the little piece that a few other's have found loose in the box? Yeah, that part is missing on my valk. It's the little plastic finger that holds onto the dicast chest to back hinge piece when in Fighter/Gerwalk mode I think. It doesn't seem to cause any issues not being there but I don't understand how it just falls out on some examples. So here's my tally on one valk: Broken NUNS triangle Broken pivoting bottom triangle on the opposite side Missing retention part for the front to back diecast hinge/connection mechanism Wrong dicast part on the arm joint Not great...
- 2868 replies
-
Thanks guys. That clarifies a lot. And MJ, sweet! I was hoping someone had done that already so I could see what it looked like. I'm planning something similar so that's good inspiration.
- 2868 replies
-
Correct! Sorry, late night diatribe on my phone sometimes means I'm not terribly clear...
- 2868 replies
-
Just got mine last week, second hand from Kurisama and I love it. No cracks. Maybe not yet. Sounds like it's luck of the draw. I haven't gone through all the pages in this thread yet but maybe someone can answer this one (or direct me to the right place if it's been asked/answered before). We've (I think) established that the armor color is wrong, right? It's blue/purple and should be gray for the CF version. Here's where I'm stumped, the EX is Alto's right? With no mention of whether it's movie or TV version. I was re-watching the second MF movie today and remembered Alto doesn't pilot a VF-171EX in the movie. And then, for a bread moment, I saw a whole fleet of white VF-171EXs (I paused it and the canopies were definitely EX style) on their way to battle. Animation error or are we to believe there was a special unit of them? Anyway, the real question: if the armor is only on the Movie version of the CF, why couldn't they get the color right?
- 2868 replies
-
Good question! I actually had to look that one up. My first inclination was to tell you it's any reinforced location on the aircraft that's designed to carry something. That something can be as simple as a travel pod (an empty cylinder with a door on it for putting cargo in) or as complicated as a missile, bomb or electronic device. But then I realised the hard points might only refer to those reinforced areas specifically on the wings. After a quick search (http://en.m.wikipedia.org/wiki/Hardpoint) I discovered it's my first example. So in the custom you're looking at, the thing the missiles mount on is called a pylon. You don't often see the missile directly mounted to the aircraft, though there are exceptions (F-4, F-14, F-15, Eurofighter Typhoon...) ok on second thought, directly mounted weapons are pretty common! But usually only missiles. Back to your inspiration- the pylon in use is actually mounted to the wing glove on the VF-25 (the wing glove is the part of the fat section of wing that hides the swinging part). The anime never shows this arrangement (the hard points are on the swinging part of the wing in the anime) so it's unique in that the builder set it up like a Navy Tomcat, which also lacks mounting points in the wings. But I digress. What people are saying is that the missiles are mounted to a pylon, likely stolen from a tomcat kit. You'll need to either make one from scratch, or get a cheap tomcat kit to get these parts. You'll also need to come up with a way to attach the pylon to the valk. Sorry about the long winded ness.
-

Yamato VF-1A trainer colours Unassembled Kit Build
mickyg replied to nobbyxr8's topic in The Workshop!
Not as hard as you'd think. I've got a local place that stocks them. I'll be keeping that in mind for my next project. Where abouts are you? -
If only she were into "cute". I'm afraid she's far too practical. Still, there are about a billion practical things that could be built with one of these. I'll just have to start compiling a list!
-

Yamato VF-1A trainer colours Unassembled Kit Build
mickyg replied to nobbyxr8's topic in The Workshop!
Love it! Good tip about the Mr Color paint. I've been thinking lacquer would be a much better choice than the acrylics I've been using for my custom. -
I'll just forward this discussion on over to my wife...
-
So jealous guys! Can't wait to see what you all create in the coming months/years. I'd take the plunge but my ability in any creative software, be it your 2D photoshop type applications or more appropriate, any 3D application, is, well nonexistent actually. I'll just have to watch and admire. Really exciting to see this technology becoming so affordable though. I really think this is going to change the way things are built on a much bigger scale than just toys and hobbies.
-
I had a few PM exchanges with him early on here and was always impressed with his character and what a nice, genuine guy he was. He really was part of the fabric of this place for a long time. I haven't frequented the site like I did a few years ago and had been wondering where he'd gotten to. His presence here will certainly be missed. But I'm sure his family and friends are hurting far, far worse. I'm truly saddened by this news.
-
Sadly, no. I've been thinking about it but that doesn't really count for progress.
-
I took it out, looked at it, imagined all the possibilities and then got scared and put it back in the box. I haven't even opened the bags yet!
-
They are outrageous! So fine molds is even better? That's just nuts. So, has anyone started on their messiah yet?
-
I've got something in mind for that, my friend. I'll put it up in the "on the bench" thread when I've got more to share. Without going too OT, the Tamiya kits are outrageously detailed and amazing! I'd heard good things but they're even better than I was expecting.
-
Mine arrived today!
-
You have to allow at least a year per foot, surely! I'd say that's fast work!
-
Nice! Looking forward to seeing some builds up soon.
-

MickyG's Yamato VF-1S Unpainted, Unassembled Kit Build
mickyg replied to mickyg's topic in The Workshop!
Thanks! They're white to make it easier to see foreign objects. Whether that's real "objects" or hydraulic leaks, I think the idea is the same - white makes anything that doesn't belong in there much easier to see. The Tomcats had a lot of variations on the intake painting, whereas the Super Hornet and F-16 seem to be pretty consistent. I might be able to get away with a look that's similar to the F-16, with just a gray lip around the outside. I think it probably looks better on a rounded intake though. Food for thought. You know, I've got these really great intake covers too... -

MickyG's Yamato VF-1S Unpainted, Unassembled Kit Build
mickyg replied to mickyg's topic in The Workshop!
Minor Progress Update: It seems I'm suffering more and more lately with having huge plans in my head and not enough time to implement much of it in practice. Beware, because this is what tends to kill the momentum of any project. I'm feeling it but pressing on anyway. On that note, I had big plans to assemble this, screw it all together even, and set it up in Battroid mode to assess what still needs to be done. I started that task and quickly realised there were lots of items I needed to finish first, or I'd be assembling and then disassembling before I knew it. The top of that list was the intakes. In my immense wisdom, I decided to paint the insides the same colour as the rest of the underside (light ghost/compass gray). Either I thought this was a good colour for the trunks or I simply forgot what I was doing. Either way, I'm now of the opinion that all intakes should be white, so the paint had to come off. And no way was I going to do it with the halves assembled. So out came several choices for removing the paint. This is water based acrylic so I figured something simple would take it off. Remember, this is Life Color paint, not what I commonly use, which is Tamiya or Gunze acrylics. So that meant Windex was not an option. Windex will slightly soften the paint (maybe...) but it doesn't dissolve it like it will for Tamiya or Gunze acrylics. So I tried nail polish remover and that didn't work either. In the end, I went with Mr Color Thinner, which is a pretty much lacquer thinner, for all intents and purposes (I hear it's "synthetic" but I would imagine most lacquer thinners are, these days). This worked really well but I was surprised to see it still tended to cause the paint to come off in little chunks, rather than dissolving it outright. Anyway, bear that in mind if you use Life Color paints. Here's what I managed to get done (Stripped is on the left and the right is what I was stripping): There's a lot of gray left over at the back of the intake trunk, but that's where the fan face piece goes, so I left it (lazy move, or as I like to refer to it, "efficient"). The plan is to blend the white into the gray around the fan but I'm not sure how well this'll work. The "trunk" is so shallow that any attempts I make at shading, to create depth, are most likely going to look weird. Real jets tend to have a pretty hard demarcation line between the gray and the white. Some have it right at the front lip, while others have it farther back. Having the area around the fan bright white will look bright white, no matter what I do. I've got to consider this further as I'm not sure how I want to go about it at this point. Thinking about it again, I think most aircraft (the F-14 included) tend to have a the inside of the intake gray, and then transition to white, a good way into the trunk. I may have just done a lot of stripping work for no apparent reason... Now that I've come to that realisation, I'm less excited about posting the "together" shots, knowing it likely needs to come apart again. At any rate, here's a reminder that it's "almost" done: Thanks for watching. Comments and critiques are welcome. -
Order is now processing for shipment! I did not expect it so soon. Call me excited!
-
Woo hoo! I've already formulated plans for how I'll paint this. Just have to finish those ten or so other kits that I haven't completed yet...


