-
Posts
2632 -
Joined
-
Last visited
Content Type
Profiles
Forums
Events
Gallery
Everything posted by mickyg
-
I for one, am very excited! A thinned and grayed clear coat would sort out the colour if it ends up being a real problem. That said, I'm sure I'm in the minority for collectors who paint or otherwise modify their valks, so I certainly understand the frustrations shared.
-
Not upside down, Chris. Its just the inserts aren't installed yet.
-
Area under the NUNS on the triangle on the left side, for me. The other side has crakcs but hasn't disintegrated yet. You get some parts printed and you'll sell a bazillion!
- 2874 replies
-
Please do! That would be fantastic to have something we know will stand up over time. Until then, mine stays in the box.
- 2874 replies
-
That is just amazing!
-

MickyG's Yamato VF-1S Unpainted, Unassembled Kit Build
mickyg replied to mickyg's topic in The Workshop!
Hey, my best advice is to assemble what you can and look at where seam lines need to be dealt with. Do all this before painting. This will also let you know what is likely to be difficult to paint with it assembled. There isn't a whole lot that can't be disassembled if you find something that will be hard to get to. What scheme will you paint it? Unless you plan to use some really tough lacquer paints, almost anything that requires large areas to be painted WILL get scratched. If you're doing a canon scheme that isn't Max or Millia, you should be safe. Hope that helps! -

MickyG's Yamato VF-1S Unpainted, Unassembled Kit Build
mickyg replied to mickyg's topic in The Workshop!
Thanks man! It's creeping along. I've got some time on my hands now so hopefully I'll put a real dent in it over the next few weeks. -

MickyG's Yamato VF-1S Unpainted, Unassembled Kit Build
mickyg replied to mickyg's topic in The Workshop!
Alright gents (and maybe ladies?). I have been very slack in working on this. In fact, I've been both slack in working on it AND posting any work I have done. So I need to catch everyone up. Firstly, I bought a second kit. I saw a good deal on HKCollectables (as I recall) on a 1A and couldn't resist. So the 1S head is going to be transplanted on an as yet, unstarted kit. I think I'd really like to have a Roy 1S and since I've never had the funds to buy one when they were reasonable, this seems like a good idea. Right, so that makes this now an NSAWC 1A Custom. I'm cool with that. After all, the bird I'm basing this on was an F-14A, right? So here's where I'm at. I've swapped heads and decided, after experimenting with some natural metal colour techniques recently found on a local modelling site near my house (HERE), I figured it was a perfect method to do the leading edges of the wings. I didn't like the idea of doing the whole slat, as it's a pretty fat part on the VF-1. So I masked roughly half. Masked with Tamiya tape: And then Mr Metal Color "Stainless Steel" roughly applied: Some closeups: And after "polishing the paint with the particle laden brush, then following up with regular tissues (which is very important to do before you remove the tape, as otherwise you'll make a mess of the rest of the painted surface), we get this: And that's where we're at. Baby steps but we're getting there... -
That is awesome! Loving the effort you're putting into this dio!
-
Thanks for the re-link to your pics, they're a lot better than what I was going to post up a few days ago.
- 2874 replies
-
I've got some photos that I took when mine broke. I photographed the break as well as my repair method. I'll try to get them posted soon. I concur with everyone else. Mine was OK out of the box and I couldn't see any issues with the parts when going to battroid. It wasn't till I transformed back to fighter that I saw the cracks. Attempting to open up the shoulder to identify how bad it was just finished the job. Note to all, don't attempt to take it apart, as it puts a lot of strain on the fragile black parts. Unless its already broken and you're planning to repair it, of course.
- 2874 replies
-
That would be awesome. I second Pierre. I spent some pretty nervous moments ("moments" is a huge understatement) transforming from fighter to battroid and when going back, realised the triangle piece had shattered. I then spent nearly as long gluing said part back together. I'm now afraid to do anything more with it. Painting the super parts was fun though and it sure looks amazing posed on the shelf.
- 2874 replies
-
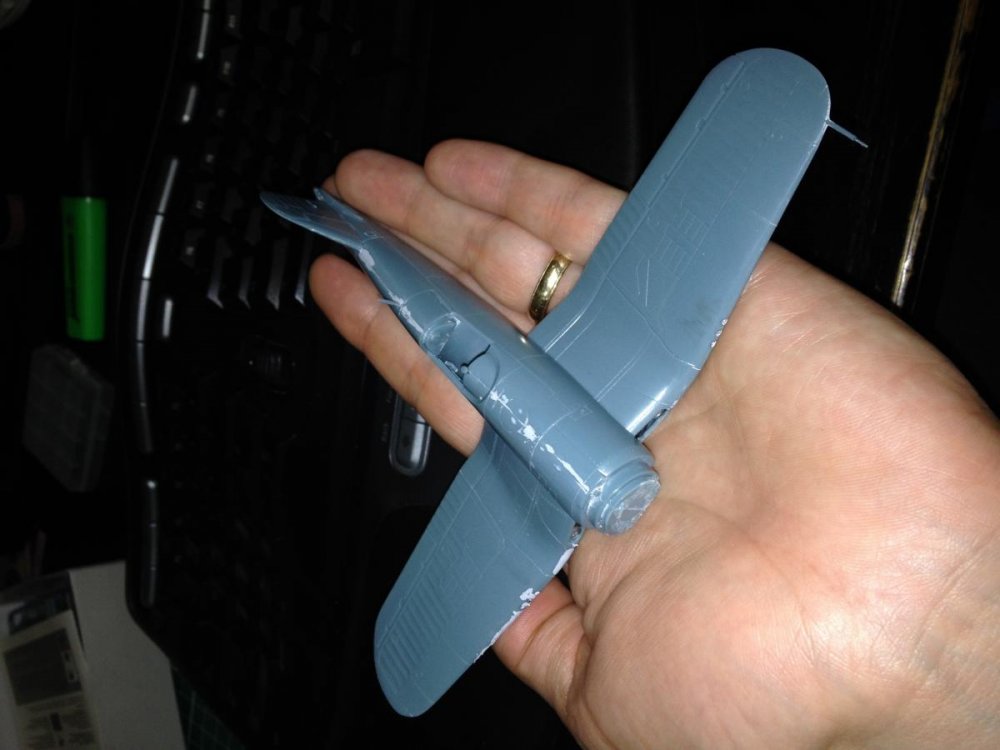
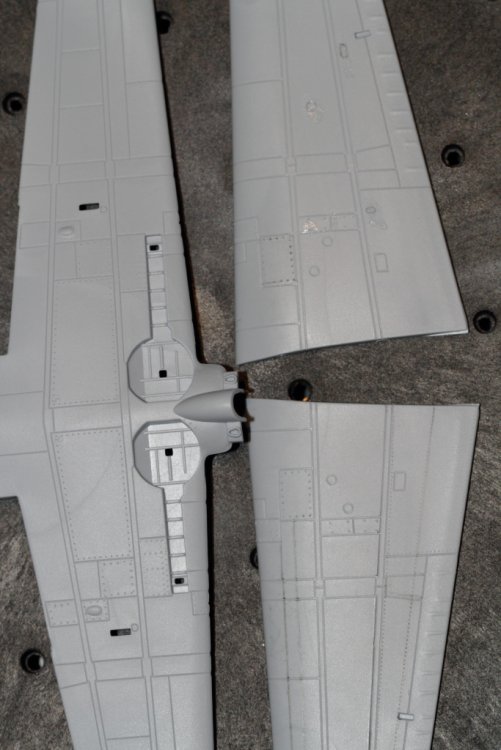
It's actually pretty good. There are a handful of Academy examples that, I'm led to believe, are just older hasegawa offerings but with recessed panel lines. The A-10 is one example. This is another. Apparently the Hellcat is yet another (which is also in the stash). So if you've ever built the hasegawa version, the fit/shape is the same but the details are recessed instead of raised. My only complaint is the lack of rivets in places I'd like them to be (they are in some spots, just not as many as I'd like) and a pretty sparse cockpit. I'd actually left it out altogether due to plans to do it up as "Skipper" from Planes. But my son lost interest in the whole franchise soon after he saw the movie.
-
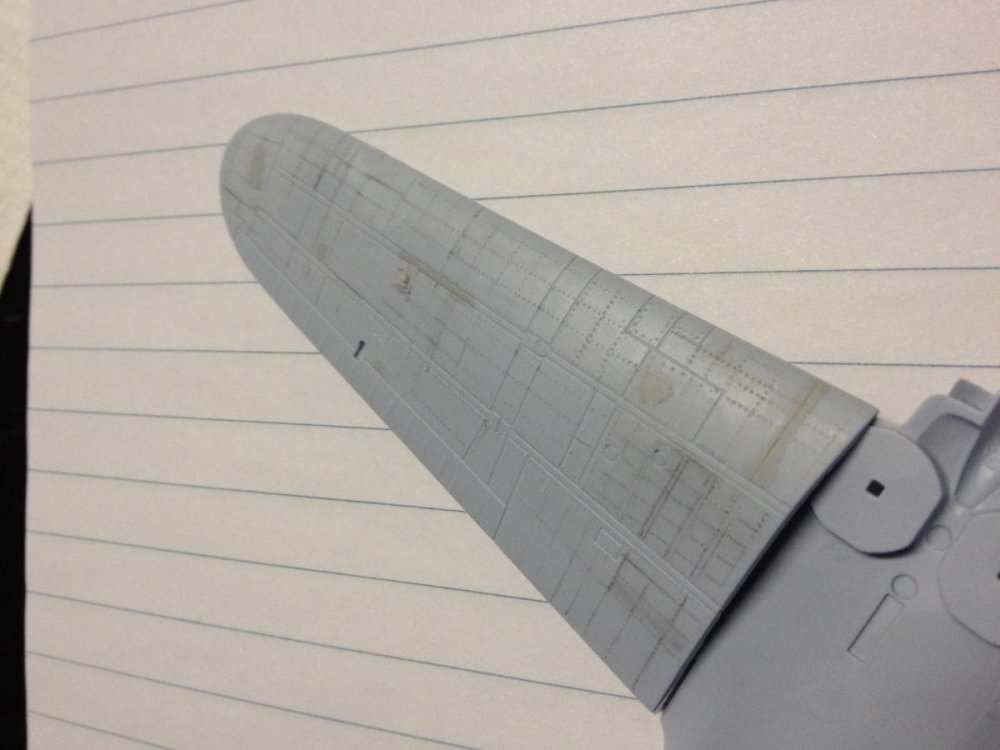
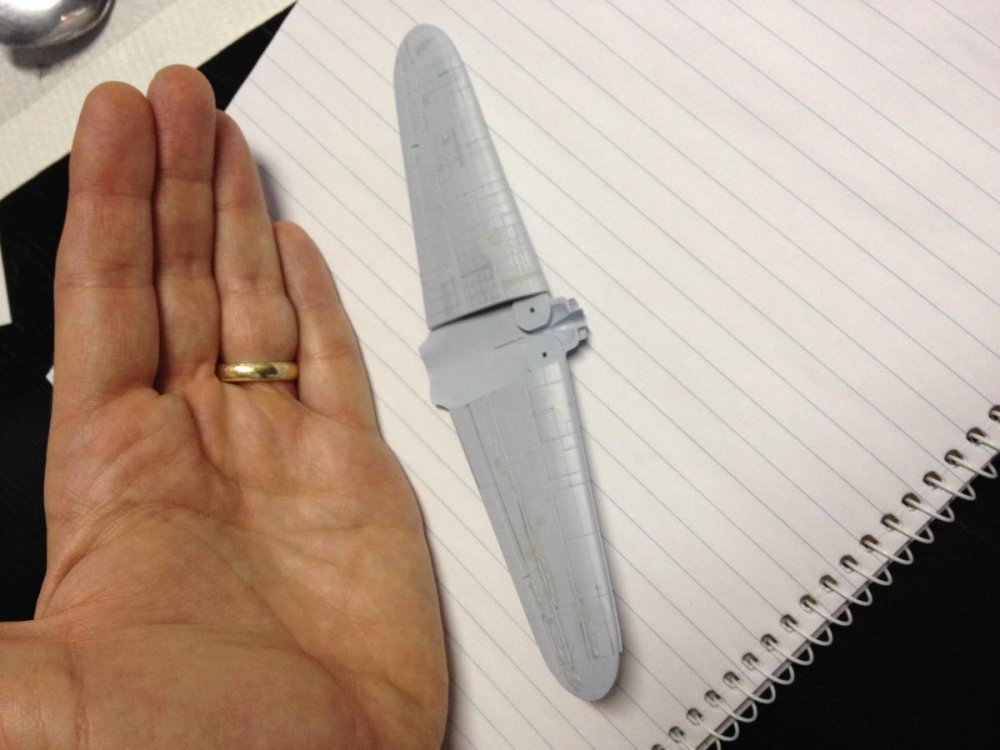
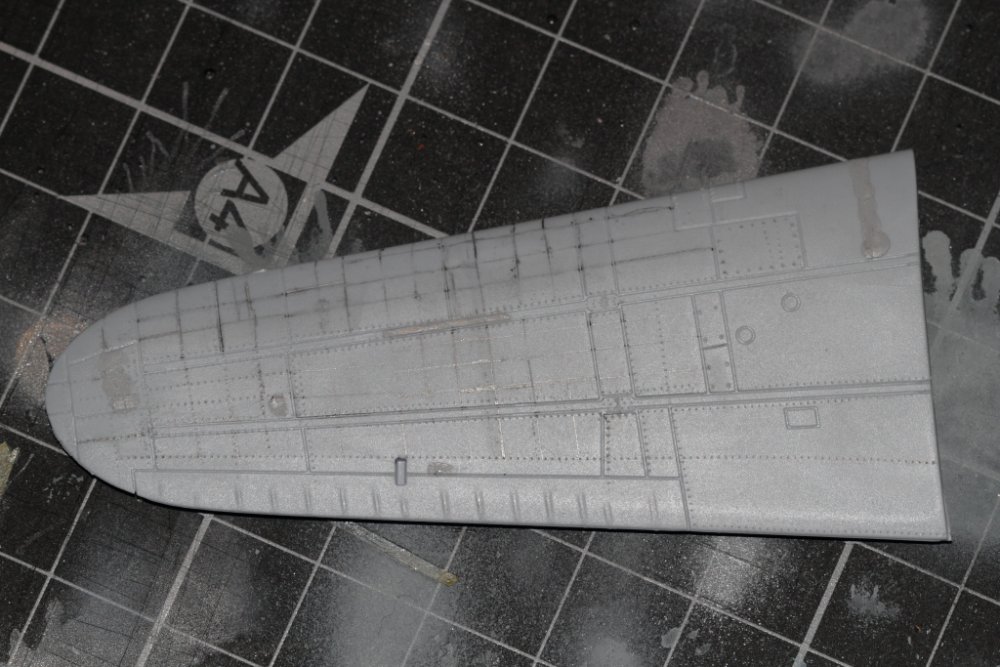
I finished the top of one side of the wing on the Airfix Zero and figured the second one would be much easier. Wrong! I feel like I've lost my mojo. My riveter slipped. My ruler wouldn't stay put. My lines weren't straight. I ended up with a mess I had to correct with Mr Surfacer 500. Here's the good one: And you can't see much, but the bad one is shown here (this is all dry fitted for now): And a quick preview of an Academy companion for a little dio I'm planning: No idea why all these pics are on their sides! So my plan now is to secure some vinyl pin striping tape to use as a guide for my riveting tool. That or some of that correction tape that comes on rolls. It may be thick enough to give me an edge. And it's removable. Dymo tape would be perfect but it's crazy expensive everywhere I've looked down under.
-
I'd seriously considered the F-2A. But I wanted to to get some JASDF decals to do it up proper like. Turns out that'd cost more than the F-2A/B kit that comes with some decals already! All the rest of the kits are crazy cheap though!
-
I've got one on preorder and I can assure you, the valko-blaster parts will remain in the box.
-
You're not wrong! It's especially bad when you realise I bought this kit for the pilot figure and to have something to practice getting the green on gray colors right. I seem to have turned it into much more than that...
-
I've been learning to use the el cheapo trumpeter riveting tool, to be exact. It doesn't roll well if you apply too much pressure (tends to slip, hence the "corrections" you may notice in the pics) and the holes are a bit square. But I think it's far better than nothing at all and I'm certainly getting the hang of it the more I use it. It's worth noting that the fasteners on the real thing are a lot closer together and much finer as well. But like I said, to me, some that aren't accurate, is better than nothing at all.
-
Thanks! From now on, I'll blame you.
-
I'm a riveting fool: The first one is how I started this little "detailing" project. The second is the madness that I'm currently up to as of last night. By last count, it's going to take something like 6 hours for me to do all the fastener details. I'm a sick, sick individual...
-
Loving your progress! I've got some ideas now to try on my 1/60 custom that some year I'll finish. That pilot is incredible!
- 34 replies
-
Ok, that's just nuts.
-
Speakers! There's an episode on the TV series where Ranka goes to sing to a zentran military installation and is accompanied by Michael and his sniper valk. The speakers were a big deal in that episode (and possibly others directly after). My memory is fuzzy but that's a brief synopsis.
-
^^ These guys!

