-
Posts
2632 -
Joined
-
Last visited
Content Type
Profiles
Forums
Events
Gallery
Everything posted by mickyg
-
Agreed. We never really got a nicely detailed TV SDF-1 though. There have been kits, sure. But none of then come close to the sort of detail that's present in all the DYRL variants we've been seeing in recent years. Not that it's the thread for it, but I'm still holding out hope for a hasegawa VF-27, option parts variants for the Messiah series, as well as ghosts and VF-171 model kits as well. They've covered every Macross series except 7 and I'm guessing never release all examples of the show at once. So I'm still hoping we'll see more from this, as well as the frontier line, in the next year or so. Does anyone know how long it was between YF-19, YF-21, and then VF-11 releases? EDIT: YF-19 release March, 2002. YF-21 released November, 2002. VF-11B released June, 2011. So there's 9 years between start and finish of Plus, alone. Might have to wait a bit!
-
My setup is very similar to yours and I get that kind of drop as well. It has a lot to do with the length and diameter of the hose. Have you changed the hose recently? The more important question is whether it's affecting how your brush sprays or how the paint looks?
-
First item: Thanks! I'm hoping I can do that. The white is really very thin, and the metal it's on is very glossy, so it's bound to be easily scratched. Second item: Nissan 200SX? By the way - nice work on the arm cannon! Love the way that looks on the YF-19 even if it's completely impossible, physically.
-
This thread is pure awesome!
- 8200 replies
-
- toys
- collectors
-
(and 22 more)
Tagged with:
-
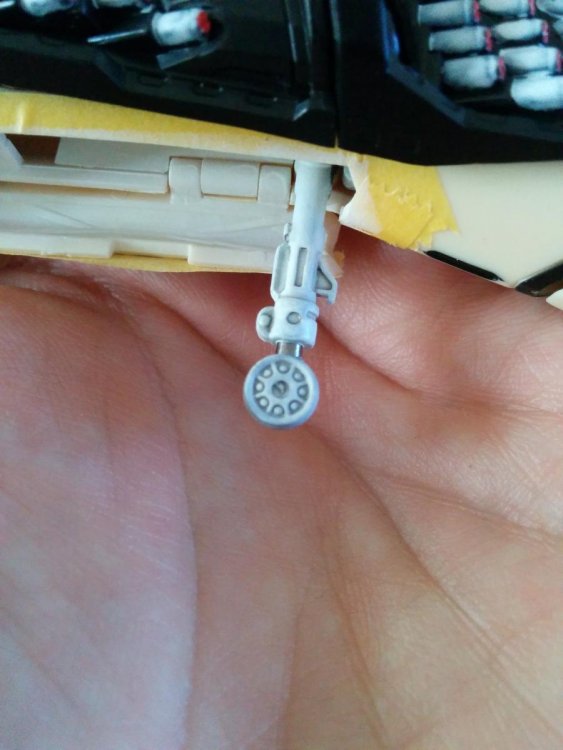
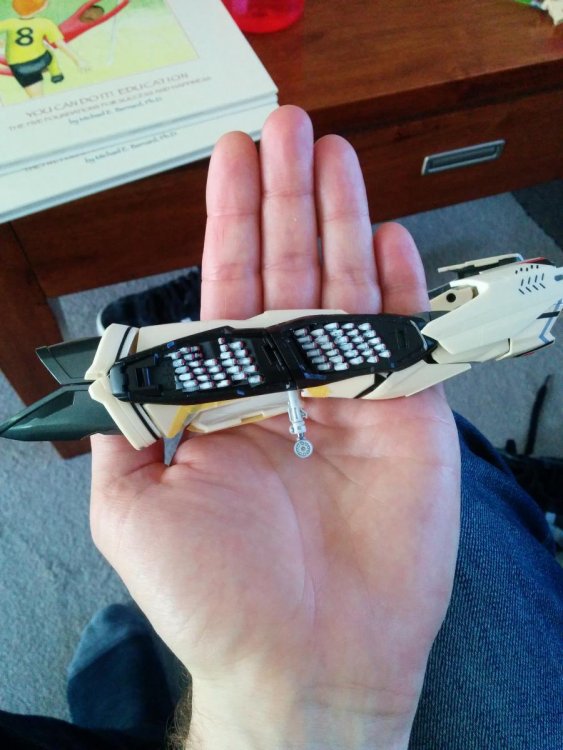
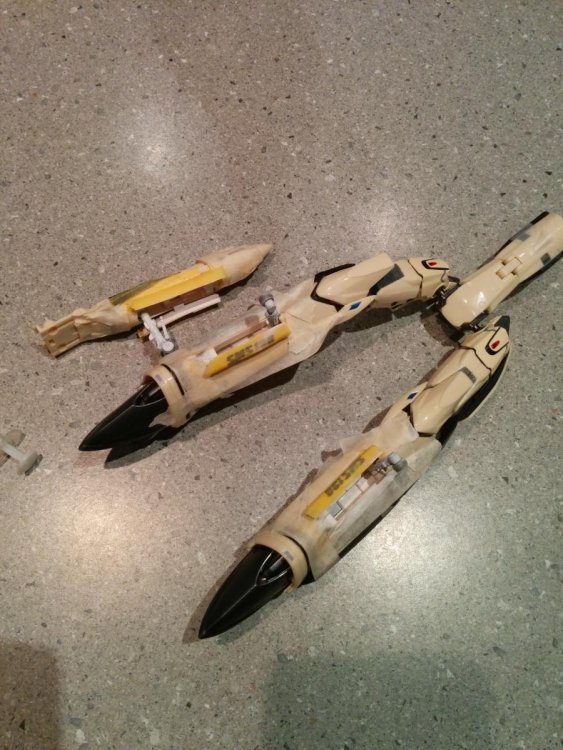
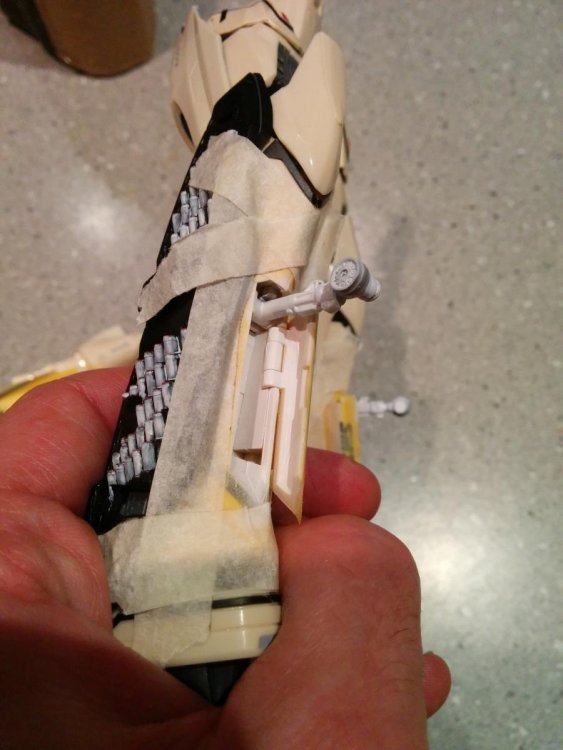
More Bandai DX YF-29 landing gear progress: Airbrushed life color white on as it covers reasonably well. It's flat so I followed it with ModelMaster acryl semi-gloss clear, then hit it with a wash using water thinned Tamiya smoke, carefully dabbed on with a small brush. I then went back and scraped the paint off the oleo with my fingernail and a toothpick. The good news is that the underlying steel colour looks convincing. The bad news is that it's not terribly hard to scratch the white paint.
-
Looking great. Really appreciate all the time you're taking to explain what you're doing, too.
-

macross: Skull Leader, Love Stories, and Remember Me
mickyg replied to Skull Leader's topic in Games
Looks fantastic! -
How great is Modern Hobbies stuff! I have ordered a few things from him and his stuff is top notch!
-

Has anyone heard of this material... Plastimake?
mickyg replied to wm cheng's topic in The Workshop!
I gotcha. I've used wax myself for quick and dirty molds. I take the part I want to cast, mount it in some strategic way, then pour molten wax over it, making sure to get the bubbles out as best I can. Then I mix up some two part epoxy and "pour" (cause it's never thin enough to really pour) that into the wax mold. This stuff looks like it could be used in a similar fashion but also has many/better applications as well. -

Has anyone heard of this material... Plastimake?
mickyg replied to wm cheng's topic in The Workshop!
idontknow: This link gives a very good idea about what it is and how it works. Definitely not wax. Unless you're saying the stuff on FSM was like a special kind of wax? -

Bandai reissue 1/72nd regult with Mods/using as 1/100 which is what it
mickyg replied to mslz22's topic in The Workshop!
That looks amazing! Really nice work on the weathering. It looks much bigger than it would if you'd skipped it. Great sense of scale! -

Your most recent Macross or toy purchase! General thread.
mickyg replied to Gakken85's topic in Hall Of The Super Topics
Nice! I'd love to say "you won't be disappointed" but the 171s are definitely an acquired taste. Have fun with the transformation and when you've mastered it, be very, very proud. -
I'm loving the 'Movie Edition' designation and what that at least suggests in terms of the chance of a 'TV Version' at some point. The question is, do I get this to add to the outrageous stack of models that may never get built, or wait for a TV version that may never come. Hmmm...
-
Very, very nice.
-
There you go! I've looked at that image many times and kept looking in the valk - totally missed it sitting on its own. And yes, compressor is a better description I suppose. But the purpose of any jet engine is to compress (and heat) air, so in some ways, compressor and engine are similar. That's my story and I'm sticking to it!
- 7072 replies
-
- newbie
- short questions
- (and 22 more)
-
No problem! I can't find any clear drawings but check this site out for a few of the cutaway drawings that sort of show this "second" engine a bit better: http://www.tapeheads.net/showthread.php?t=1915
- 7072 replies
-
- newbie
- short questions
- (and 22 more)
-
If you have access to some of the cutaway VF-1 views out there (there are a few), you'll note there appear to be two engines per leg. A short one, right up near the intake, and the longer one (that you're currently trying to locate in the legs) that connects up to the "feet" exhausts. Move the engine you're playing with way back so it's attached to the feet like in the diagram you first posted, and then the smaller one, when you can find/make a model for it, will sit up front.
- 7072 replies
-
- newbie
- short questions
- (and 22 more)
-
I encountered this early on with my brand new 25F and it's been a few weeks, but I think it has to do with the orientation of the crotch piece. If my memory serves, mine wasn't properly aligned (in other words, not unfolded properly when I went from Battroid). Once I got that part sitting properly, the hips stayed in much better.
-

1/48+fp's, 1/60+fp's, 1/72, 1/2k, 1/3k,1/100 and now 1/144
mickyg replied to VF-18S Hornet's topic in Toys
I have the tornado pack for the 25G and haven't put it on the valk yet. Just been contemplating it for literally, months now. Your pics make me think I should "do the right thing" now. Sooooo pretty.... -
Very good! Looking forward to the next installment.
-
Beautifully done!
-
It doesn't come with missiles though, right?
-
Count me in as another proud Iwata person. Here's what I'm currently attempting to finish off: Never sat well with me that the DX valks have silver gear and unpainted gear bays. Its even more annoying that the micro-missiles get red seeker heads but the bodies are unpainted. Isamu needs some doctoring!
-
Go nuts on that bad boy. Can't wait to see what you think of it, even with how bad I know it supposedly is, already.
-
Indeed. Got my email confirmation as well. Happy camper!


