-
Posts
2632 -
Joined
-
Last visited
Content Type
Profiles
Forums
Events
Gallery
Everything posted by mickyg
-
My apologies MJ - I know I'm to blame for that one. What on earth did you find for the color?
- 1306 replies
-
- DX Chogokin
- Durandal
-
(and 2 more)
Tagged with:
-
Did I mention I started this little project about 6 months ago? Yeah, there's a reason it's not finished yet...
- 1306 replies
-
- DX Chogokin
- Durandal
-
(and 2 more)
Tagged with:
-
So sad that a whole 7D was not enough to cover the new lens! Painting the missiles was indeed a pain! And so was painting the landing gear. But the missiles were definitely harder. And I'm still not entirely happy with the result I got. Anyone wanting to tackle this, you've got two "no-go" areas - the missile tips and the black base that the missiles "fit" into. The tips aren't too hard to avoid, but the base sure is! Since I use acrylic paint, it's not terribly difficult to come along and get rid of the excess later. But I'd recommend a few thin coats applied with a brush, and then come along with a sharp toothpick or other pointed, but not too hard tool, and carefully scrape away the paint that shouldn't be there. My long term goal was to follow all of this up with a black wash, so that any mistakes would get hidden under the wash. I've yet to do that though.
- 1306 replies
-
- DX Chogokin
- Durandal
-
(and 2 more)
Tagged with:
-
I've painted my YF-29 Isamu type's but only on one leg. That took ages and I haven't been in any hurry to get back to it, unfortunately. The shoulder ones are even tougher, because there's less surface to get to. Someone needs to make a white gundam marker for this purpose. Hmmm... Glad you're not limited to just one lens! Shots look great with the flexibility of widish and normal lenses.
- 1306 replies
-
- DX Chogokin
- Durandal
-
(and 2 more)
Tagged with:
-
I know you mean 29 and not 27 but wow, how awesome would a 27 in Rod or Ozma colors look?
-
Sweet! So jealous of those VF-25F Super Packs! Suuuuuupeeeeerooooo Paaaaaarrrtsssssuuuuu!
-
Very nice! Didn't realise you'd get such up close shots with the 35mm. Awesome! I have to point out something that bugs me though - such amazing tampo and paint accents on this bird, especially all the gold. Love it! But why, oh why can't they paint the missiles white? Those red tips only draw your eye to the fact that bodies of the missiles are completely unpainted. Oh well, she's gorgeous otherwise...
- 1306 replies
-
- DX Chogokin
- Durandal
-
(and 2 more)
Tagged with:
-

1/48+fp's, 1/60+fp's, 1/72, 1/2k, 1/3k,1/100 and now 1/144
mickyg replied to VF-18S Hornet's topic in Toys
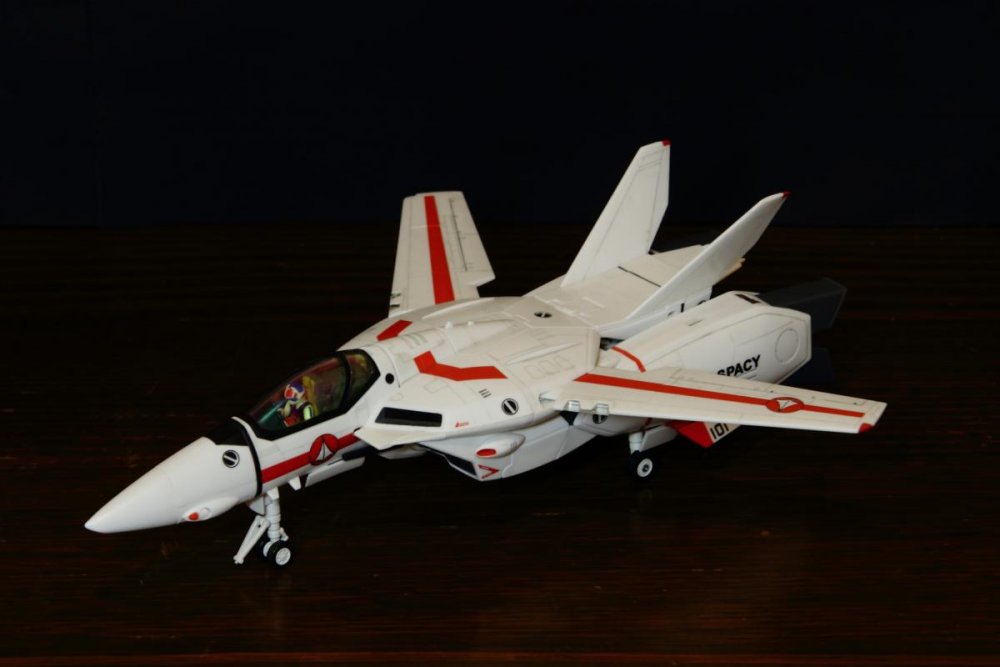
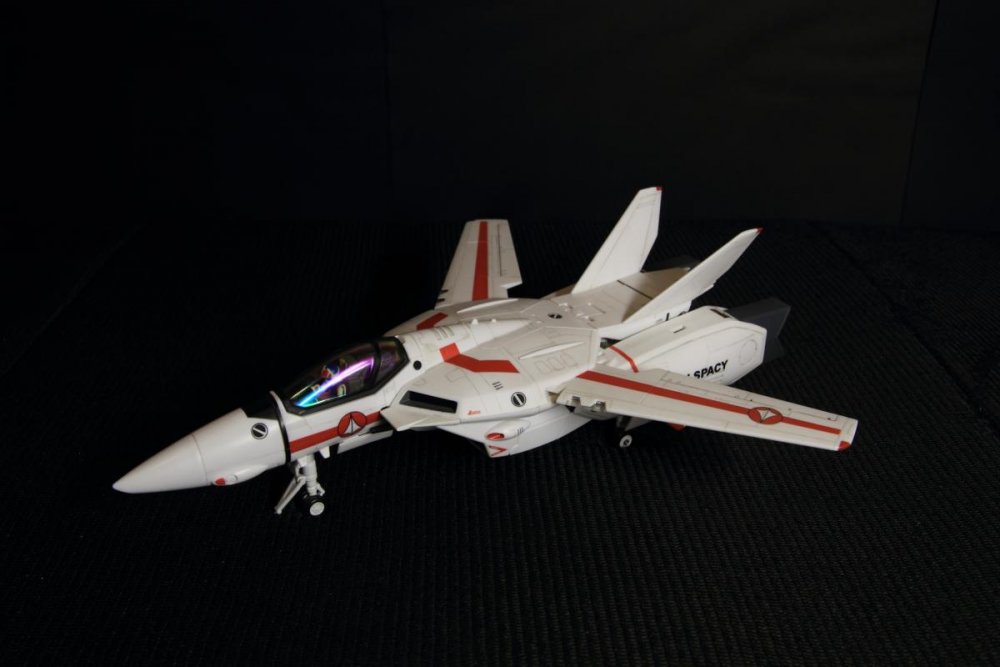
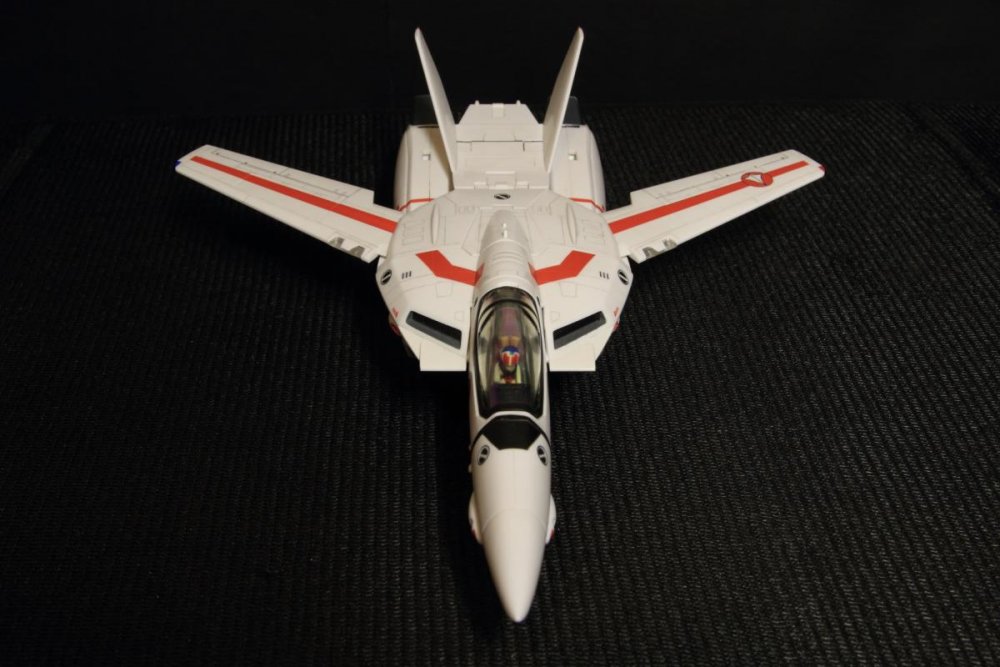
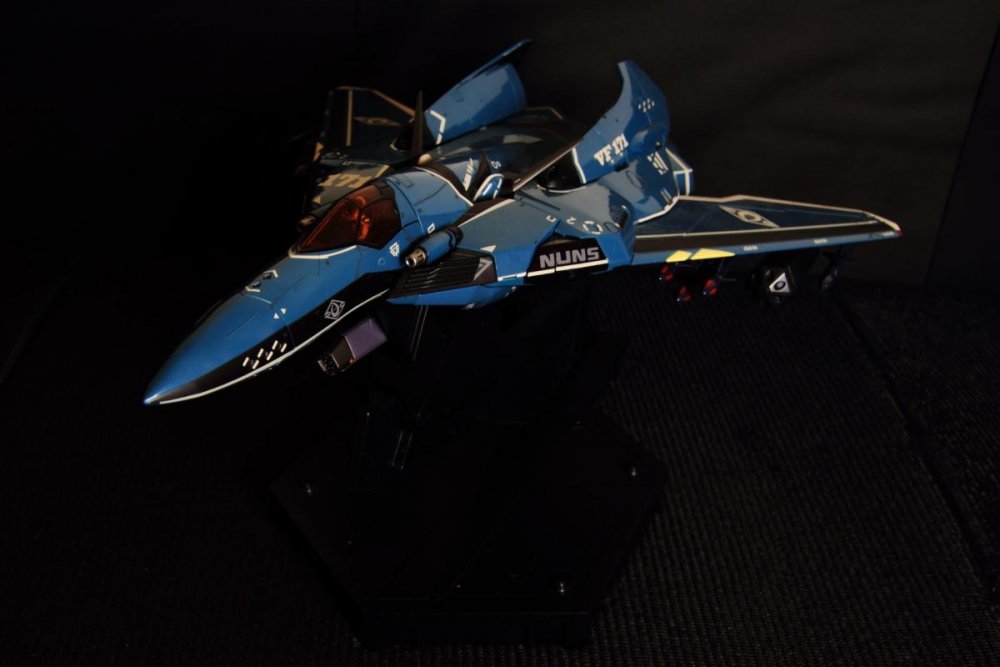
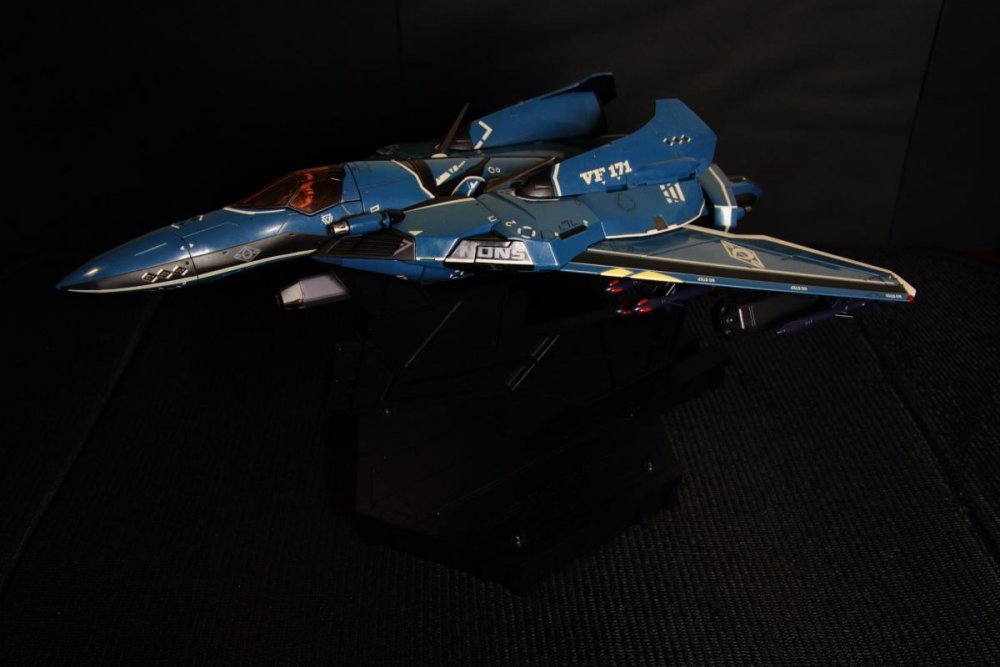
Sorry to spam this but my pics from the other day are on a previous page. Thought I'd attempt to upload these via Google+ instead of the forum software. Hopefully they're not quite so compressed now. They should take you to the full size pic if you click them. For those that missed it, I wanted to show the different results obtained by changing the background and base, as well as spending a bit of time tweaking color settings and balance after the shots were taken. Feel free to ask any questions via PM. I love talking camera tech! VF-171 First attempt VF-171 Second attempt YF-29 (First and only attempt) VF-1J First Attempt VF-1J Second attempt -
I looked into this a few years ago and was very close to buying one. I thought the chance to sell custom decals for folks would pay for the printer, but then had some very good discussion with someone who used to do exactly this and the advice was that the maintenance costs for the printer would always keep profitability out of reach. That, and I haven't learned Illustrator or any other Vector based graphics utility well enough to ever make my time investment pay off. If you want it for yourself and can justify its expense, that's an entirely different situation.
- 8198 replies
-
- toys
- collectors
-
(and 22 more)
Tagged with:
-
If it's the Super/Strike variant, the easiest way to tell is that the TV show didn't have a "Strike" with the massive beam canon on one shoulder. TV only got the "Super" variant. DYRL gets both so you can have the Super packs and it's still accurate (for a VF-1A at least). But there are other variations. The canopy is slightly different with the DYRL version having a bubble profile, whereas the TV version is apparently more flat sided. And the cockpit itself is different too. Technically, the controls are totally different and the HUD has a combiner glass on the TV version, but the DYRL one does not, as the projections are holographic, I think. The 1/48 kits come with both styles of canopy but I'm not sure if the controls on the instrument panels are reflected as different.
-
That is amazing!
-

Macross Δ (Delta) - announcement thread
mickyg replied to renegadeleader1's topic in Movies and TV Series
Ahh... I thought these were really old, as in concept art for the original SDF-Macross series. That makes much more sense now.- 2715 replies
-

1/48+fp's, 1/60+fp's, 1/72, 1/2k, 1/3k,1/100 and now 1/144
mickyg replied to VF-18S Hornet's topic in Toys
Thanks Saburo! I used to own the nifty fifty and found it a fun little lens. But then I bought a 60mm macro and found it was so much sharper. Granted it didn't go down to f/1.8 but most of the images I took at that aperture were very soft and I found I didn't take many portraits that really benefited from this wide an aperture. Before I knew it, my 60mm was being used for nearly everything I used to use the 50mm for. So I sold it. I regretted it later and bought one again. Same deal though - when I bought the 17-55mm the versatility was just so much more convenient, that I found the 50mm never made it out of the bag. So I sold my second copy. FYI, I'm using an aperture of f/8 to f/10 for the shots, at about 25mm on the cropped body, with the camera reasonably close to the subject. I find it works out much better for the depth of field needed to fit the valks in. At 50mm on the zoom lens, the depth of field is still too shallow unless I really stop it down. And then the image gets a bit soft. So ironically, I'm not using the macro lens for anything other than extreme detail close up shots, and that's usually when I'm working on a model kit and need to illustrate something. For me, the 17-55mm f/2.8 lens is perfect so far. It's a fantastic lens but not cheap. It spends about 80% of the time on the 7D, with my other 3 lenses making up the remaining 20%. -

Macross Δ (Delta) - announcement thread
mickyg replied to renegadeleader1's topic in Movies and TV Series
Wow! That first image looks very Vajra like. I can see where it came from. Yes, these would be very cool to see in the next series.- 2715 replies
-
Sure can! I don't have any on hand to show pics of, but I start with plain old plastic sheet and then cut it to about popsicle stick size widths and then cut each one in half, but at a sharp diagonal. Each stick is then about as long as my finger. I then cut out a piece of sand paper that's shaped so it'll wrap around the stick and not have any lumps when it's all folded up. Once I'm happy with the fit, I super glue it to the stick. This method gives me a sanding stick that is quite durable even when I get it wet. I'll post up some pics when I get home.
-
Nice one, Schizo!
-
Ha! I remember this! I thought it got morphed into the 1/72, 1/60, 1/48 thread. Good stuff!
-
Hey guys, FYI: It's Ordnance without the 'i' in it. Ordinance is something entirely different. Ordinance Ordnance
-

Scratch Building/Model Modification Archive Thread
mickyg replied to Dax415's topic in The Workshop!
Here here! MODs - Any chance we can sticky this one? I see it's at least in the right area. -
Now there's an incredibly vast question, with a myriad of answers! For what reason? We can cover everything from sanding bits off plastic that shouldn't be there (sprue marks, for instance) to sanding putty and filling fixes, to prepping for paint, to finishing clear coats. Just to start us off, here's what I commonly do for sanding, applied purely to model kits. But this can be translated to toys or anything else you need to sand, for that matter. I use something around 400 grit for quick sanding of plastic parts, or to knock down imperfections quickly. I tend to use the black, wet/dry stuff and use plenty of water to carry away the sanded stuff and prevent the paper from getting blocked up with dust. I'll often switch to maybe 800 grit to make sure it's smooth. Most often in this sort of instance, I'll use paper that's been glued to plastic sticks with superglue, so it's easy to work with and gives me a hard, flat edge to work against whatever it is I'm trying to sand. For painting, I usually start with 1200 grit, so I don't sand right through the paint. Again, I use wet/dry and plenty of water. I'll often follow up with 2000 grit to finish it off. This works well for a primer coat too. And the other sanding practice I have is when it comes to clear parts. The only way to deal with seam lines or other imperfections is to sand them carefully. I will usually start with 600 grit, and work my way up with a few intermediate grits, all the way up to 2000. And then I hit it with a polishing paste from Tamiya. And then usually dunk it in Future, just to make sure it's nice and clear. Hope that's a good start for you!
-

1/48+fp's, 1/60+fp's, 1/72, 1/2k, 1/3k,1/100 and now 1/144
mickyg replied to VF-18S Hornet's topic in Toys
A second light source is what I do not have at present. The flouro lamp is nearly 2 feet long so the light is more spread out. But yes, two lights is definitely where it's at. Great shots. Especially for an iPhone! -

1/48+fp's, 1/60+fp's, 1/72, 1/2k, 1/3k,1/100 and now 1/144
mickyg replied to VF-18S Hornet's topic in Toys
I've got a Canon 7D with a 17-55 f/2.8 lens, zoomed to something between 20 and 28mm, on a tripod. The back drop was black construction paper and the base is a black, foam core seat protector from my son's child seat in my car. I had to improvise! Lighting is from what must be an antique fluorescent desk lamp, held by hand until the lighting looks even. The first batch didn't look right to me and then I remembered I'd left my lens IS switch on. If you do this on a tripod, the stabilisation can sometimes get confused and cause blur because there is no camera shake. The second set I remembered to turn it off and the images are much sharper. Yes, I directly uploaded because I got lazy. I'll go back and link to my Google account today. They should look much better then. -
WM, the hole/divot seems to still be visible, even when the peg in the booster is properly engaged. You've probably got it right already. Ditto on the fun factor with this one!
-

1/48+fp's, 1/60+fp's, 1/72, 1/2k, 1/3k,1/100 and now 1/144
mickyg replied to VF-18S Hornet's topic in Toys
Saburo has inspired me to lift my game. And after playing around with cameras, tripods, lighting, backgrounds, and post production, the attempt I made a few days ago fell very flat. Here's the best of what I was able to accomplish: After re-evaluating a lot of things (and nearly breaking my VF-171 in a near catastrophic accident), this was my attempt tonight: I now have a renewed appreciation for how hard it is to make these things look as good as Saburo does. My hat is off to you guys who do this so well, and seemingly so easily. Hope I can improve!

