mickyg
-
Posts
2632 -
Joined
-
Last visited
Content Type
Profiles
Forums
Events
Gallery
Everything posted by mickyg
-
That is nice! Couple of observations that I'm interest to see on the DX when it arrives: How will they integrate main landing gear in such a small space? How will they integrate hands on that same note? And finally, where did that extra part come from that props up the chest parts?
-
I should add, I work for a CAT dealership. No to Komatsu! Though at least the country of origin is right... Loving your work on the 'roid so far. I can't believe how much paint it's taken so far though - that's crazy!
-
Hang in there mate - it may feel a lonely place but you're anything other than alone.
-
Takara Tomy (or is it just Takaratomy?) yes. And no, it's a prepainted model kit. They do a whole line of 1/144 scaled things called "Gimix" and they're all pretty impressive.
-
Looks great but they almost look too big. Perspective maybe?
-

Bandai Macross Δ Mecha Collection Small Scale Plastic Model Kits
mickyg replied to IXTL's topic in Model kits
Yay! -
I meant this one:
-
I swear that thing needs a CAT logo on it.
-
I skipped the regular release because I already had the Bandai one (specifically for the ghosts). My thinking was to build the ghosts and add them to my DX RVF-25. I planned to modify a spare set of supers I had. That was a good idea till I discovered the supers for the DX are a bit different between the regular and RVF versions. The mounting pylon for the dish fouls on the regular versions backpack super part. Modding it now seems like it'd be a lot of work. Plus I still have to paint all the extra bits and pieces and find options for the markings as well. This kit may just free me from all that work and prompt me to sell the DX RVF and Bandai 1/72 kit (minus the ghosts)...
-
Wow - that's some impressive improvements you've made. Nice work on the intakes, too! I am really blown away by the modifications to the feet though. I hadn't looked at them very closely before but the improvements are incredible!
-
No word on Ghosts? Hmmm...
-
The Monster is amazing! Just pulled it out of the box after my PW items arrived in from HLJ. What an incredible toy!
-
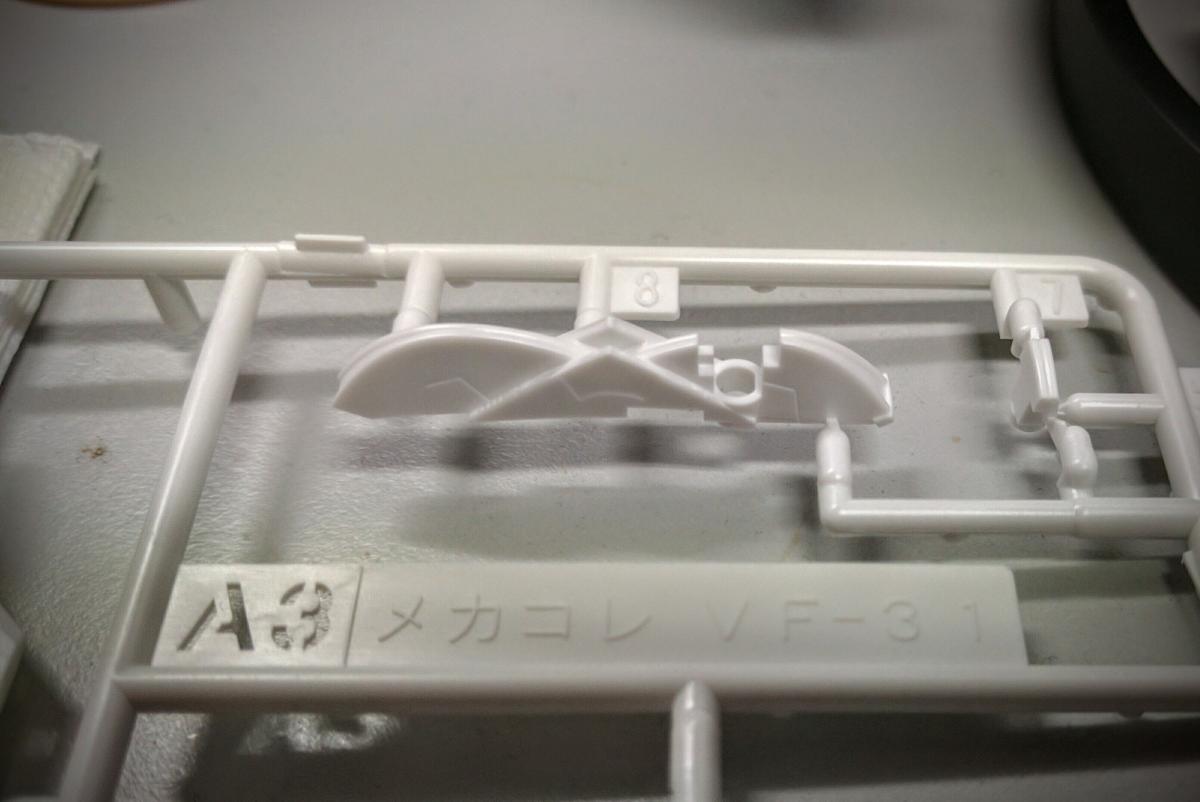
Bandai Macross Δ Mecha Collection Small Scale Plastic Model Kits
mickyg replied to IXTL's topic in Model kits
Just got my Chuck special (VF-31E) in. For a kit that doesn't include any markings for the bottom, Bandai actually went out of their way to accurately (as far as I can tell) portray the folding dish. Not sure I fully understand it yet, but I think this should look fine on the DX.
-
Your most recent Macross or toy purchase! General thread.
mickyg replied to Gakken85's topic in Hall Of The Super Topics
Just arrived from HLJ. Ordered Thursday and here Tuesday. Not bad and probably the fastest I've ever had anything in from them. Burried under the other stuff is my Bandai armoured VF-25S 1/72 kit. Yes, I know I'll probably hate the process but it's my ozma itch officially scratched.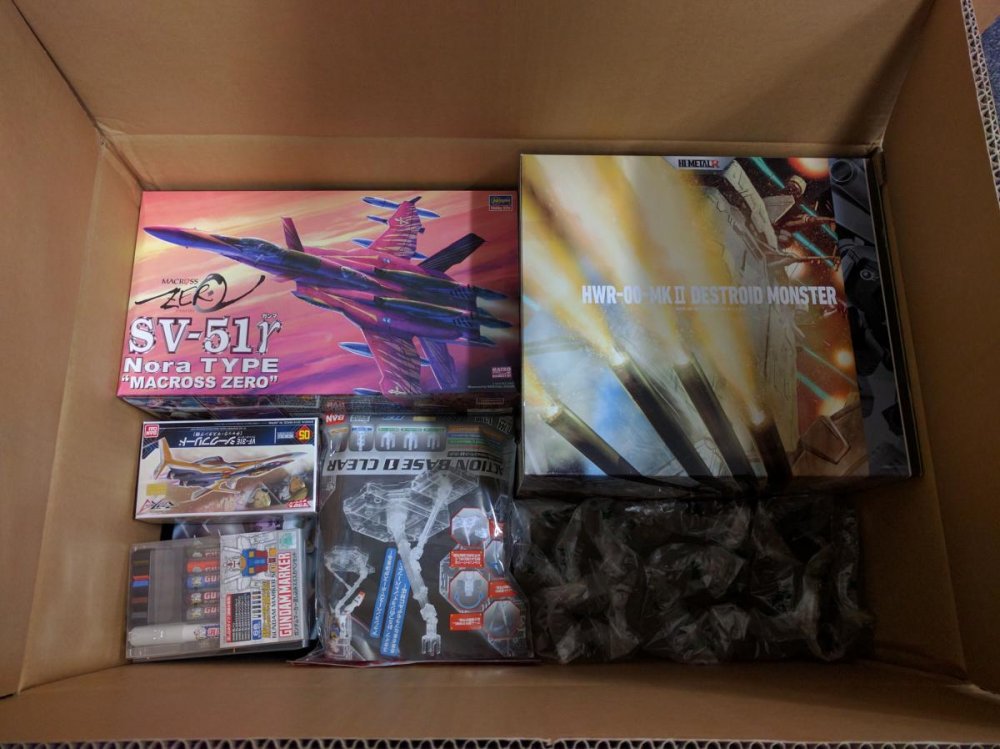
-
I'm looking forward to that kajnrig!
-
That looks very nice. I like how he "corrected" the internal skeleton colours too. I don't think that bright blue looks right at all on the kit.
-
'Tis a beautiful thing! Well done!
-
some basic model building help (Bandai Sv-262 / Hasegawa VF-25G)
mickyg replied to whistler's topic in Model kits
Whistler, you sound a bit like me when I started my first couple of kits! All really good questions, trust me. One thing you need to understand before anything else though - there's no one way to do anything. With the Hasegawa and Bandai, you can use similar approaches but they're completely different beasts and you'd likely be very frustrated if you adopted the same approach to both. I'll hit on your specific questions in a minute, but here's some very basic guidelines that you probably already knew: You'll need glue for he Hasegawa kit You won't need glue for the Bandai kit at all, but it can be useful in cases where things might pry open, or you want to avoid ugly seem lines. Ok, VERY basic. The rest of your questions cover quite a lot so here goes: Is the colored plastic simply a base coat? Yes. You can very happily use the plastic as is. Just bear in mind that plastic will always look like plastic, unless you paint it. For the Bandai kit, there are very good reasons to not paint it. Firstly, if you plan to transform it (like at all, ever) you'll likely end up with paint rubbing or chipping. You can build around that but it's a lot of work. That blog you've referenced does show a quick buildup. But it's not finished. If you look at his VF-31J build, you'll see he built the kit, then spent time painting a few areas and applying decals or stickers. I expect he'll do the same with the Draken in part III of his build. Can you paint over the plastic without priming? and if you did how would it look? or is the color guide just there in case of touch ups on the main body? Yes. Fine. Yes. In more detail, you can definitely paint over the plastic without priming, but the paint might not bite into the plastic very well if you do that. Unless you're going to play with it, in my opinion, priming is unnecessary. Priming does give you a consistent base colour to paint over though,which makes things look a lot more consistent. But priming is also another layer that can potentially hide detail, and on the Bandai, will definitely interfere with the moving parts, causing scraped paint at the very least. The colour guide is there for folks who want to paint the whole thing and want to know what colour it should be. It's not a requirement by any stretch. Think of it as a helpful guide if you want to go that way. I found some color chart translations online, but is there one that is specifically for Hasegawa's instructions? Hasegawa uses Gunze paint callouts. The first column is their Aqueous (acrylic) paint and the second is Mr Color (lacquer) paint. I have a good deal of (and experience with) acrylic paint. is that what is recommended on these kind of kit or are you supposed to use enamel? Again, no right or wrong choice here. It comes down to preference and experience. Different paints have different strengths (sometimes literally). Acrylic is (usually) low odour, low toxicity, easy to clean up, and fairly predictable. The downside is it isn't always very durable. Fine, if you're going to display a model and not handle it. Enamels can be smelly, are not non-toxic, but they dry slowly, give a nice finish, and are reasonably durable. Lacquers are very toxic, smell very strongly, dry extremely fast, can be very unforgiving to work with, but offer a great finish, and are probably the most durable of all paints. They also bite into the plastic better than either of the other two. I don't know what's used on the Yamato/Bandai/Arcadia toys, but my bet would be lacquers because of the durability they offer (I may be wrong). If the colored plastic is supposed to simply be the surface then should i avoid sanding down bumps and leftover flash? if so what should i use to preserve the surface? Up to you. But I'd recommend sanding down anything that shouldn't be there (leftover sprue gate marks, seem lines, flash, etc.) unless you want it to look more like a toy than the real thing. You just have to be very careful and make sure you sand only where you need it. But yes, this is one of the primary reasons why people paint their creations - to hide the flaws introduced when assembling the kit. I'm not sure I follow your question about preserving the surface. If you don't paint, the plastic is pretty durable as is and wouldn't need preserving. If you're applying decals or stickers, then a clear coat is a good idea. That would help preserve the surface. Should i paint everything first and then put it all together, paint after each assembly step, or all at the end? No way to say for sure. Every kit is different. Both kits will have areas where this is possible and places where it would make much more sense to do it after assembly. See what makes sense as you're tackling it. Like I said, there's no right or wrong answer here, only what works best for the person building it. How important or helpful would an airbrush be? dont have one but i have been considering a really basic model for some time now so i am constantly wondering if this will be the project that makes me try one. There are some incredibly talented folks who only use a paint brush (affectionately called "the hairy stick" by some) but I couldn't imagine building a "good" model without my airbrush. If you're only doing detail painting and you stick with the base colour of the kit's plastic, you could certainly get away without one on either kit. Personally, I'd steer you well away from using either kit as a test bed for an airbrush. Buy a cheap kit and practice there first. An airbrush can be wonderful for painting larger areas. But so can a spray can if you're careful. Is super glue good enough or should i use something like plastic cement? Depends. Superglue tends to be very useful for certain things on a model kit. But it's messy, almost never goes where you want it to, can turn an accident into something terrible, very quickly, and it's not very forgiving to work with. Model glues (and there are many types, all of which have there place) work by melting the plastic together, so can offer a much better joint and tend to be a lot easier to work with. The Bandai kit uses a lot of ABS parts though, and model cement doesn't do a whole lot with ABS. As mentioned previously though, for the most part, you can get away with no glue on the Bandai kit. The Hasegawa kit will require it though. And I'd recommend some plastic model cement in a bottle. Revell makes some good stuff with a needle applicator (Contacta is the name of it) and there are some good things that come in glass bottles with applicator brushes. Invest there an learn to use them. They'll become indispensable. There are alot of decals. like, a ton. i have some decal setting solution that i can use to make things easier but would there happen to be some kind of tutorial on cutting and maneuvering this many decals? not to mention getting the alignment right. No "one size fits all" solution here. There are many ways to skin a cat, as they say. But a good approach is to use something to help get the decal positioned. Setting solutions are for after it's in place, so make sure you get the right thing for the job. I like to use a bit of Mr Mark setter which appears to be a very thinned down white glue (maybe it is?). It sets very slowly and is a bit slippery. If the decal is going to be a pain to position, I lay down a fair bit of it onto the part beforehand, and gently slide the decal off the backing paper with a wet paint brush. That said, there are numerous tutorials out there (check youtube) on how to apply decals. Soak up as much knowledge as you can and then practice. the -262 comes with both decals and stickers. why is that? are the decals going to be harder to see once applied or is it just that some people find stickers easier? I think it's to give people options. The stickers, as good as they are (and really, they're not bad) have much more trouble sticking to irregular surfaces, or showing the underlying detail beneath the marking. They also don't stretch all that well. Decals are much better here. But decals are fragile, tricky to work with, and not at all forgiving. So bundling both gives the modeller a choice. I know i need to get some hobby clippers to free the pieces from the spruce but hopefully i can start soon here. Not a question but yes! Definitely get a set of good cutters. They'll make your life much easier. Hope that's of some help to you! Enjoy the build and be sure to share with us what you're doing and any troubles you have. We've got a pretty helpful community here. -
This changes my desire to order the Bandai kit significantly! Awesome!
-
Now that's just cool! And somewhat expected I guess. I wish the armoured ones would get a release.
-
Was thinking the same thing. I guess I was far more excited by the prospect of having a model kit for this, before I had the Arcadia toy. Hopefully they'll release more than one variant and this is actually what it looks like - a VFX-4.
-
That looks really nice! So tempted... What annoys me though is that I JUST shipped my PW items from HLJ 2 days ago, since some items I had sitting were due to auto ship on the 22nd. I looked at a few of the items in my preorder list that hadn't become available yet and the earliest one (a Mecha Collection VF-31C) was meant to be available on the 30th. Imagine my surprise when I see a payment was processed overnight for it! Same story for the SV-262. I uhm'd and ah'd about it but didn't want to risk it because I wouldn't be able to take advantage of combined shipping on this order. Oh well...
-
Haven't gotten these (yet) but am I noticing a somewhat matte plastic on these? Or is it just a topcoat on the finished models in all the pics?
-
Glad to offer some useful feedback. Can't wait to see the revisions on this thing. It truly is a masterpiece!
-
Man, thanks so much for sharing this! It is incredible! I've got the 1/72 Hasegawa and the work you've done on this has given me all sorts of ideas to try out on that kit. I'm blown away by the amount of effort and attention to detail you went to, especially with things like the cockpit. Those camera views are amazing! And the fact that you managed to get the thing to transform is just outstanding! Anyway I've overdone the exclamation marks, I think, but truly - it is an amazing piece of work and the fact that you're sharing it here is pretty great. Question for you regarding the intakes, is the "plate" you've got the intake compressors mounted to, flat? I'm recalling there was some sort of smooth transition between the shape in the intake, to the fan face itself. I'm not sure if it's lighting or the shape itself, but it really looks flat. Because your 3d model looks so real, that's about the only thing that jumps out at me as being not quite realistic. Given how fast this thing is supposed to be able to go, the thought of the super sonic intake air smashing into that flat part around the intake fan just seems a bit unbelievable. I know, on a giant transforming robot/jet...