-
Posts
2632 -
Joined
-
Last visited
Content Type
Profiles
Forums
Events
Gallery
Everything posted by mickyg
-
https://www.nippon-yasan.com/figures/21764-hi-metal-r-regult-missile-type-set-limited-edition.html 15580yen
-
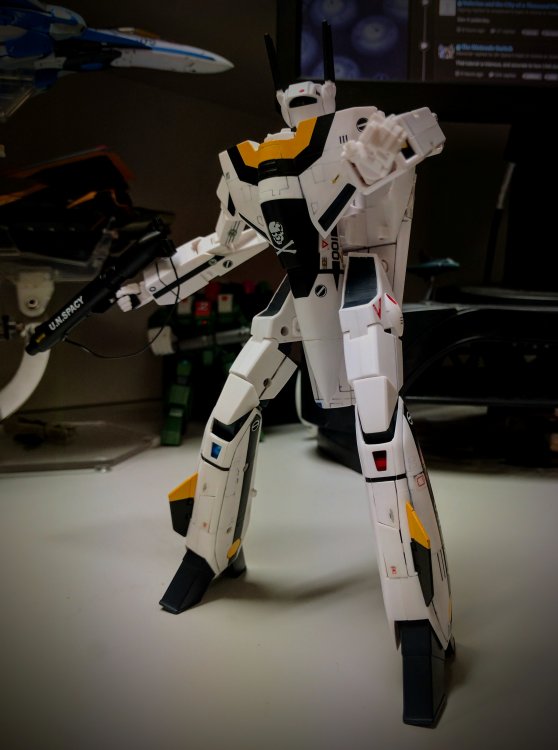
Always find it hard to realistically pose these toys so got some inspiration from a few iconic poses of Roy's VF-1S and tried this one out. Excuse the background clutter...
-
Just discovered the cause for my own confusion, directly from the eBay decal listing under the description: That Italicised and Bold bit is what threw me. I don't use microscale products (partly because they're hard to find here in Australia and the other part because I've been using Gunze decal products instead) but knew Microscale made a clear solution for "painting" over the decals while they're still on the backing paper. I simply assumed that's what they were talking about. Having read the description again, it's actually very helpful and is simply describing the best use process of laying down a gloss coat prior to putting the decals on. Why they specifically mention Microscale is anyone's guess... You could use whatever clear you want as the point is to make a nice smooth and shiny surface so that the clear film on the decals themselves has less chance of trapping air bubbles and being visible, once they're dry. Next item: ink jet and laser jet papers are, as far as I'm aware, different in how you have to use them. Laser printers work by melting the toner into the paper so you end up with a fused and more or less "solid" image when it comes out of the printer. Laser specific paper would have to account for the heat that is applied to the page during printing. But the printed image itself is also a lot more robust, due to the way the image is "melted" in the first place. I expect you still have to trim very close to the image in order to avoid that clear, shiny film look around the decal when it's dry. For ink jet paper, the composition is likely different. I would expect the water soluble "glue" that is impregnated into the page is porous by nature, in order to allow the ink "dots" to sit on the surface and not just wipe off prior to drying. I wouldn't expect this to be the case with laser paper, simply because of the way the two printer types differ in operation. Furthermore, I think it would be far more likely for ink jet paper to require some sort of overcoat of the printed images, due to the fact that many inks are water soluble. If you don't overcoat the printed image, the water might just dissolve it as soon as you dunk it. I'm sure there are exceptions with papers out there, and it's very likely some don't require an overcoat. But, the ones I've used all mention needing the overcoat. On to the ones you've ordered, and many commercial decals in general - they use a completely different process than the two I've just described. From what I understand, the paper is basically tampo printed. Not sure what sort of paint is used to do it but it's less a print and more a stamp. At least for the really good quality ones. On top of that is a clear layer, often called the "carrier film" and this too is usually applied with a pad, just like the tampo print itself. This way the carrier film is very close to the margin of the printed image. The clear layer protects the printed image but can also be really easy to see once the decal has dried. This is another reason why the "spray a clear gloss first, apply the decal, spray another one after it's dried" approach is recommended: it not only seals and protects the fragile decal but it also helps to blend the carrier film in to the overall surface. For those of you who have braved my way too in-depth description, I hope that helps!
-
Great pics Noel! Even the spelling mistakes are good to know about. Yes, the images you've shown clearly show the applied topcoat too. If they didn't have it, you'd know very quickly as the decal would basically disintegrate after soaking. Really nice, careful placement you've achieved so far. Liking your progress!
-
Sorry Noel, I should have been more specific about my topcoat comment. In the description for the decals from the seller on ebay that you linked to, it mentions the decals have no topcoat. Given my long history with model making (not that I've finished many, mind you!) I've learned a thing or two about water slide decals. Almost all the ones you'd get in a model kit (including the ones that came in the Yamato VF-1 kits) have a clear layer over the printed decal, already on the paper. When you soak them in water, the whole thing floats right off, and the decal stays intact. Contrast that with DIY decal paper and unless you overcoat the printed content, soaking them in water is almost certain to see all your hard work literally float away! So they make this topcoat stuff that's basically a water safe clear coat to put over prints. Unless you're really good at cutting around the decal, you're likely to get a bit of clear that will be visible, even after the decal is dried. Long story short: did these decals have that thin clear film already applied or do you have to overcoat the decal on the page, before you use it?
-
Sounds right to me too. Looking good Noel! Just read the item description and is it true that there's no clear coat already on the decals? If so, that's a pretty steep price for what they're giving you, especially if they're thick like you mentioned. Still, the results look great!
-

1/48+fp's, 1/60+fp's, 1/72, 1/2k, 1/3k,1/100 and now 1/144
mickyg replied to VF-18S Hornet's topic in Toys
That looks outstanding. And yes, I think it's about time they just started painting em. -
Awesome! And right here in the state I live in, no less.
-
This is all kinds of awesome! I didn't know this sort of engine even had a zone-5! I'll have to go do some research now...
-
That is just insane! Very nice work!
-

Your most recent Macross or toy purchase! General thread.
mickyg replied to Gakken85's topic in Hall Of The Super Topics
At the moment, I'm playing the part of IT guy and staff picture photographer on the side. Our marketing manager is new to the company and has ambitions of really pushing our image into as much social media and online presence as possible, so he's very interested in engaging someone who can get some different perspectives on pictures and video content, suitable for marketing purposes. Let's just say my interest in a toy to fly around, now has a financial reason hanging off of it too. -

Your most recent Macross or toy purchase! General thread.
mickyg replied to Gakken85's topic in Hall Of The Super Topics
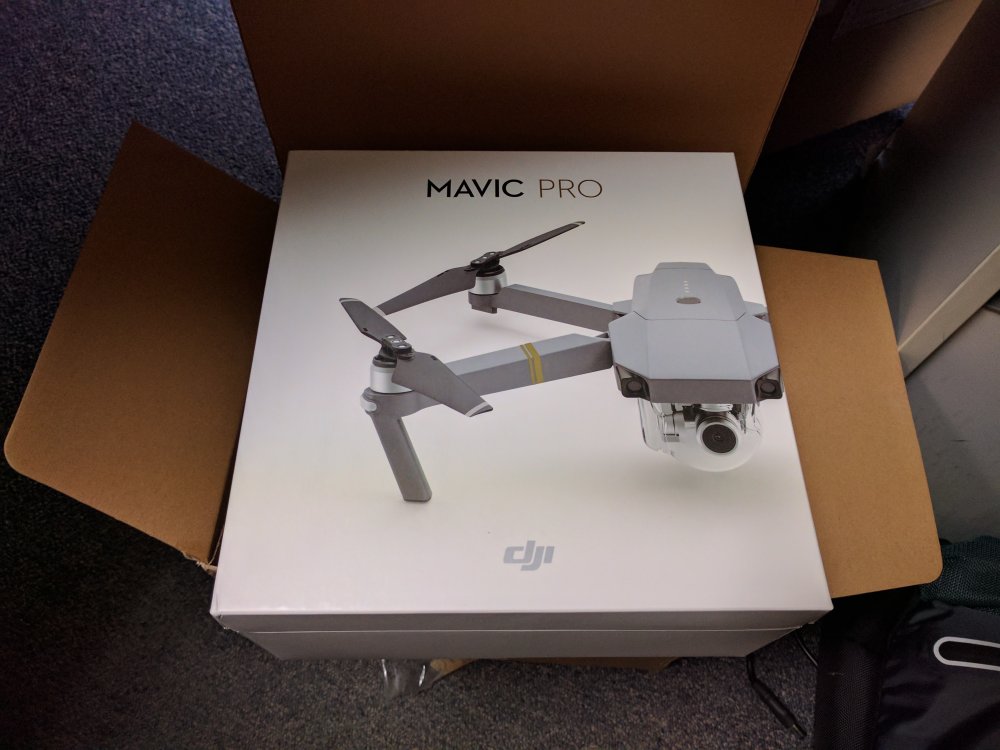
Not exactly Macross related but here's a new acquisition that hopefully will become a work tool in the not too distant future. -
This is beautiful Barurutor! I've only got about half that space at work and it's occupied with a two DX Delta valks, a Cosmo SDF-1 and the Spartan. Yours is very inspiring.
- 8198 replies
-
- toys
- collectors
-
(and 22 more)
Tagged with:
-
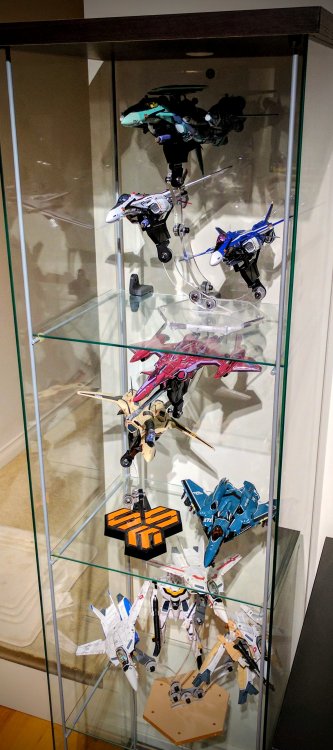
Thanks guys! Still got a few to add, some tweaks to make and protective paper to remove. But it's coming along. Trying my absolute best to keep the whole collection in one Detolf but not have it look crazy cramped in the process. Very challenging. YetiStands is about the only way to do this whole multi-level approach and not have it look too cluttered.
-
Great shot Saburo! Happy 4th everyone!
-
Thanks! I'll give it a try. It is odd that it's inside the surfaces that aren't exposed though. The wheel wells are one but the back side of the back plate (in battroid) that you can only see when it's been disassembled, this bit was also yellowing. Still, white spirit is easy enough for me to try. Very surprised that it won't strip the paint, given it's a form of alcohol and the gundam eraser fluid is (I think) also alcohol based. I'll have to see how it goes and just be careful around the paint.
-
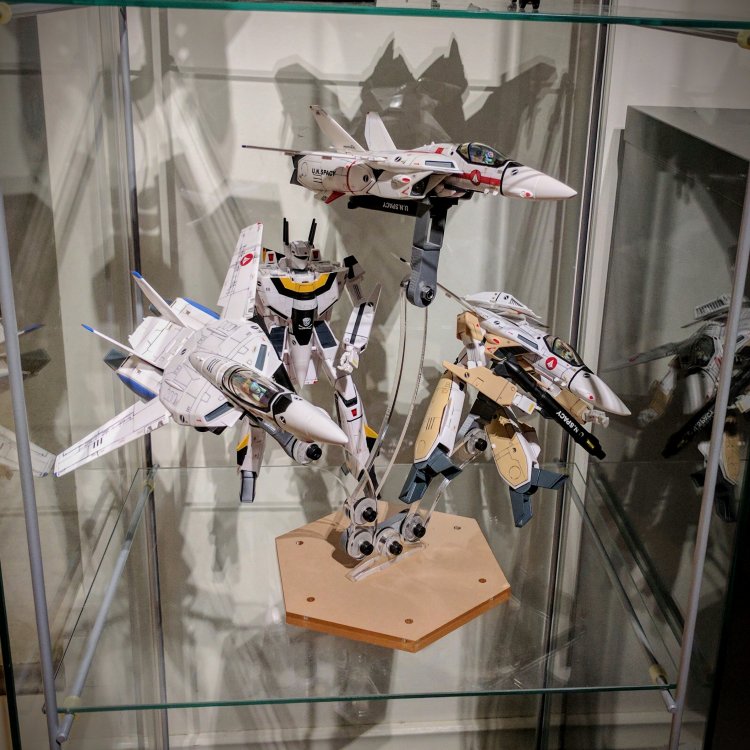
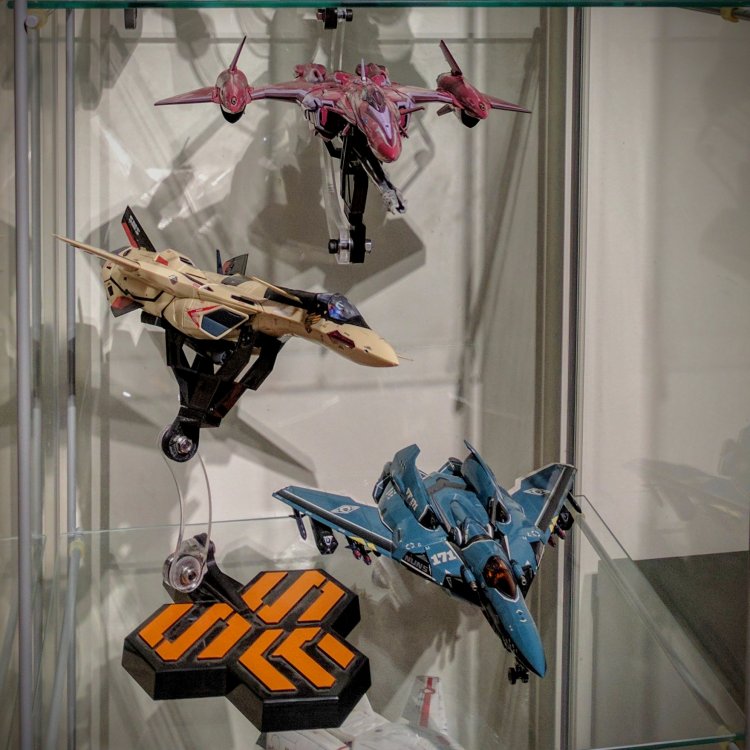
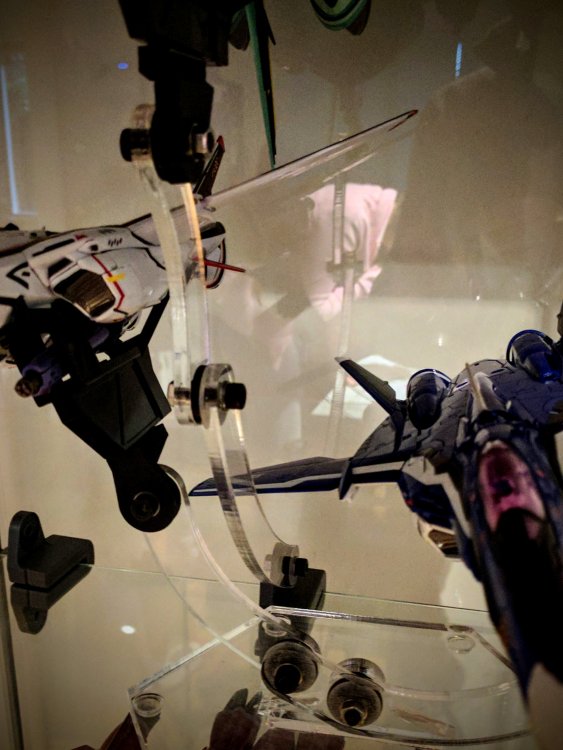
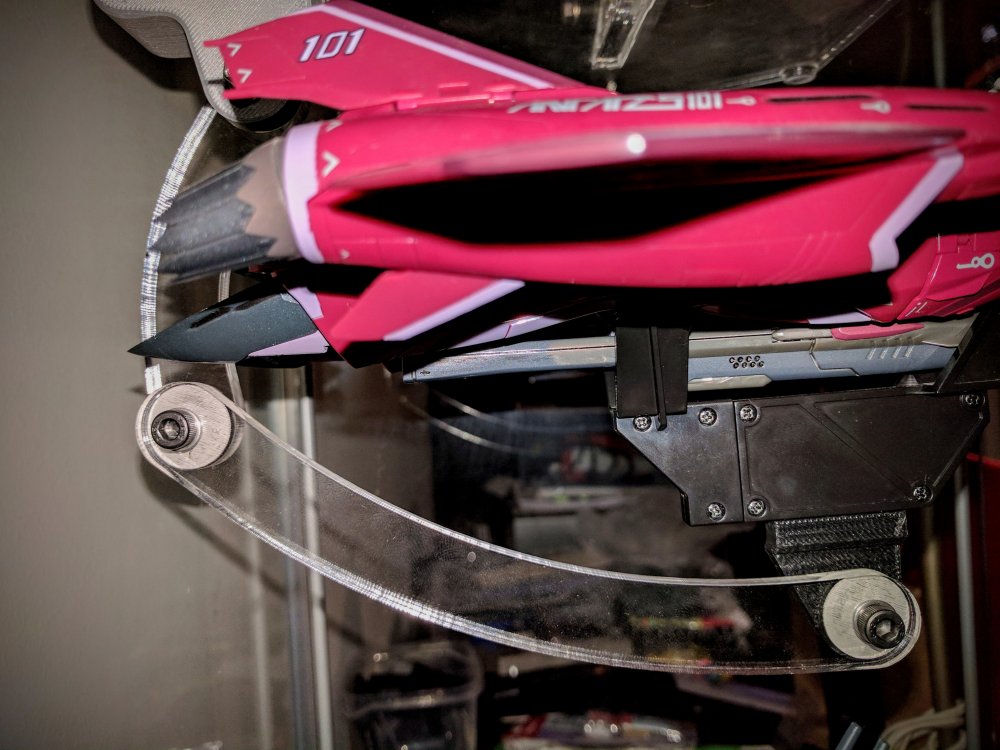
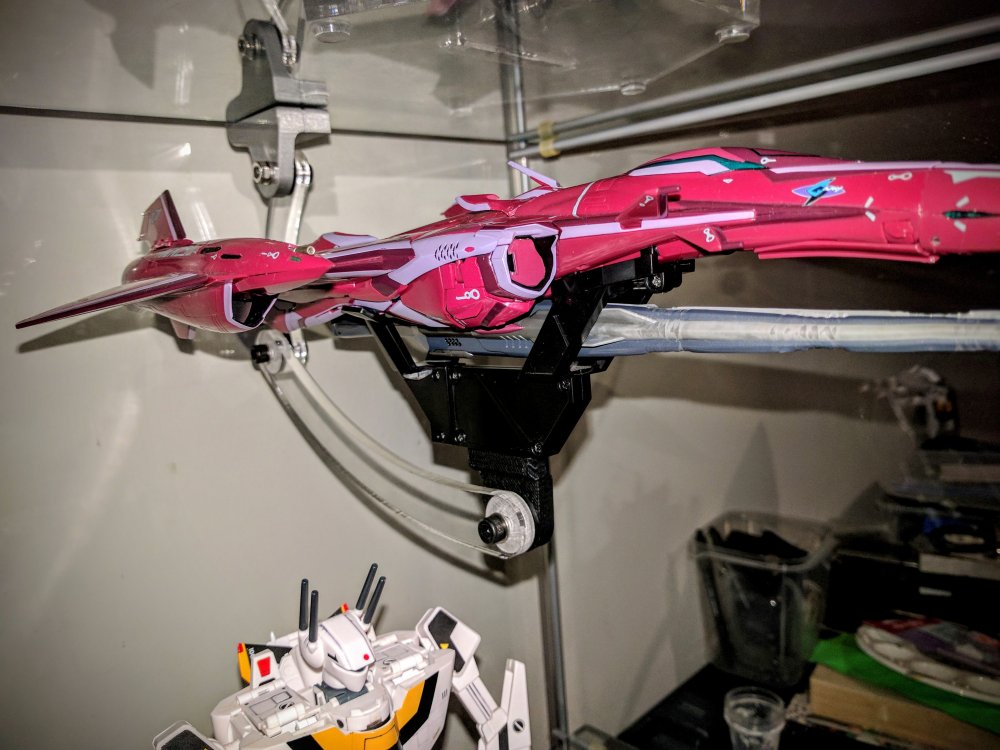
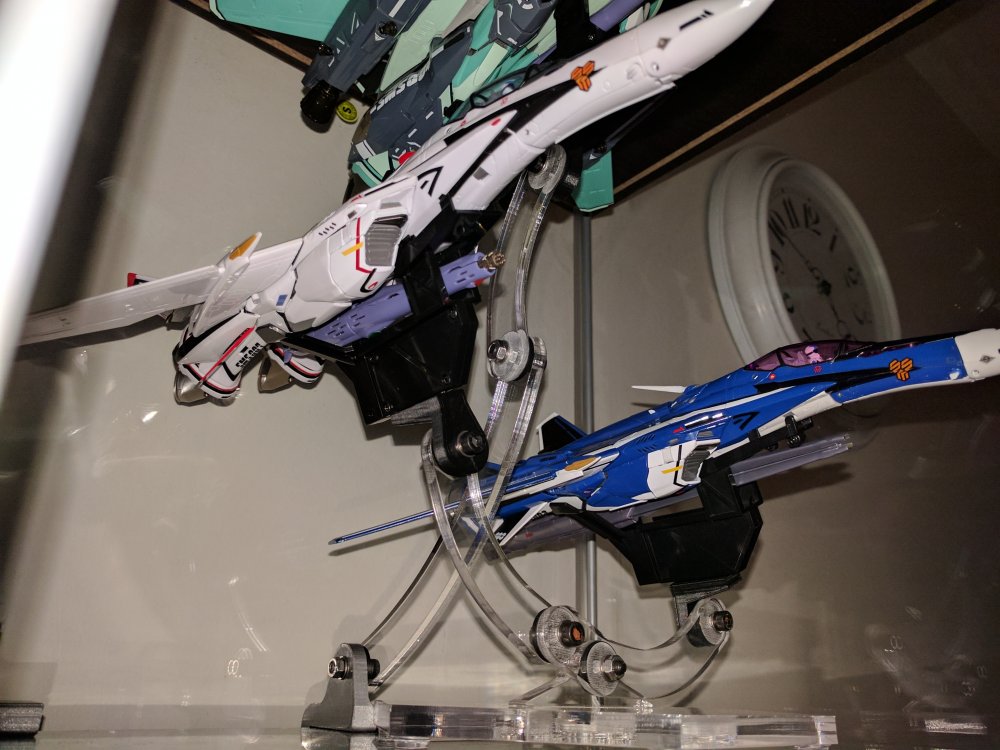
Almost there. Nice combination of Alpha, glass shelf adapter, Bandai stand kit, and various valk adapters. These work really well and I'm shocked at how long it's taken me to finally get things mounted and displayed.
-
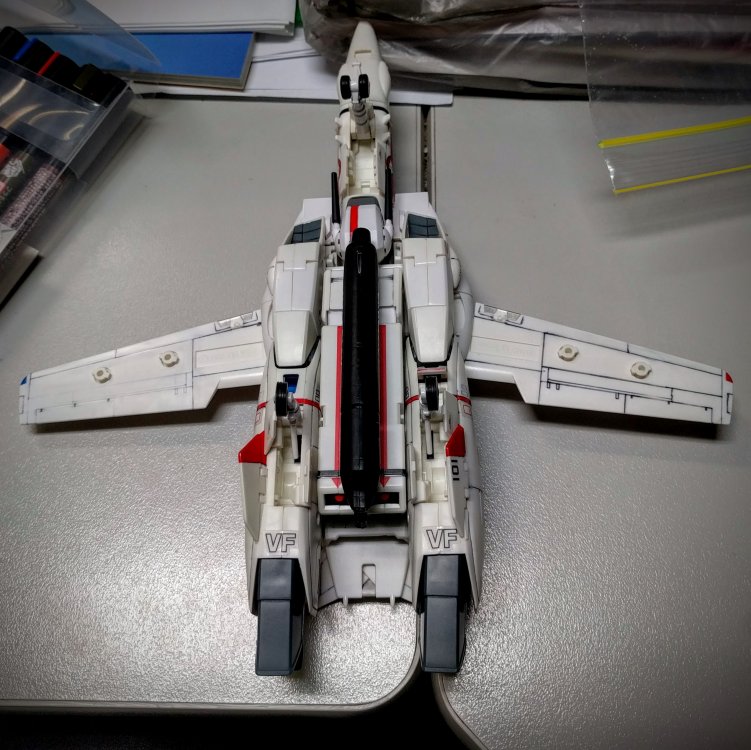
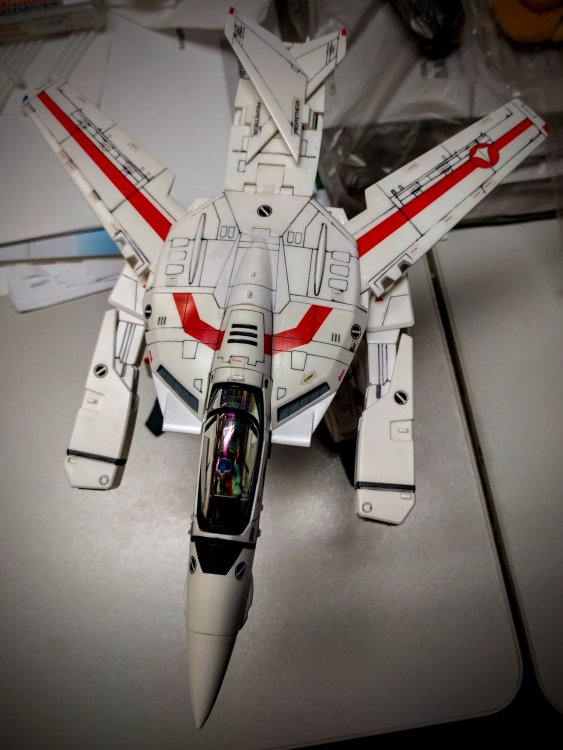
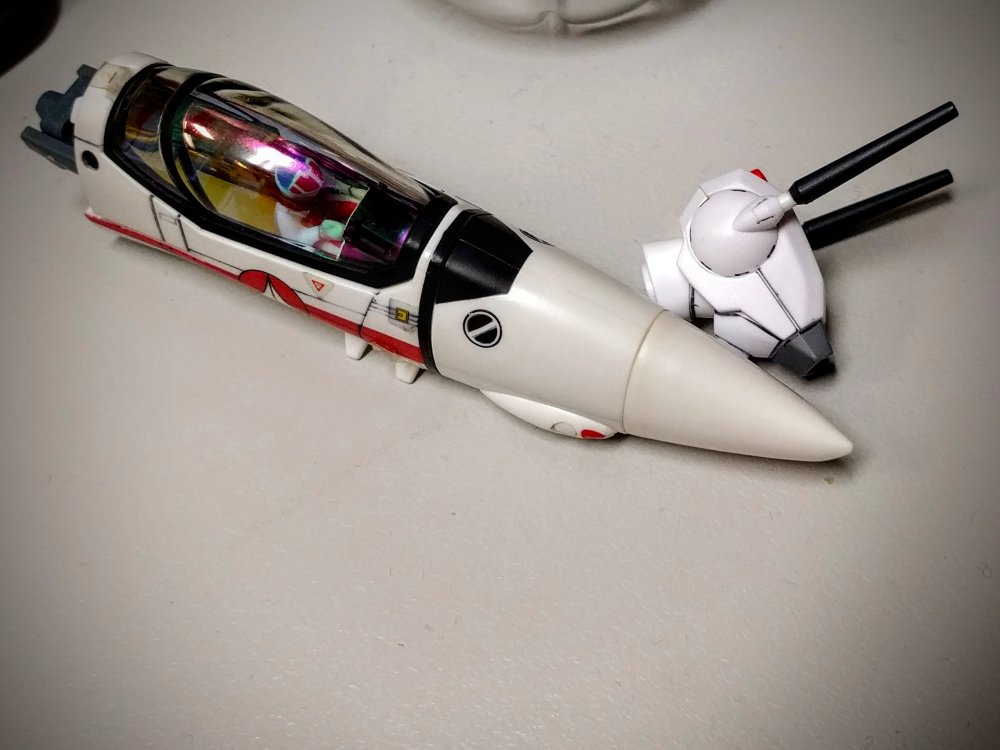
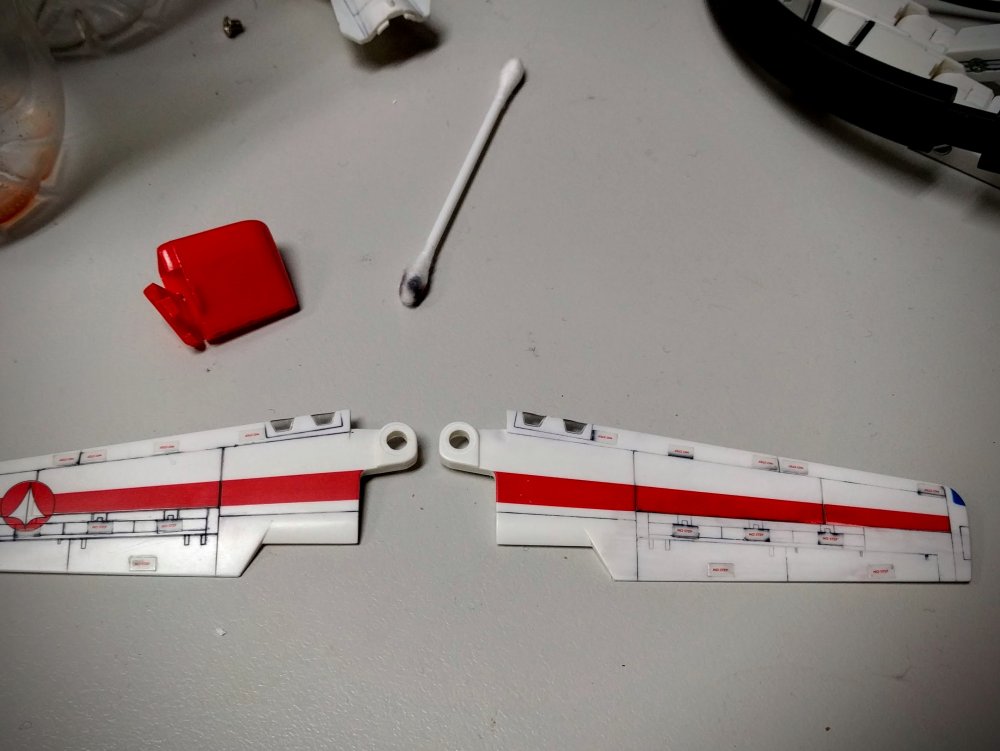
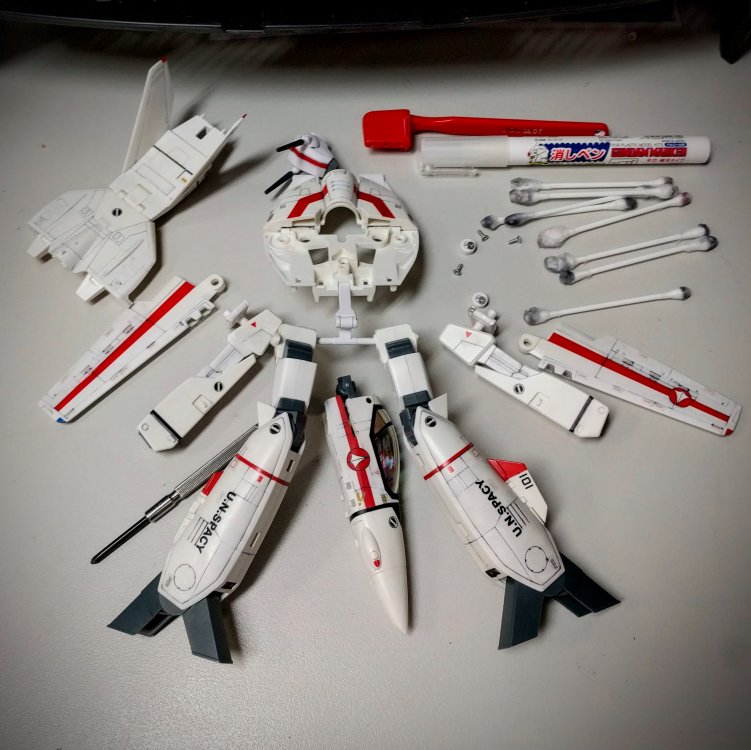
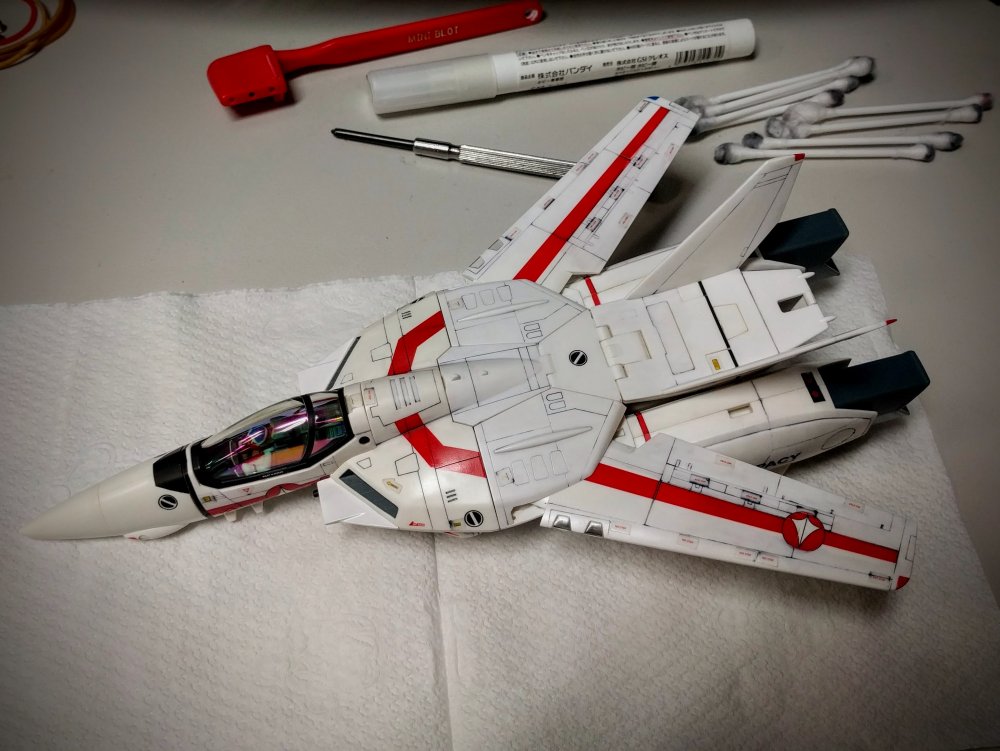
Working on cleaning up some recent second hand acquisitions that had a bit of a heavy look to the panel lines. The stickers were applied really well and heavily applied lines might have appealed to some. I prefer a more subtle look personally so set about trying to scale it back a bit. Luckily the lines responded really well to plain Gundam marker eraser (GM300) and a cotton swab. For some stubborn areas, a toothbrush was used. For the Yamato valks, it appears the paint is acrylic, as the Gundam eraser was not kind at all to the tampo printed kite symbol and the red painted areas on Hikaru's ride. Seems Bandai go this route with their paints as well. I'm guessing it's a safety thing across the board for most toys in the last decade or so. Here's progress so far. I've still to do some trimming of stickers to get rid of the bleed under the edges. If this fails, I'll probably just remove them altogether. The left wing has been cleaned up, the right has not (reverse that since these are the bottoms of the wings): I think I've started on the the left side in this image. Right wing mostly done and left wing just started. You can see how aggressive the gundam eraser fluid is on the red stripe and the kite symbol. You can make out an oddity on this one as well - Parts of this copy of the 1J have yellowed pretty obviously. But the head and a few other bits and pieces have not. Strangely, the yellowing is present inside the wheel wells too. Obviously not UV related from the sun, is my thinking. Everything torn down and ready for reassembly. The process is a bit wasteful on cotton swabs. All back together:
-
-
Sure thing - Had that thought last night when I snapped it but the light in this room is terrible. I'll post something up in a few hours. If it helps in the meantime, the top one (holding the RVF-25) is a long arm (XL? - it comes with the bandai stand adapters) with a short one (those that come with the stock Alpha stands) on the end. The bottom is the exact opposite, with the short on the shelf adapter and the long attached to the VF-27.
-
OK - that was hilarious! Thanks for posting it.
-
I certainly had the thought of making it "interesting" but quickly shelved it (see what I did there?) for the same reasons. In my opinion, the mount's real advantage lies in its ability to get the subject very close to the top "ceiling" of the underside of the shelf it's mounted to. For example, I could have set up the Alpha to display the 3 VF-25s in that top shelf but wanted to experiment a bit with the shelf adapter instead. But, there's no way I'd have been able to get the VF-27 up that high with any solution other than the adapter. Well, maybe with about 3 arms on a stand but then it'd look ridiculous. In summary, the shelf adapters are a great addition and open up even more display options.

