Jung
-
Posts
381 -
Joined
-
Last visited
Content Type
Profiles
Forums
Events
Gallery
Everything posted by Jung
-
Just currious, you used Acrylics for the primary painting? The main colours are enamels. Enamels are tougher and can handle the handling during transformation. Here's the list of paints for the armour: Hardware store spraypaints sprayed into paint bottles for the airbrush: 1) Main Blue is Navy Blue mixed with Medium/Dark(?) grey. Can't give you the ratio, just kept adding till I got the desired shade. 2)Flat Black and white 3)Chrome Testors enamels(those small $1 bottles) 1)Fire Red for the booster lights(?) Tamiya Acrylics: 1)Copper for the engine highlights 2)gunmetal for the dark areas of the strike canon and the "missile doors" of the booster fronts. Future is used for the clear coating, and for the final Semi Gloss coat I mixed a 9:1 ratio of FUTURE to Tamiya acrylic flat base.
-
If you guys want a more realistic look, right after each panel line penned, use a q-tip or paper towel saoked with a bit of rubbing alchohol or windex and wipe till you get the fading you like. This gets rid of that "penned" look with solid lines.
-
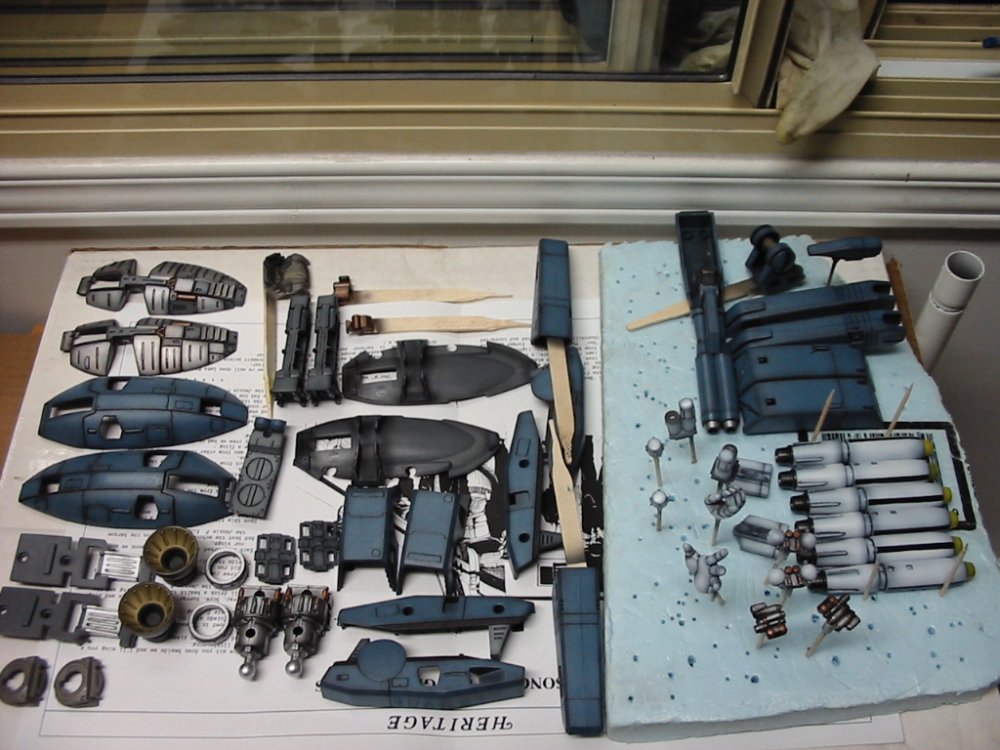
Sorry not gonna get too much into panel lines, it's covered so often in the modeling section that I'll just be repeating. I use enamels, dillute it using low odor varsol (around 70-30 thinner-paint). After paneling leave it overnight to dry. Than using a q-tip or towel soaked with a bit of the varsol, whipe off the excess. Here's a pic, before letting the panels dry overnight. This is all the pieces that comprise the FP set..
-
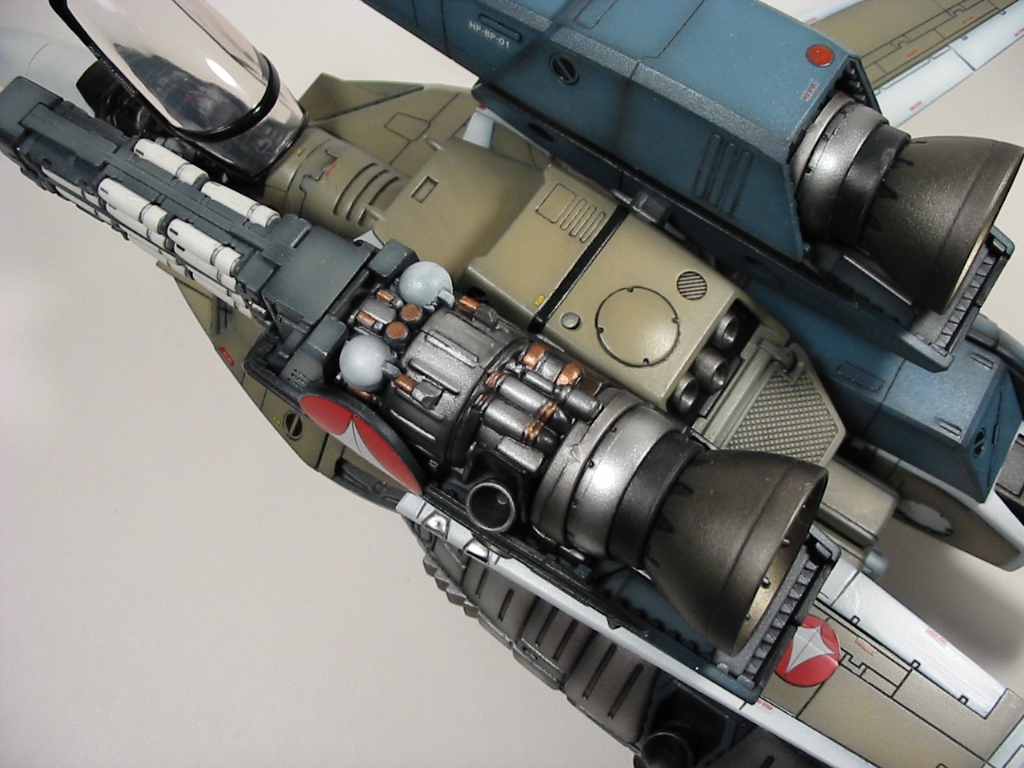
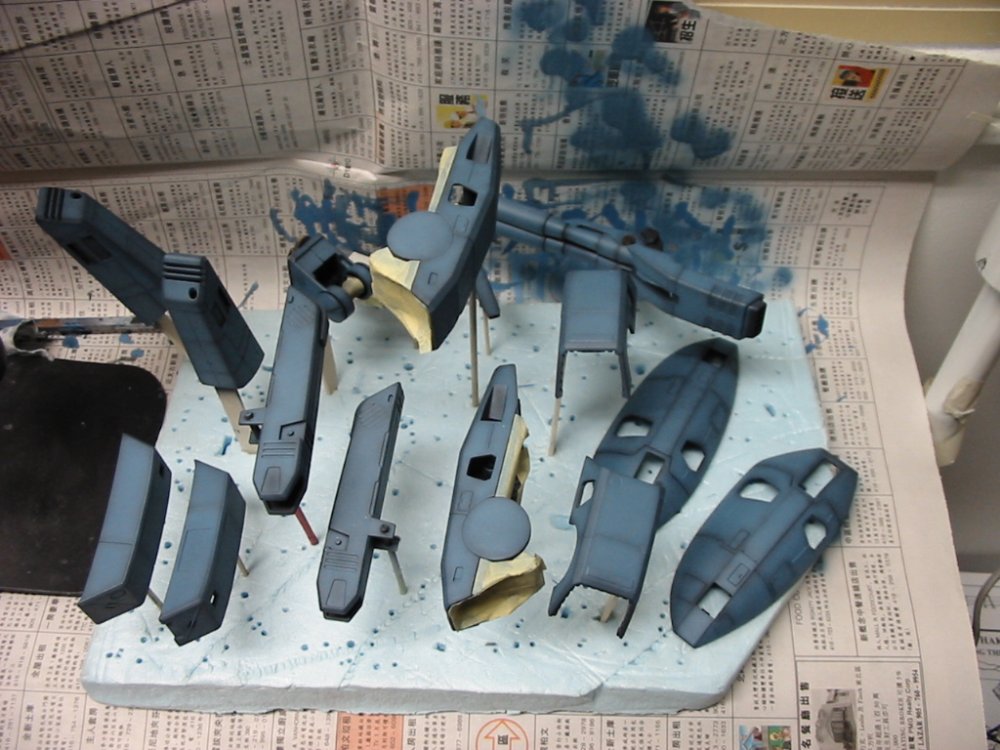
To get the shaded look (around panel lines and edges), I paint the whole pieces flat black. Let that dry, than for the blue (navy blue + dark/med grey), carefully spray leaving the areas around the panels/edges darker. Not the greatest pic, but you can see it on the leg armour pieces.
-
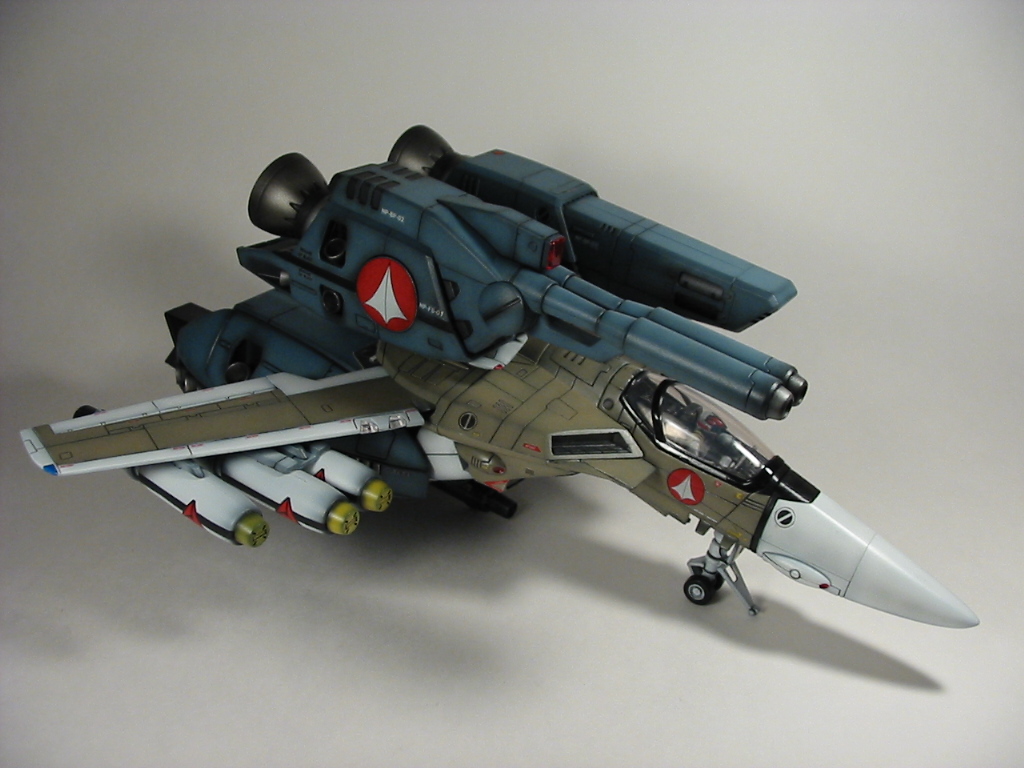
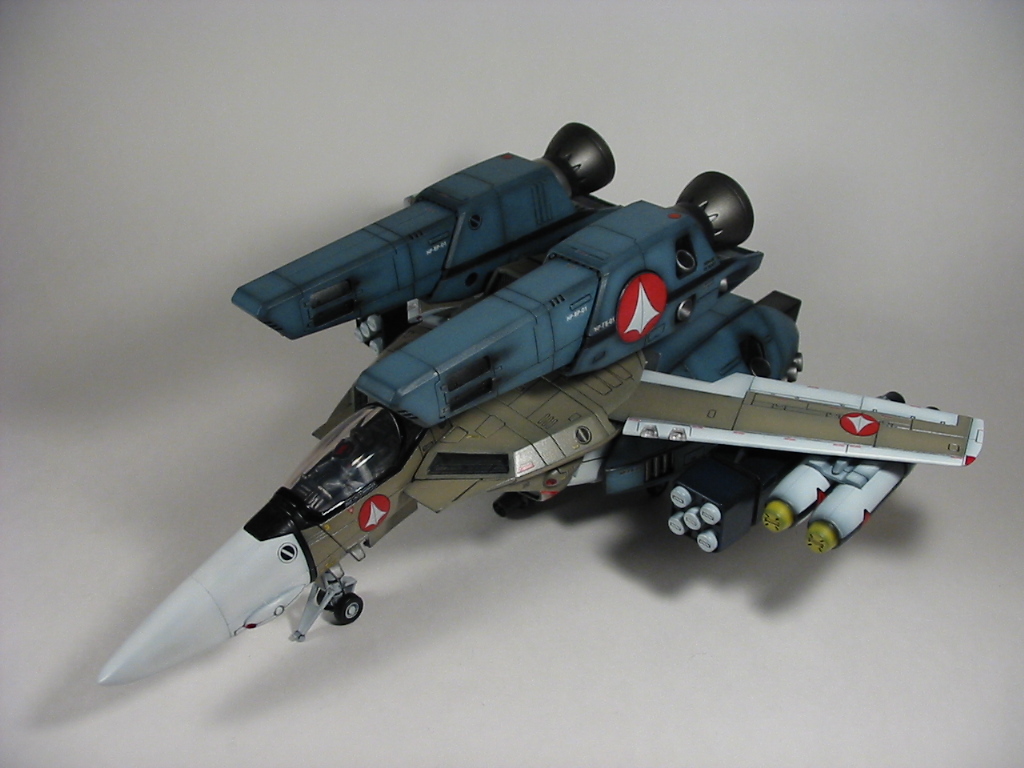
last one. Warmaker gets his strike!

-
asdfd
-
sdfsd

-
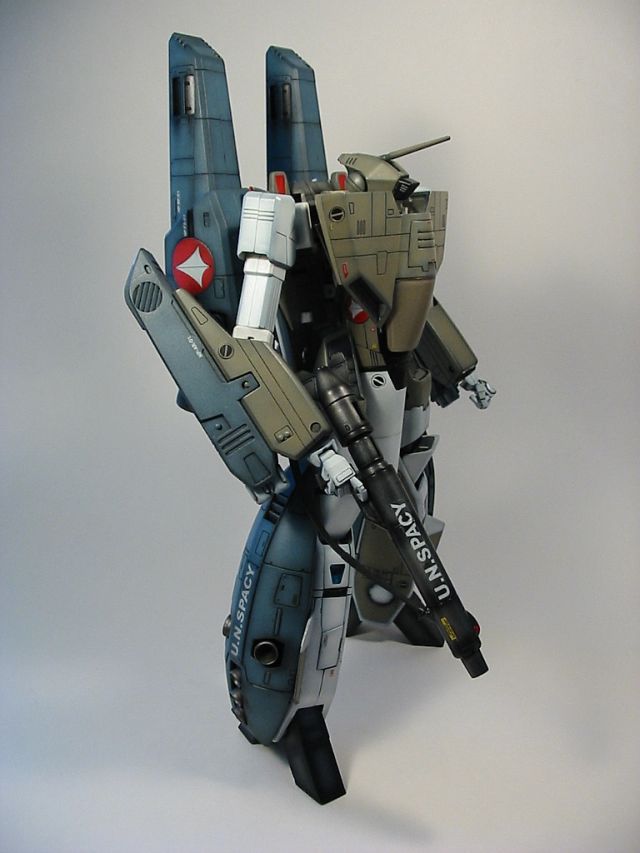
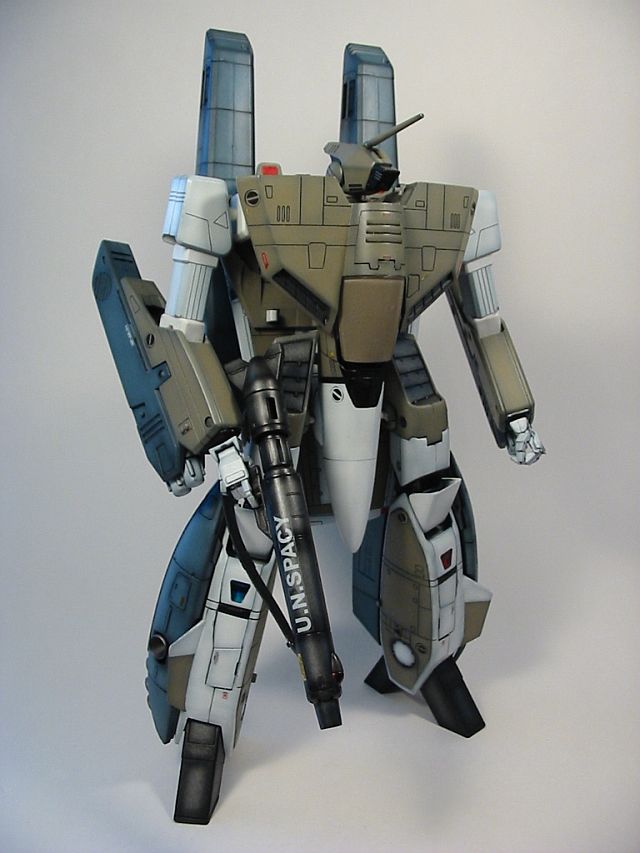
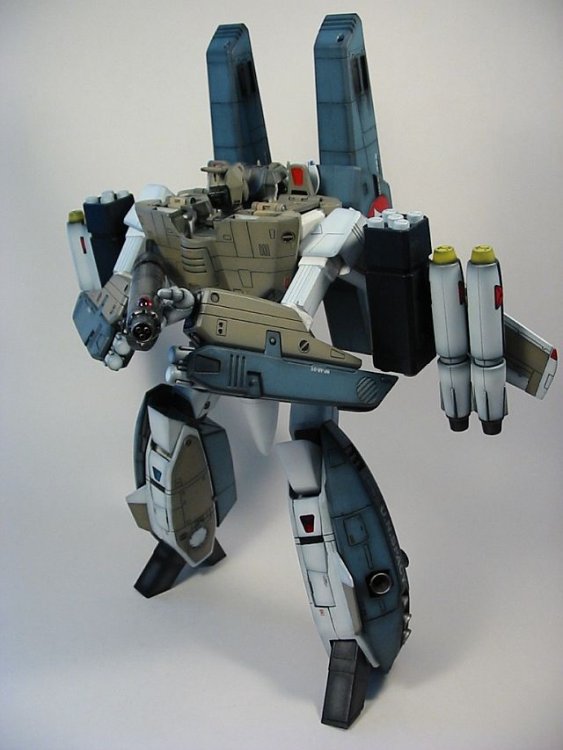
battroid

-
asdf
-
asdf
-
asdf
-
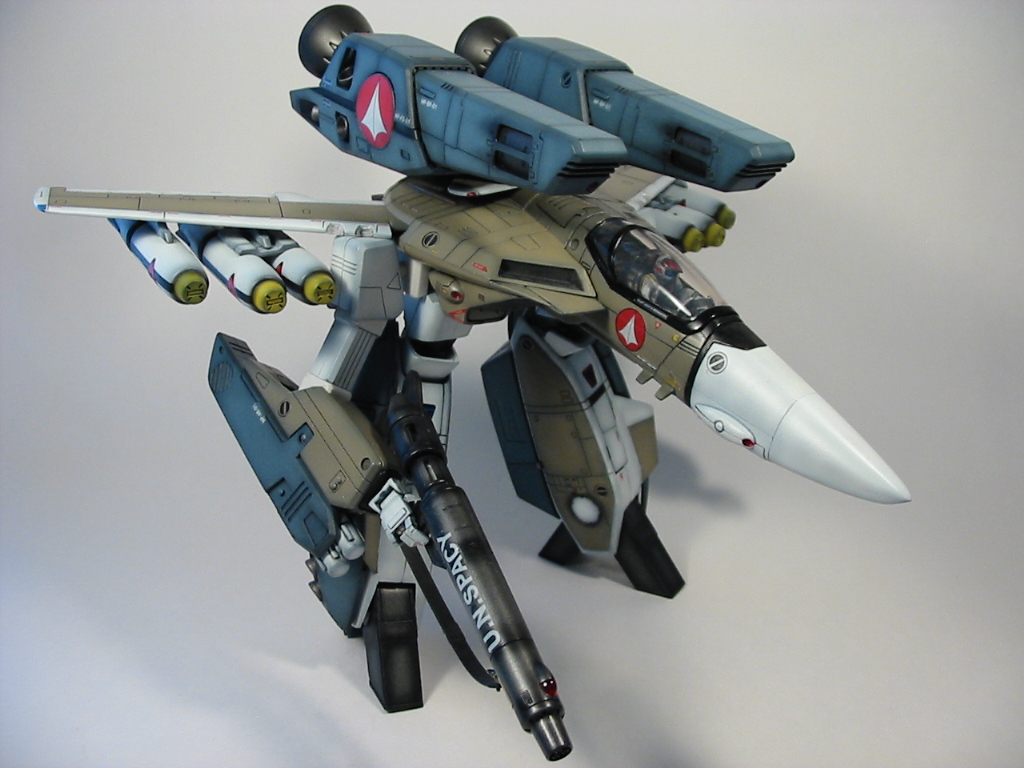
gerwalk
-
asfd

-
asdf
-
internal details
-
asdf

-
asdf

-
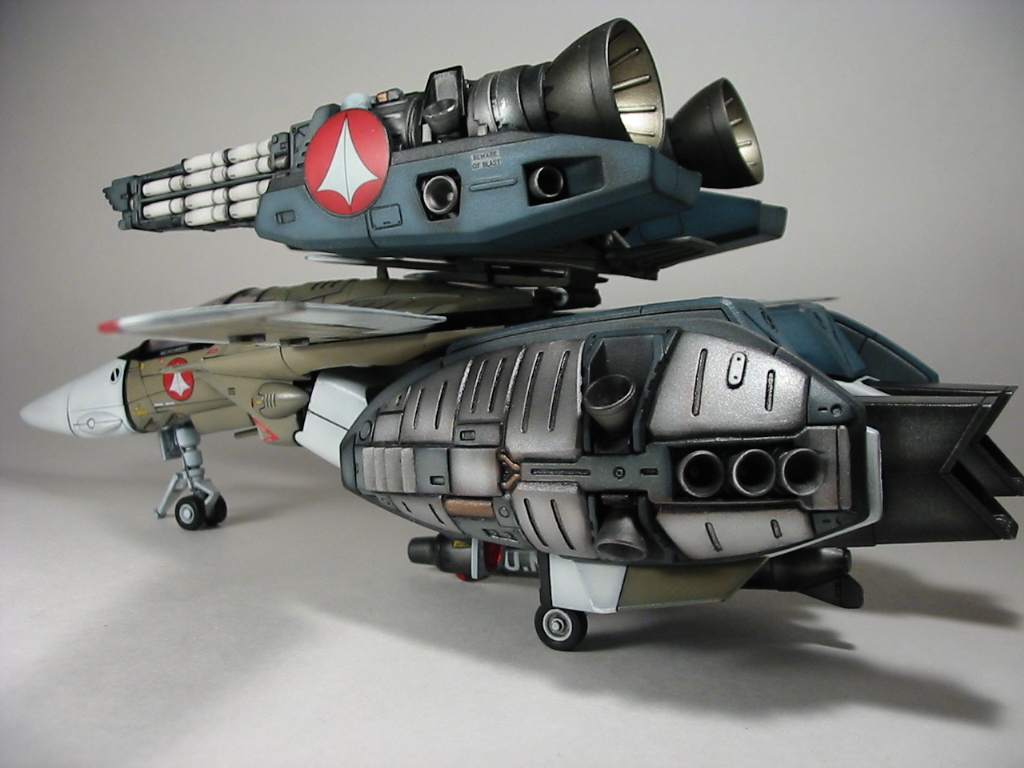
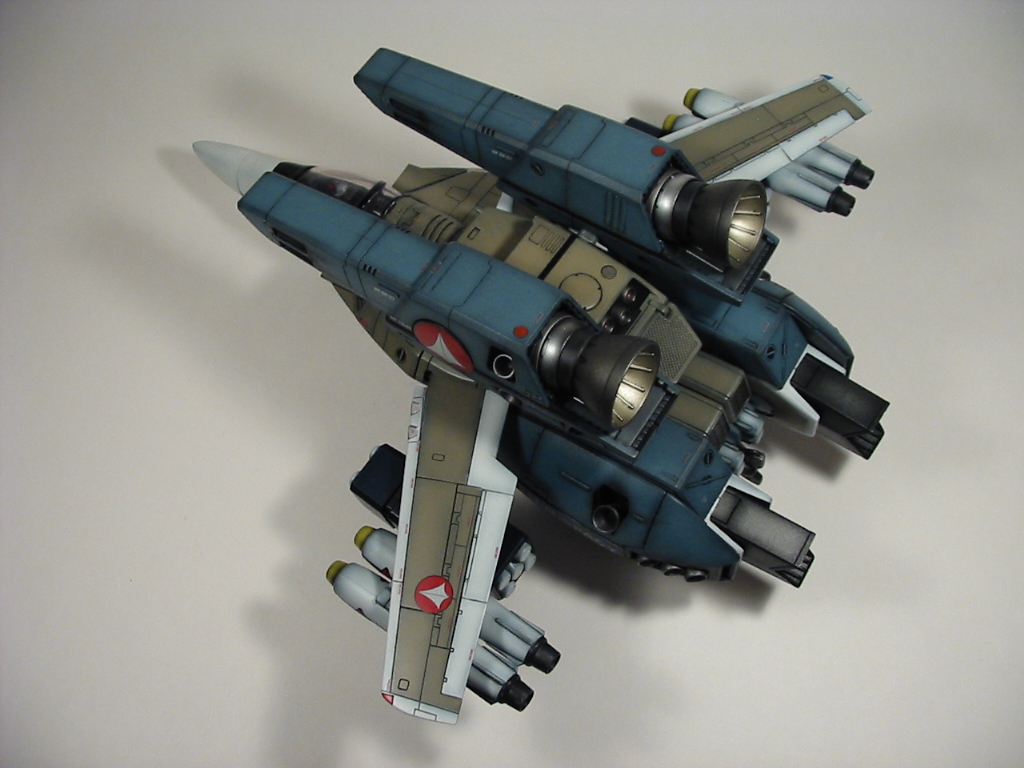
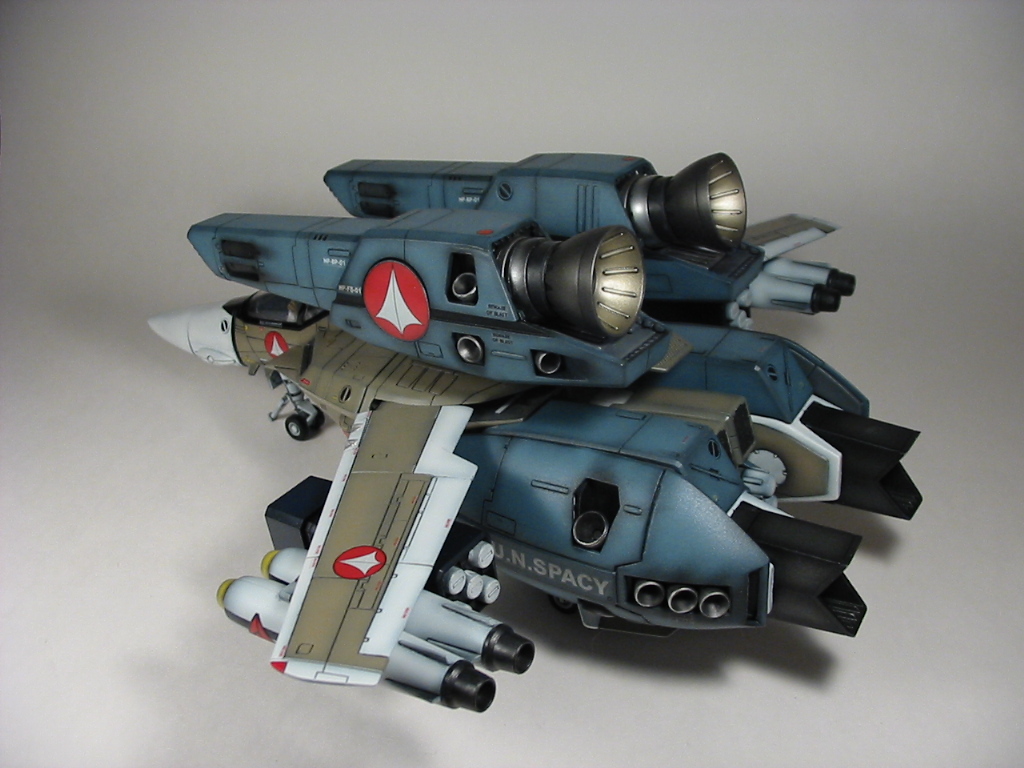
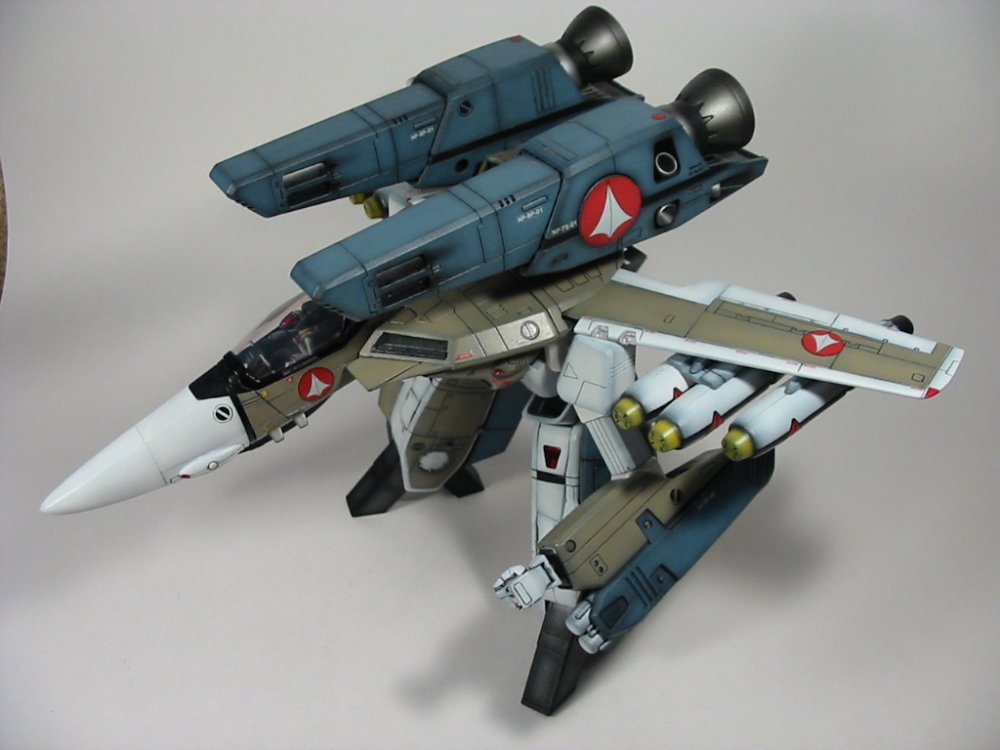
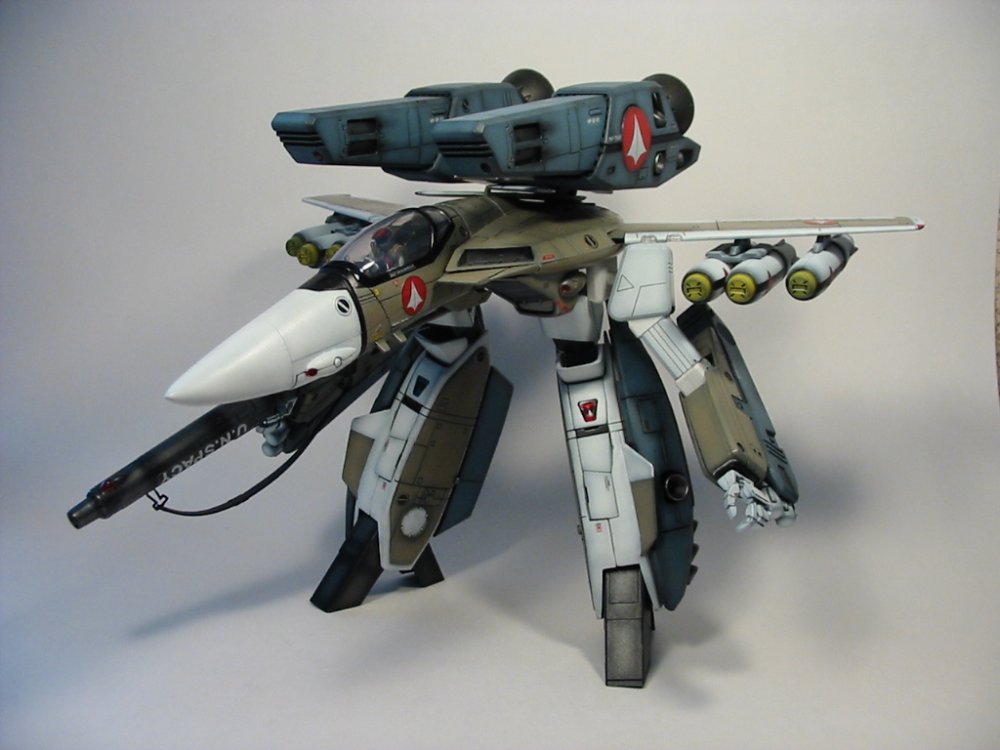
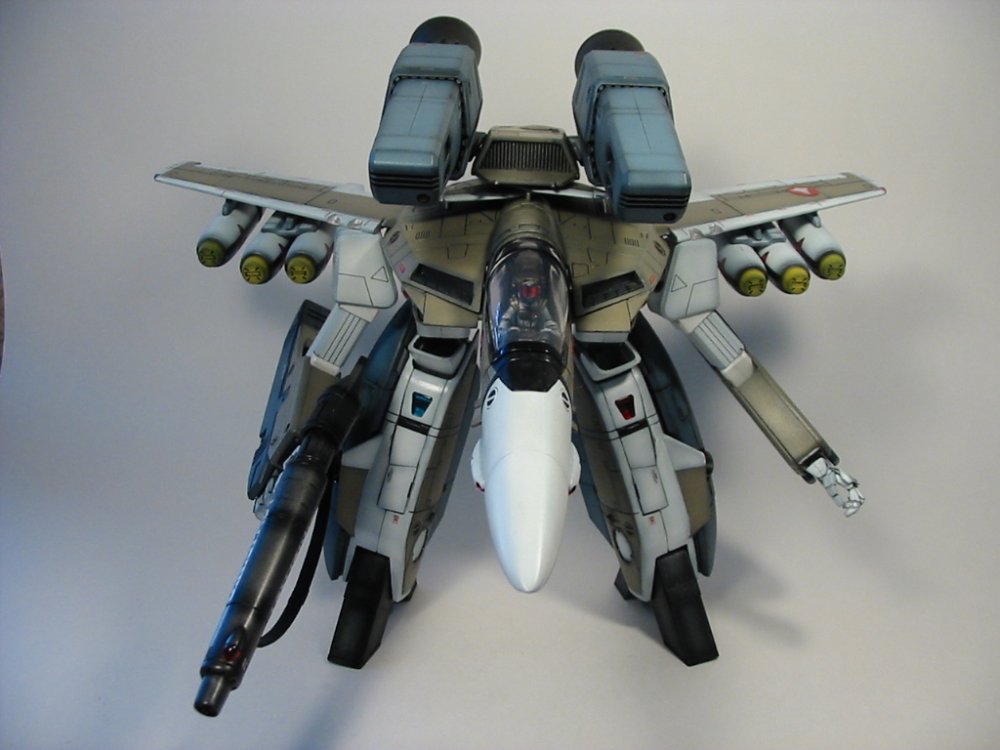
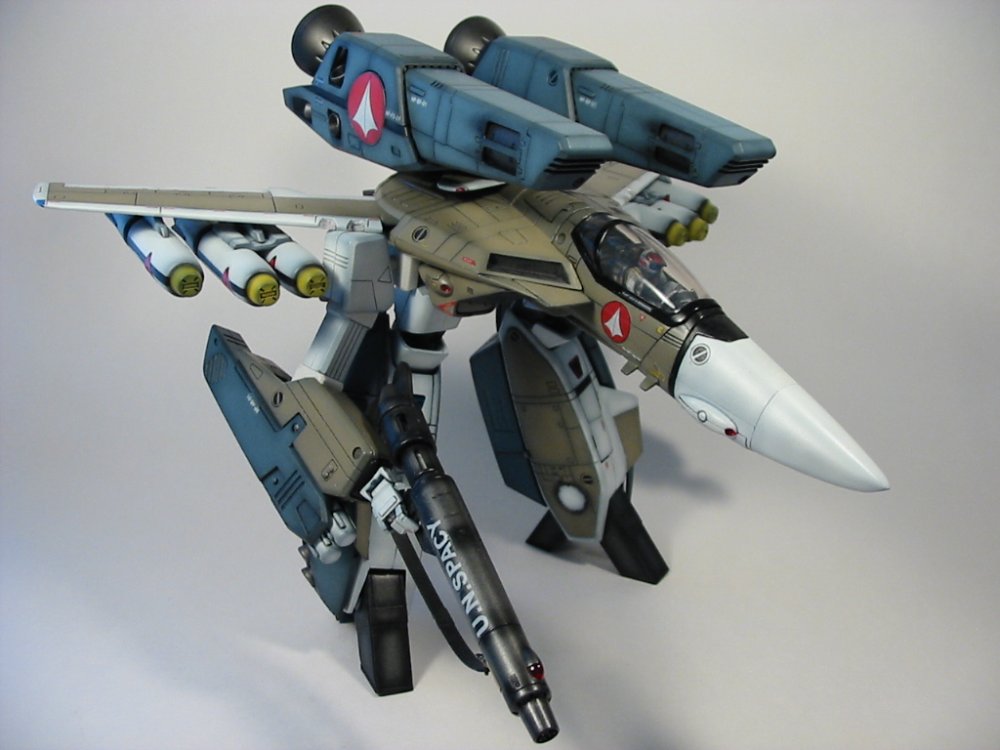
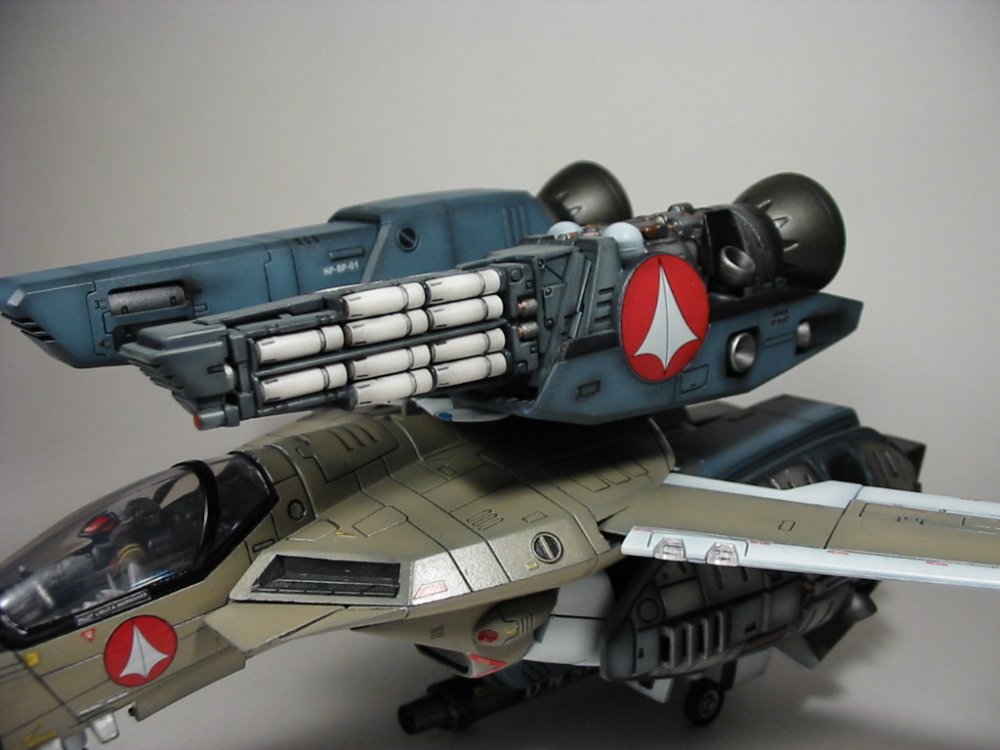
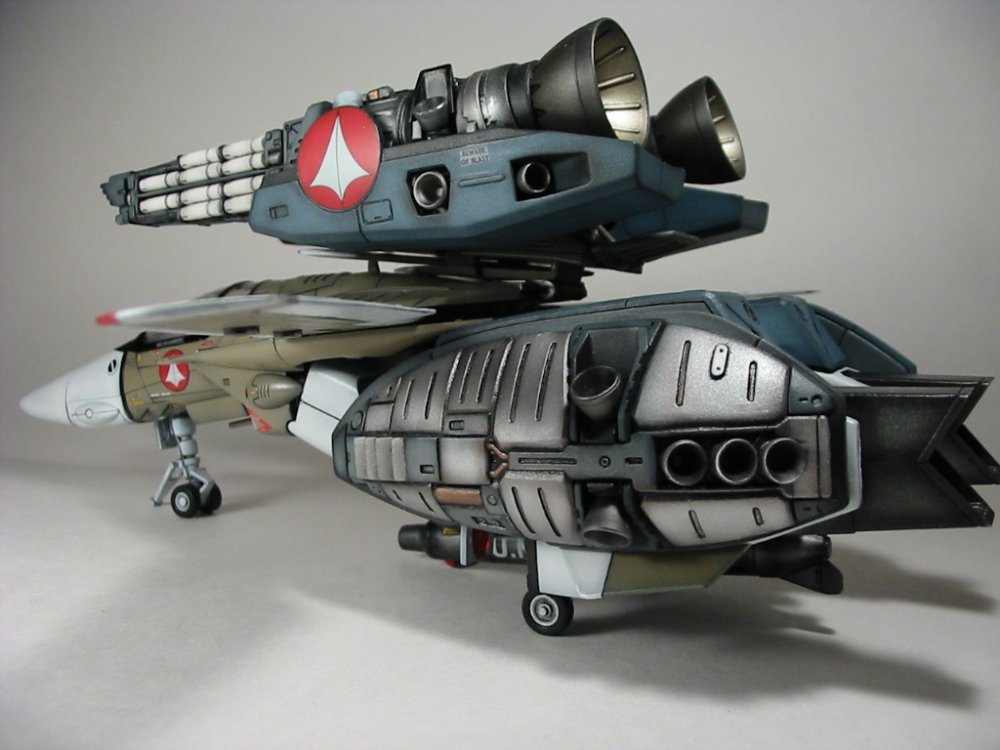
Here are the fast packs for my 1/48 custom CF. Very impressed by the fast packs, I would say more so than the 1/48s themselves The proportions are just right, much improved from thier 1/60 version. My only complaints(minor) I have are the lack of details on the rms-1 missiles and missile pods (could use some panel lines) and they are a tad heavy (tipsy and difficult to pose in battroid with the heavy boosters). Anyways onto the pics

-
1)1/48 fan racer 2)1/48 Super ostrich (how about make this a conversion kit to fit the yamato 1/48s?)
-
like others have asked, how much are the North American releases going for? Didn't know that the N. American releases would be different than the Japanese version, if the prices are similar I would rather have the takara version.
-
future and food colouring, read my first post
-
Everywhere I read, it tells you to spray future straight out of the bottle, ie don't thin it. It works fine, but from my experience it clogs the airbrush quicker than thinned paints, so I gotta spray windex to clear it more often. I'm not sure what you mean by drying into hairlike strands? toonz: heh, yeah I'm finally finishing projects that I started last year eh?
-
can't wait to see this baby fiinished!
-
wow that looks great! do you have any better pics of it? The more diffcult part of modifying it into a transformable kit would be the figure itself, you would pretty much have to scratch build the female body IMO.
-
lol, yeah I've learned my lesson on the weak hip joint, I replaced it with a wave joint, I'll take a pic of it when I find time. I also added a ball joint for the neck, so it can look forwards while riding the bike rather than looking downwards. I love these imaii transformable cylcone kits, I'm hoping toynami copies them so I can pick up a rook (fuke)!