-
Posts
2061 -
Joined
-
Last visited
Content Type
Profiles
Forums
Events
Gallery
Everything posted by Anasazi37
-
Bandai is still using styrofoam for DX Delta valks, which was disappointing to see when I opened up my Hayate and Mirage 31AX's. Really wish they'd stop. Maybe they'll move away from that with the next set of releases....
-
There's an existing thread on it that is already three pages(!) long. We're all excited and worried that it will be made. Excited because of the detail, worried because of the likely price.
-
I'm more than a little annoyed that Bandai might release an HMR Hayao 1A TV before we get one in the DX line. If we get one in the DX line....
-
AE just opened up POs for the Ghost Set: https://www.anime-export.com/index.php?product=62727 Their price is within one dollar of what I paid through my proxy service, so it's not a bad deal.
-
I don't care how much this will cost. I wants it. I must have the precious.
-
@Mommar is right: I don't think I'll be able to put these on either of my AX valks. I'll just leave them on their own stands, flying in formation with my Hayate AX. They look nice on their own.
-
Holy crapballs. The SDFM and DYRL parts of the HMR line were dormant for so long, I gave up on them. The upcoming VF-1S release restored some hope, but this is really nice to see. I truly hope they release all of these and aren't just trolling us with one-off prototypes for the millionth time.
-
...and now I'm thinking about opening up my second 0S and customizing it like @Angesdad, mainly so I can feel like I have a complete toy....
-
I have seen it, and you're right. I thought I'd at least try them on and see how they look, but they might be staying on little stands next to my Hayate and Mirage AXs, which is what I did with my Messer 31. He's sporting the super parts in Fighter mode and I have the Lil Drakens flying in formation next to him.
-
I'll probably toss them on my Mirage 31AX, even though they're supposed to go on Hayate's. My Hayate already has the super parts on it, which in true Bandai fashion were released right before the Ghost announcement, meaning that we'd already committed to a set of accessories for a specific valk and now here comes another set. If they're only available as some kind of Full Set Pack reissue of Hayate, I'll pass.
-
I ran the same search myself this morning. I was trying to avoid looking through more than 400 Macross listings on Cults3D, many of which have unhelpful preview images, if you happened to remember which files you accessed. Sounds like no.
-
Are the STL files for these figures posted somewhere online? How about the Bodolza?
-
There are several printing marketplaces out there with options that are reasonably priced. Especially if you're okay with the standard grey resin color and finish and the piece isn't huge. You upload your file and cost estimates from multiple vendors are automatically generated. I only bought my printer when the cost of outsourcing the printing of parts I needed for large kits exceeded the cost of a printer. It can add up....
-
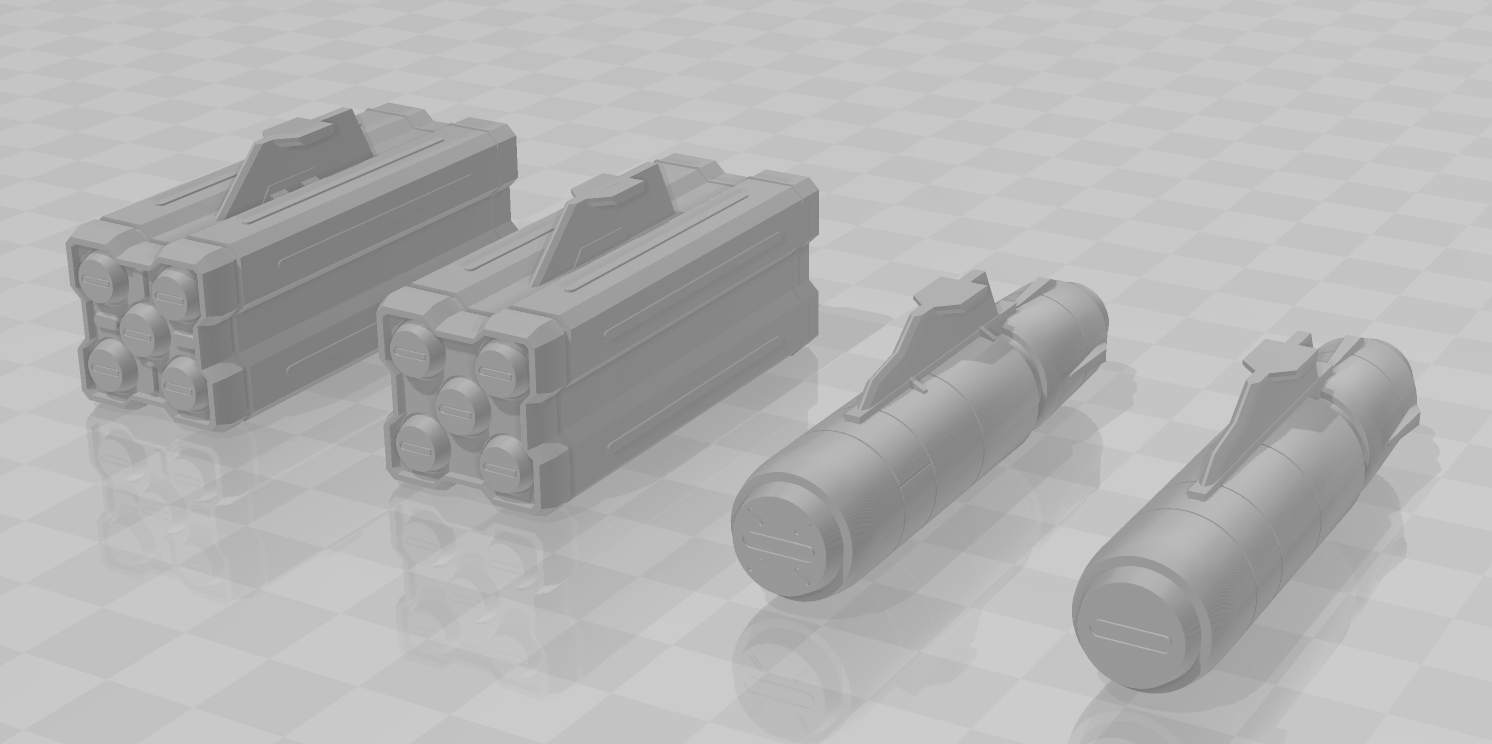
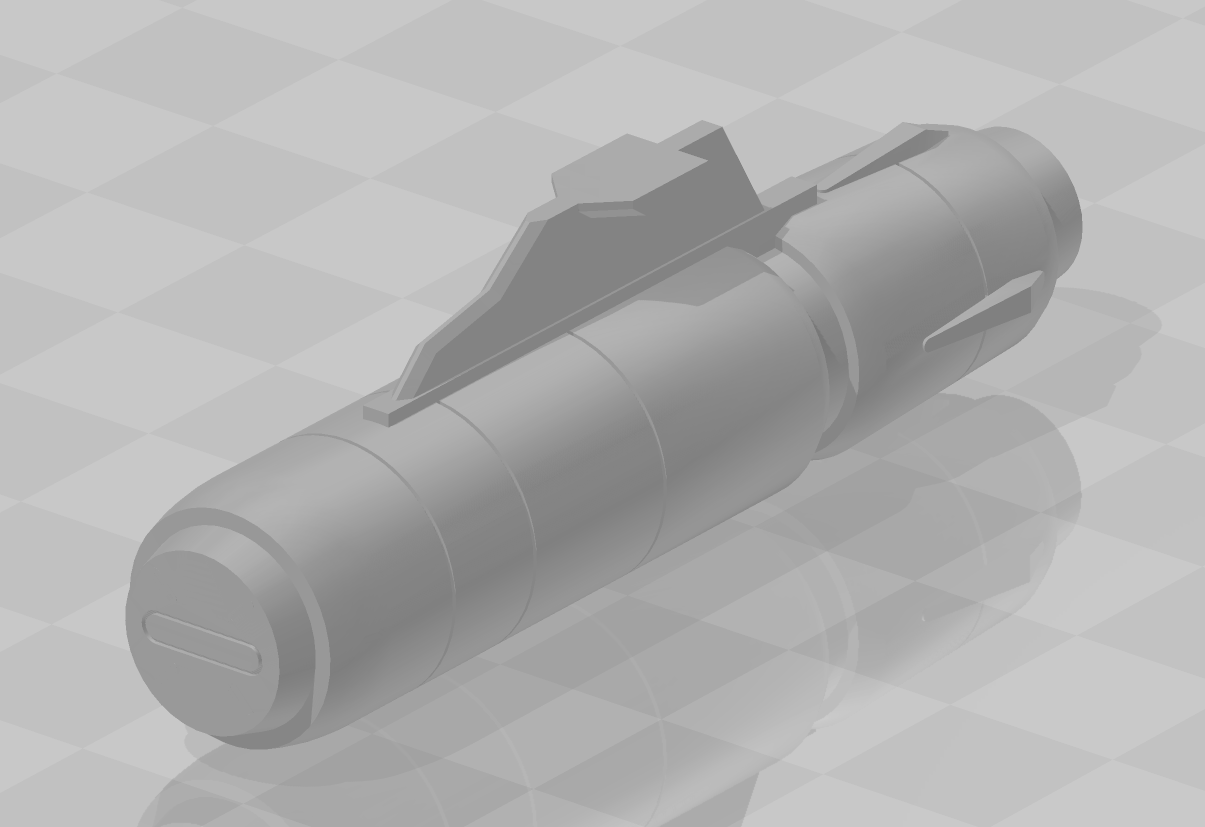
Print-ready versions of each armament, with and without the extra details. Still tweaking some small things on the UUM-7, but otherwise I think these are ready to go.
-
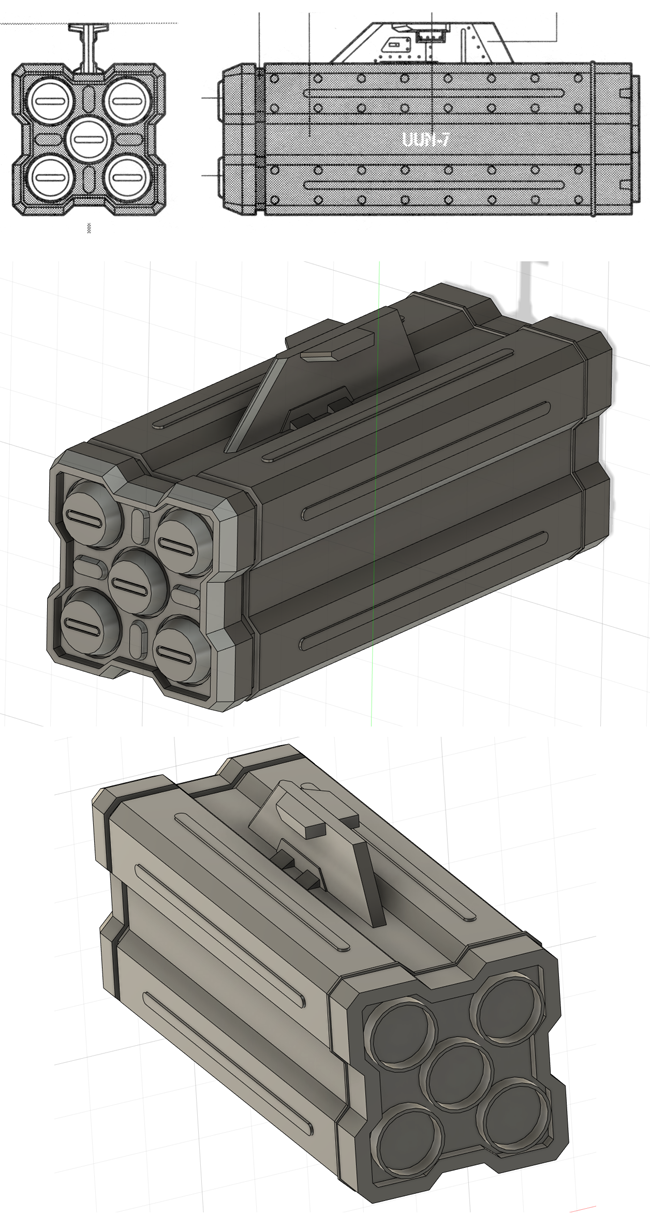
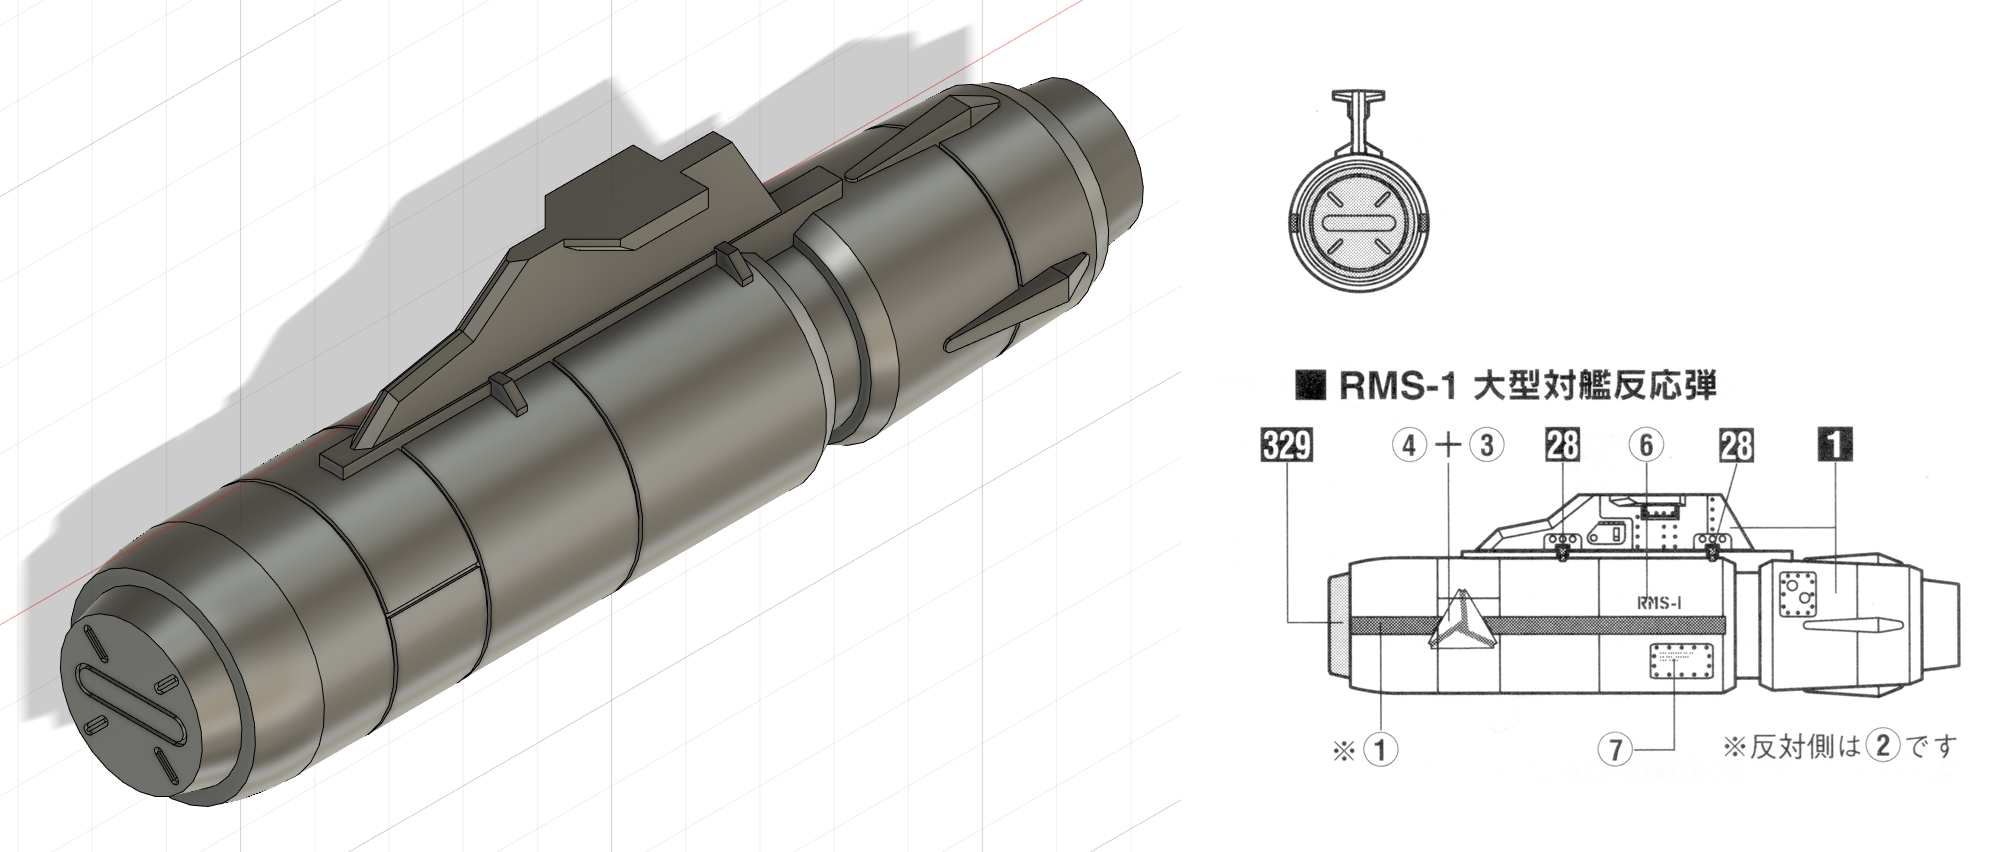
Starting to get the hang of 3D modeling. Just completed the UUM-7, which was a lot more complicated to create than the RMS-1. Like the RMS-1, there will be two versions that have more or less detail.
-
-
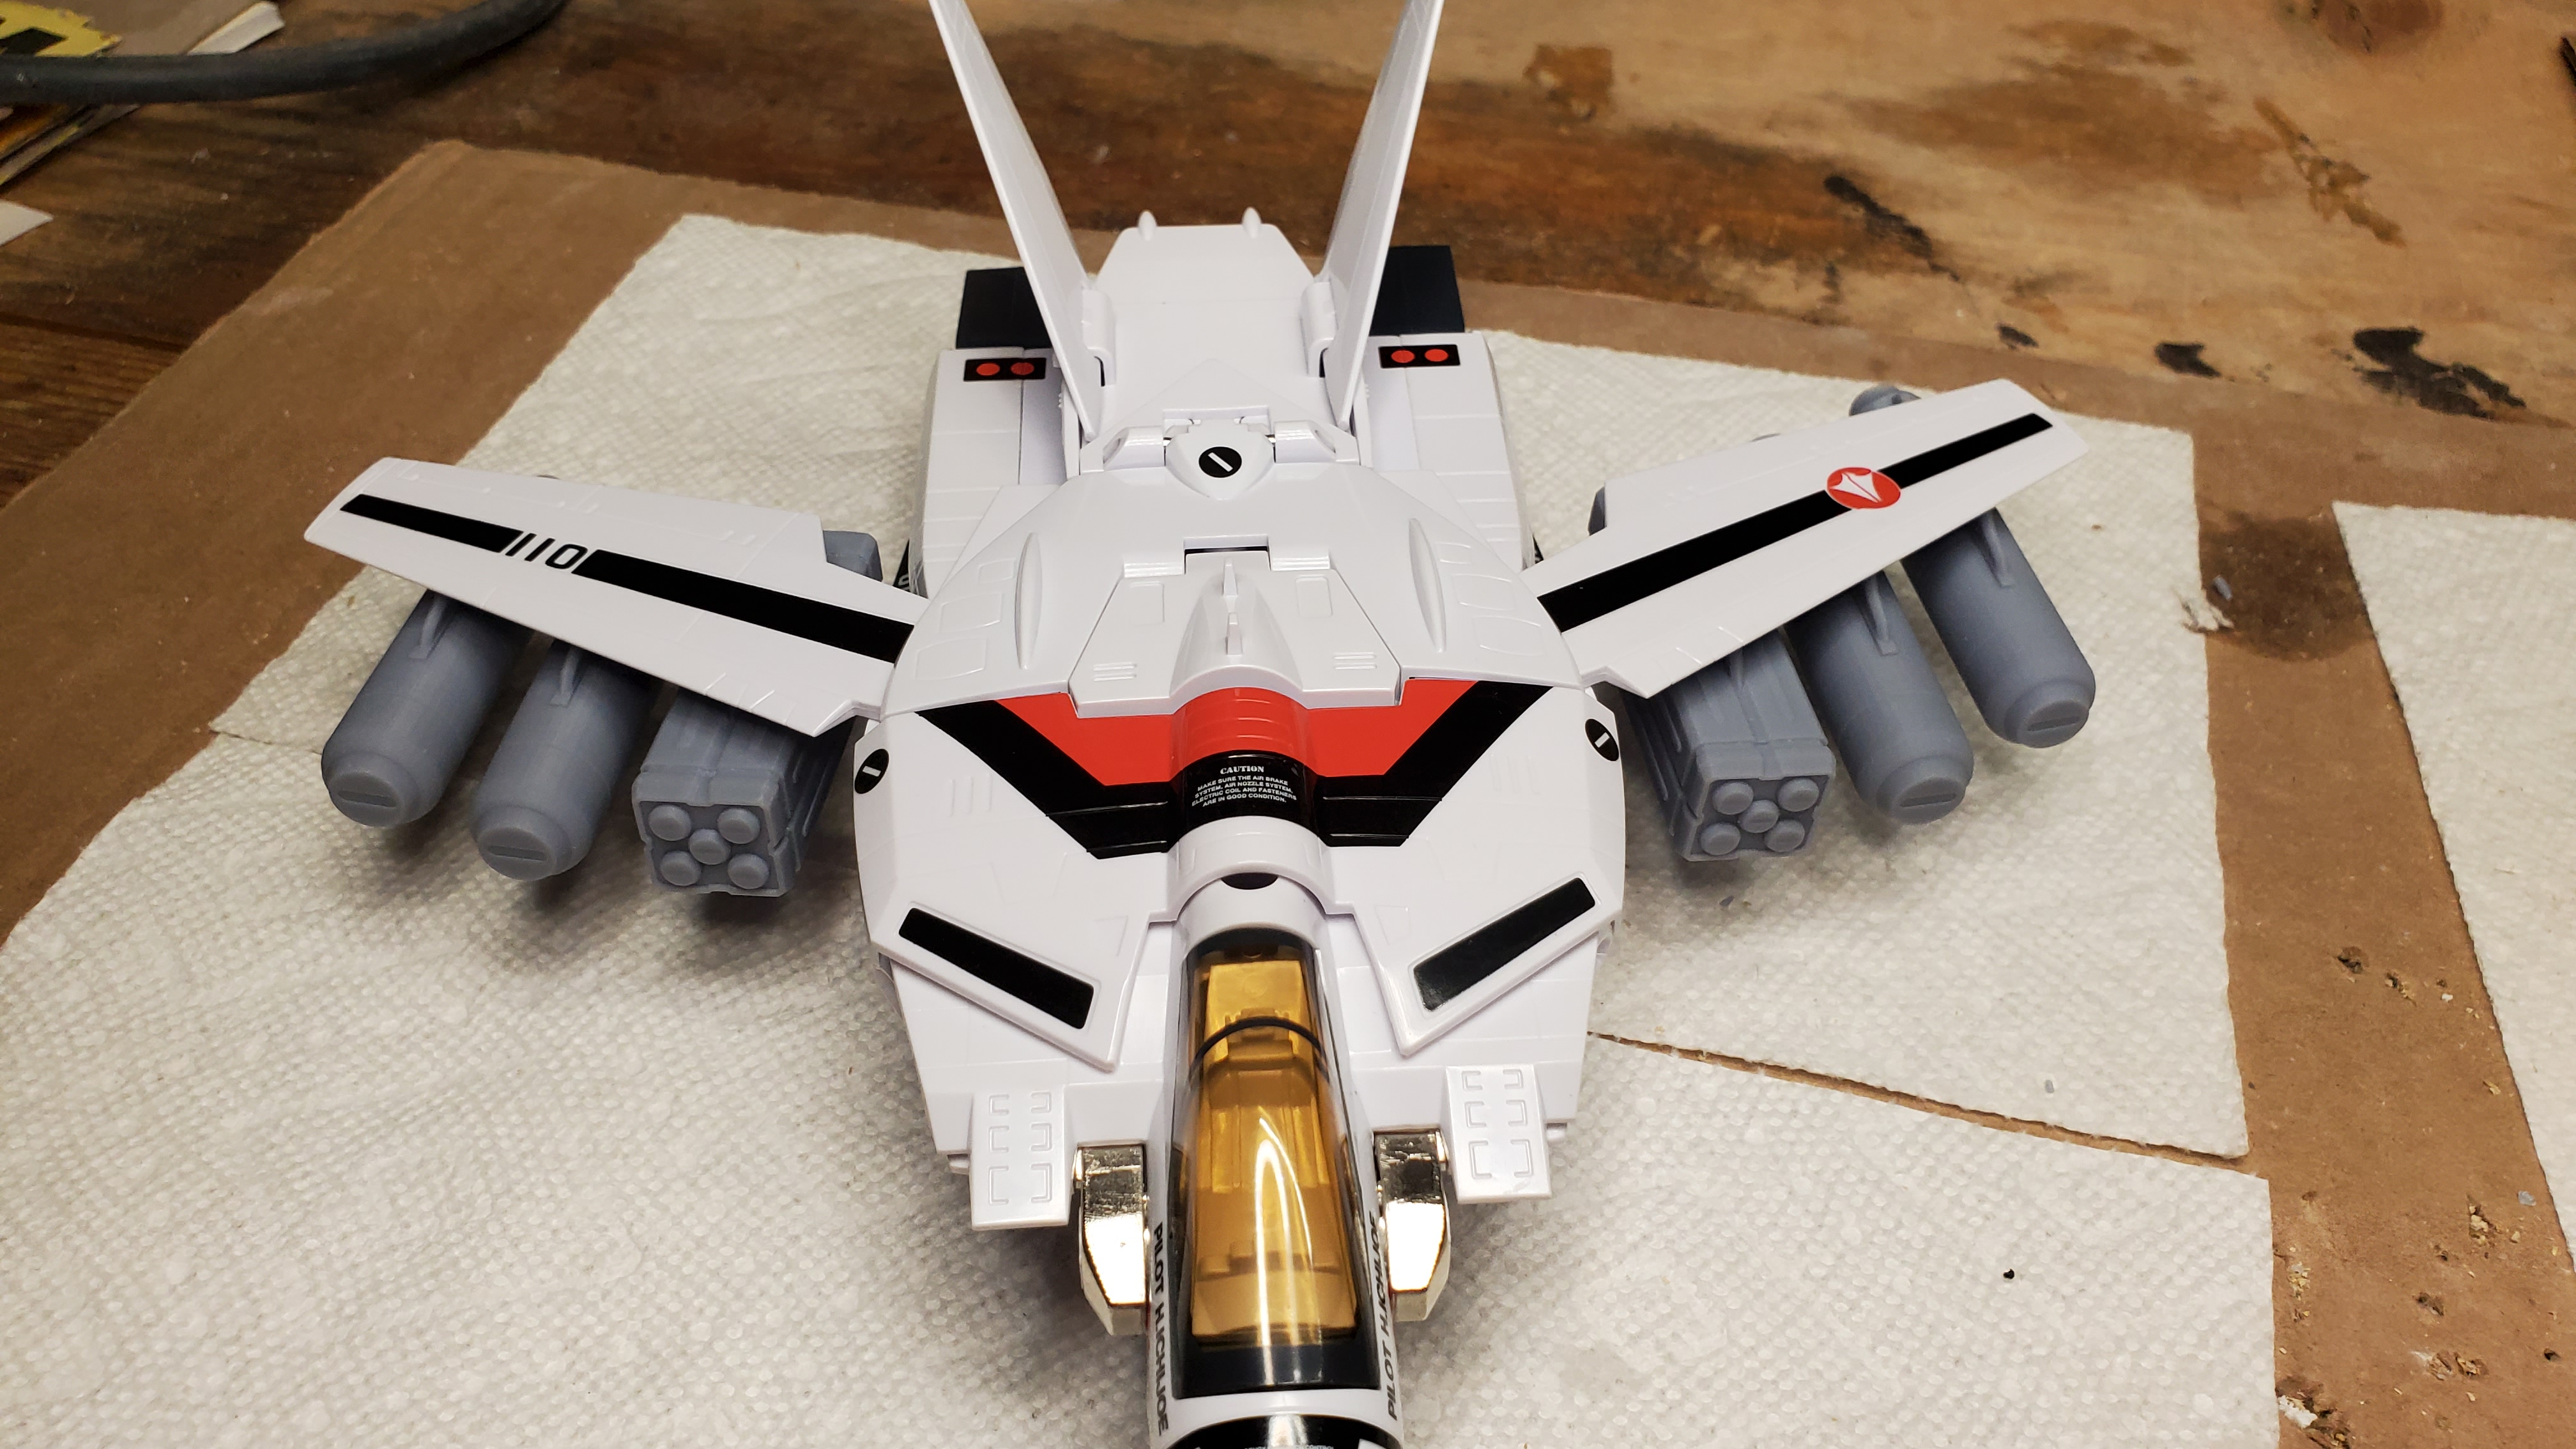
I've designed these to support a few Strike custom projects, so my intent is to use small magnets embedded in the top of the connectors and the underside of the wings. @Chunky001's idea of using two-sided tape is a good one if you don't want to permanently modify your 1/55.
-
I've set up the design so that I can turn the finer details on or off, so I'll likely play with both options. There's another level of detail on the Hasegawa designs (hatches, rivets, etc.) that I'm avoiding because then the armament would definitely look way too "real" compared to the Chunky we love so much.
-
-
Yeah, the blue tack was just a temporary thing so I could quickly stick the armaments on and get a sense for how they looked on the valk. Double-sided tape is a more elegant solution for longer-term attachment without having to modify the wings. Will keep everyone posted on availability. Worst case I'll post the files on a site like Cults3D so folks can print them, but could also potentially print some sets for MW members. I do like the chunkiness of the current RMS-1, but it's also been bothering me, so I decided to create a new version from scratch, using the Hasegawa 1/72 Weapons Set as the primary source, and will see how that looks on the valk. I'll do the same for the UUM-7, but the design is a bit more complicated and will take more time to draft.
-
Thanks! Still a work in progress. I'm already designing new armaments, now that I've seen how these ones look on the 1/55. Stay tuned. Right now I'm attaching them using temporary blue tack, but doing so more permanently will require embedding small magnets in the parts and the wings. These are meant to go on some Strike customs I'm working on, so I don't mind altering the wings a little.

