-
Posts
2060 -
Joined
-
Last visited
Content Type
Profiles
Forums
Events
Gallery
Everything posted by Anasazi37
-
That is one of the craziest KOs I've ever seen
-
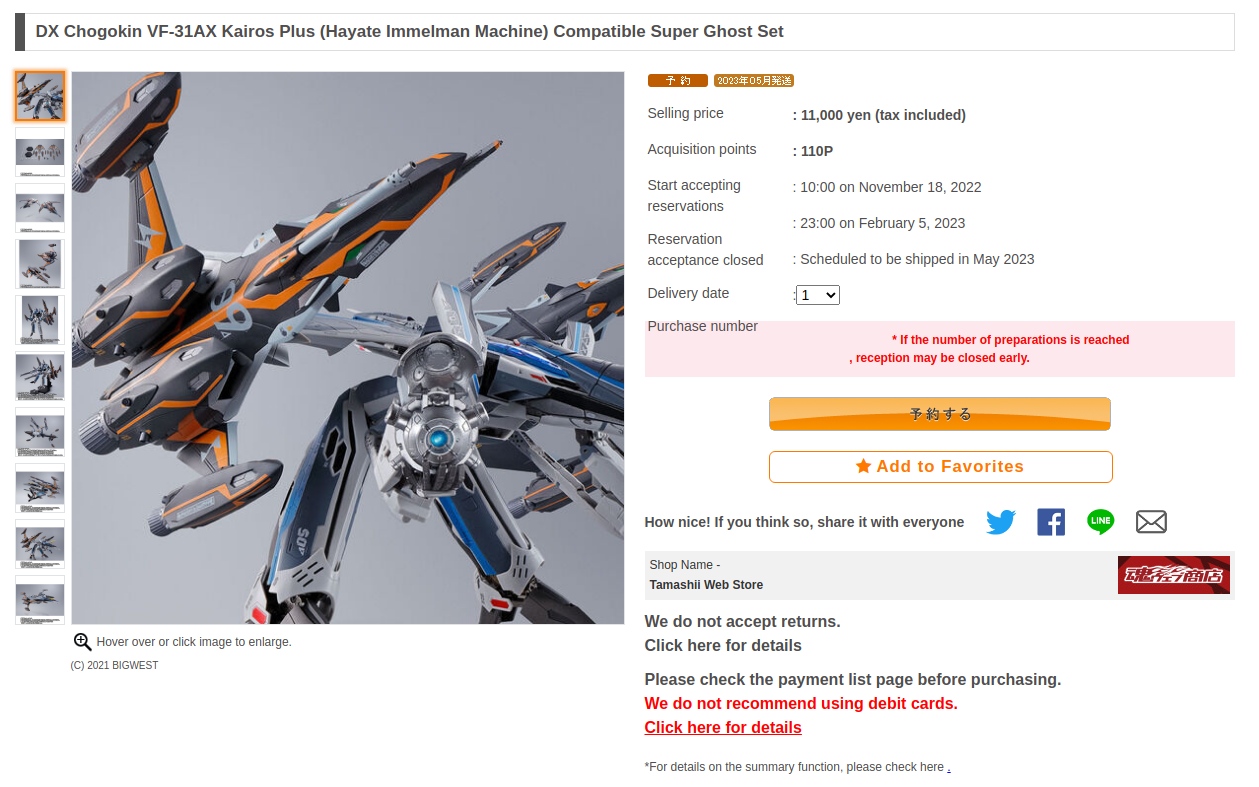
Bandai really wants to milk the molds and production line, don't they? Original AX release, then the Ghost parts, then AX reissue, then both together. Next will be a Hayate and Mirage AX combo set, then that with Ghost parts for each. We're more likely to see that happening than a DX Max and Millia Super VF-1J combo set.
-
I was very much looking forward to this release when it was first announced, but I just couldn't get past the horrible logo they stamped on the left wing and legs, so I ended up skipping this one. Still feel the same way, unfortunately. Bandai tampo is generally horrendous, and I usually just put up with it because the awesomeness of the toy outweighs their preschool-level graphic design choices, but I just couldn't do that here. It's such a massive eyesore. For folks who can look past it, I'm happy this will soon be in your collections. Anyone get five to complete the squadron?
-
A longer PO window for the initial release makes a lot more sense (it might have even closed and reopened? ). I just checked the purchase page as well and am seeing the same thing:
-
So...Bandai showed at least 35 new Macross items at the Tamashii Nations event in November and they choose to spend time, money, and precious production slots on two Delta reissues instead of the new stuff. I already have both. Awesome. Thanks, Bandai.
-
Otherwise known as the "anti-scalper" maneuver. I've managed to get several items from them since they switched to that policy, which used to be almost impossible. Sucks to fork out the money up front, but it seems to level the playing field a bit. This time around HLJ got their posting up first, which was unusual, so I went with them. Looks like AE still has stock. They're only a few dollars more than what AmiAmi will be charging when the posting goes live later today.
-

The 'Hey look at this really cool model build I saw' post
Anasazi37 replied to Shawn's topic in Model kits
-
Good points, everyone. Yeah, it's a weird self-inflicted wound on the part of Plamax. The idea that they were trying to replicate what Bandai does for Gundam kits makes the most sense to me, but they failed on two fronts: (1) you can get away with stickers on a Gundam model far more easily than you can on an aircraft model (smaller designs covering smaller areas) and (2) you should produce decals alongside the stickers because this is a highly detailed aircraft model and that's been the industry standard for decades (even Bandai recognizes this fact).
-
Why can't Plamax do this for their VF kits? It's not like they have to solve a complex multidimensional physics problem, they just have to remember that people who build detailed models don't want to work with crappy stickers.
-
Merry Christmas to you as well! I always enjoy reading your posts.
-

Hachette Collection 1/24 VF-1S (subscription collectable)
Anasazi37 replied to CF18's topic in Model kits
That was my first thought as well, then I realized the picture was probably taken with a wide-angle lens or with panorama mode turned on. That is also impressive because otherwise it wouldn't have all fit in the frame without stepping back about ten feet! -
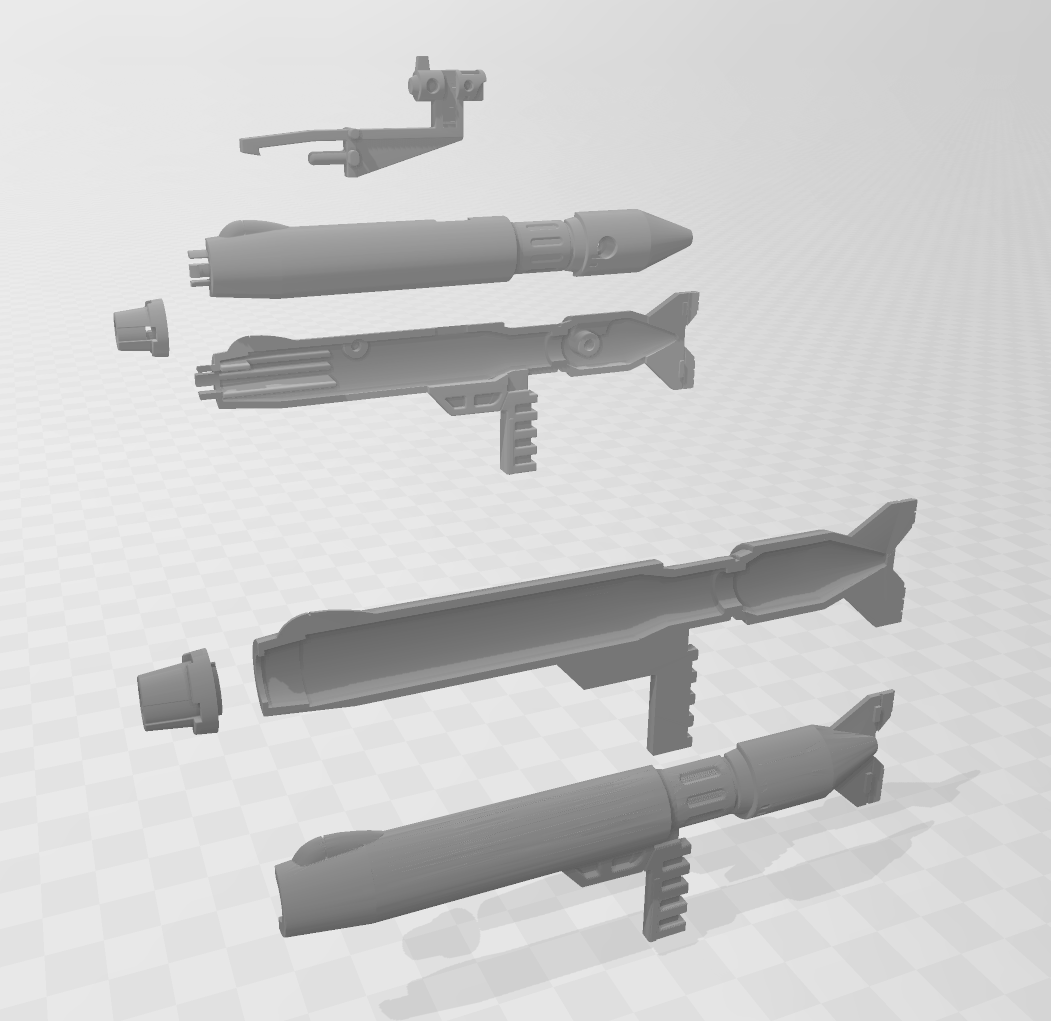
I'm right in the middle of test printing the RMS-1 and UUM-7 designs, and so far they look great, but I still have to remove them from their supports, do some additional cleaning, and then cure them before I'll know for sure that they're done. In the interim I decided to rework the gunpod, which I finished last night. From the outside it looks pretty much the same as my last version, but I did *a lot* more work to hollow out the inside so it will be light and easy to clean after printing. I also redesigned the front portion of the barrel so you don't have to worry about the little clips breaking and made the various hole fillers more smooth. I'm much happier with this version. Original parts from armamentfactory in the background, my new version in the foreground. The main section actually prints as one piece, but I split it in half for this image so you can see the interior.
-
I get the feeling that the commercial options have become more affordable and easier to use, which has led to things like on-demand t-shirt printing sites and all sorts of other custom merchandise (mugs, stickers, etc.), but the technology is still out of reach of hobbyists. My best guess is that the technology could be scaled down to an affordable desktop option, but then the manufacturers would have to convince consumers that they need it. Since most white+color printing needs can be taken care of by the on-demand sites, that leaves niche communities, like ones who print decals, out in the cold. Just my $0.02 on the topic. It's frustrating.
-
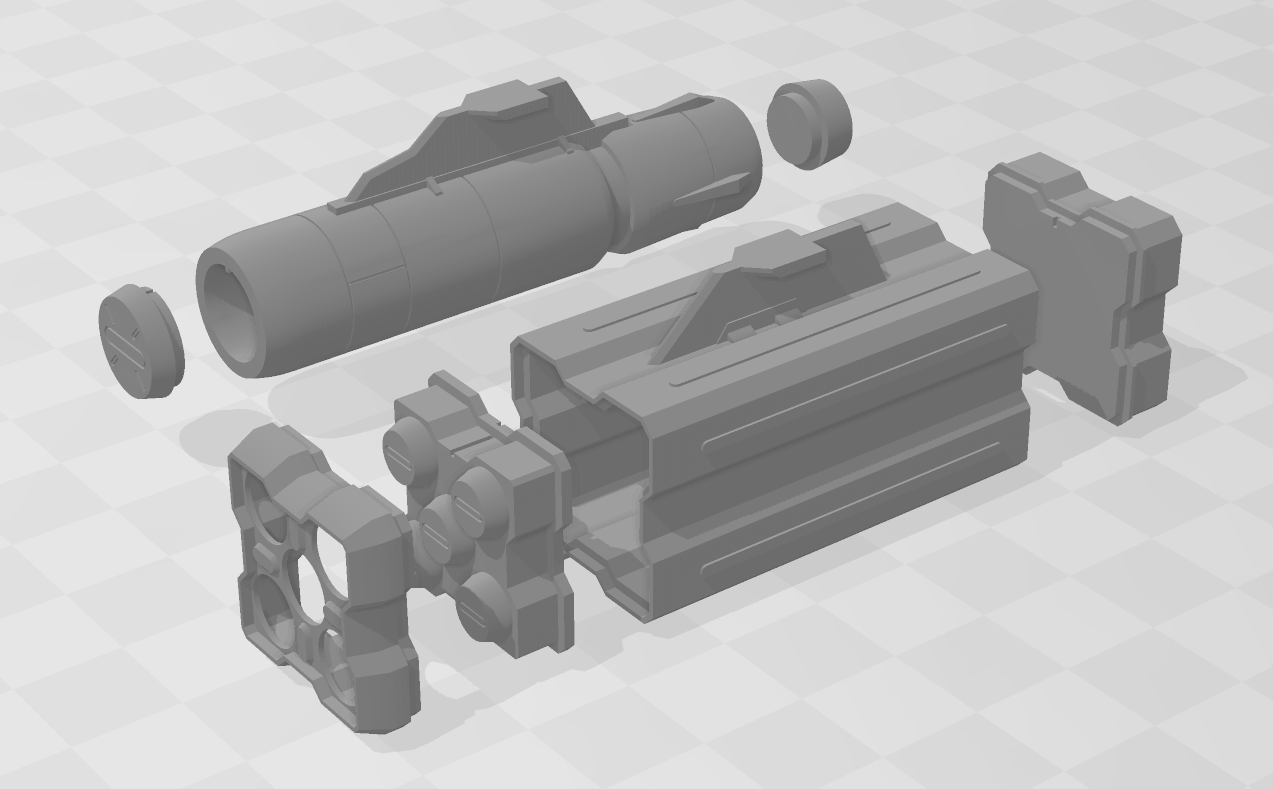
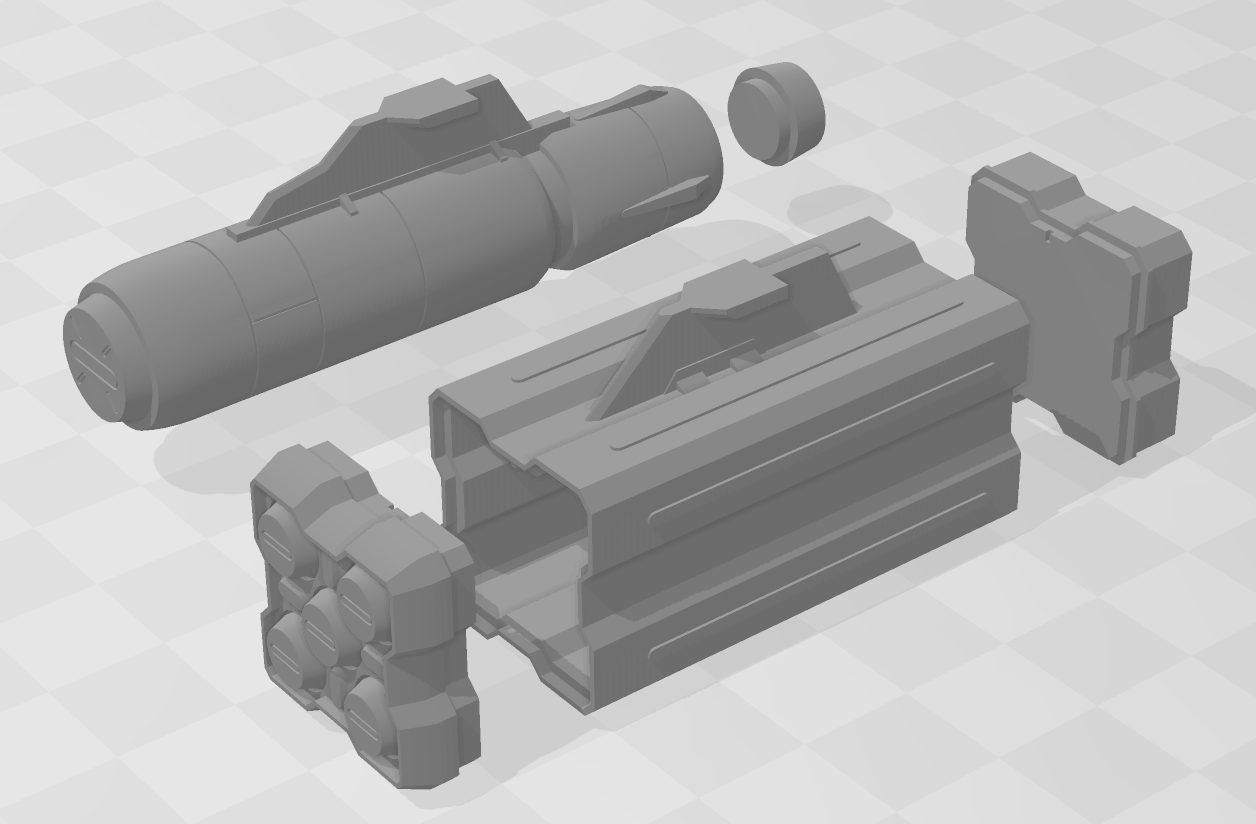
Appreciate the kind words. I've been inspired by the work of Robert James, who designs these truly incredible 3D-printable kits for a variety of starships--at really large sizes. Seeing how he breaks down all of the parts into components that are easy to print and fit together well is both impressive and humbling. https://cults3d.com/en/users/RobertJamesModels/creations After some additional tweaks this morning, I think the new designs are ready for a test print. I made the front section of the RMS-1 removable and also split the front section of the UUM-7 into two pieces so you can paint the missiles separate from everything else.
-
That is always an option, but generally only works for simple geometric designs where you can very carefully trim away the excess film before application. You also have to be okay with a white background on everything. Another semi-popular option is getting white toner for a laser printer, which allows you to create designs like the white "UN SPACY" text on clear paper. I've seen some people use white toner to print what I would call the "background layer" in ALPS, which consists of all-white versions of each design, and then they print the regular color layer. That is done on different sheets of paper, so you would first apply the white decal and then the color one on top of it. You have to do that because if you try to take the white-printed sheet and run it through the printer again to put color on top of it, which is how ALPS works, the results are terrible. You need very precise layer registration to pull it off, which can only be done by a printer that hangs onto the sheet for both print runs. The only "affordable" printer that can do it is ALPS. Everything else is high-end commercial and extremely pricey. If you can find a commercial printing service that is willing to do one-off or small batch runs of a sheet for a reasonable price, that's awesome. There might be a few out there.
-
Finally had some time to work on the armaments again. Ended up redoing them, but from the outside you wouldn't be able to tell the difference. Original versions were solid, meaning that after printing they'd be a bit heavy and could bend the wings. New versions are hollow and break down into multiple pieces for easy printing and assembly. I got a little smarter about 3D design over the past month.
-
I was eyeing his apron and wondering how I can get my hands on one.
-
Appreciate the gesture. Part of owning an ALPS printer is having a large list of links to stores, auction sites, etc. for replacement parts and ink cartridges. Feels a lot like maintaining a classic car, but way more niche.
-
Yep, I'm backed up and every time I use my printer I'm gambling that it won't break. Had a very close call recently, but was able to repair it. A replacement printer, like the ink cartridges, has to be imported from Japan. Really expensive, even with the strong dollar these days.
-
An electronic component for one of my projects was scheduled to arrive from China in early January, but that ETA was just bumped out three months to early March. The manufacturing issues are impacting multiple industries and I think it's going to get worse before it gets better.
-
"On the right is what we think our customers can do with this kit right out of the box, even if they have no model building experience. On the left is what they actually get. Note how well the red stickers adhere to the vertical stabilizers. Great job, everyone. High fives all around." - Plamax
-
Interesting. Perhaps one advantage of the LEGO method is that window cleaner is engineered to evaporate quickly and that might not happen with water, but both should work in roughly the same way. Brushing a little bit of the cleaner on the backside of the sticker before application would eliminate a lot of potential mess. I sometimes brush setting solution on the backside of a decal before application, instead of brushing the target surface.
-
My best guess is that it's sitting in Customs at the Chicago airport mail facility. I wouldn't trust the "Origin Post" entry from USPS. I can take a week or more to clear Customs, regardless of entry point. In my limited experience, Chicago tends to be faster than Los Angeles, but who knows these days.


